
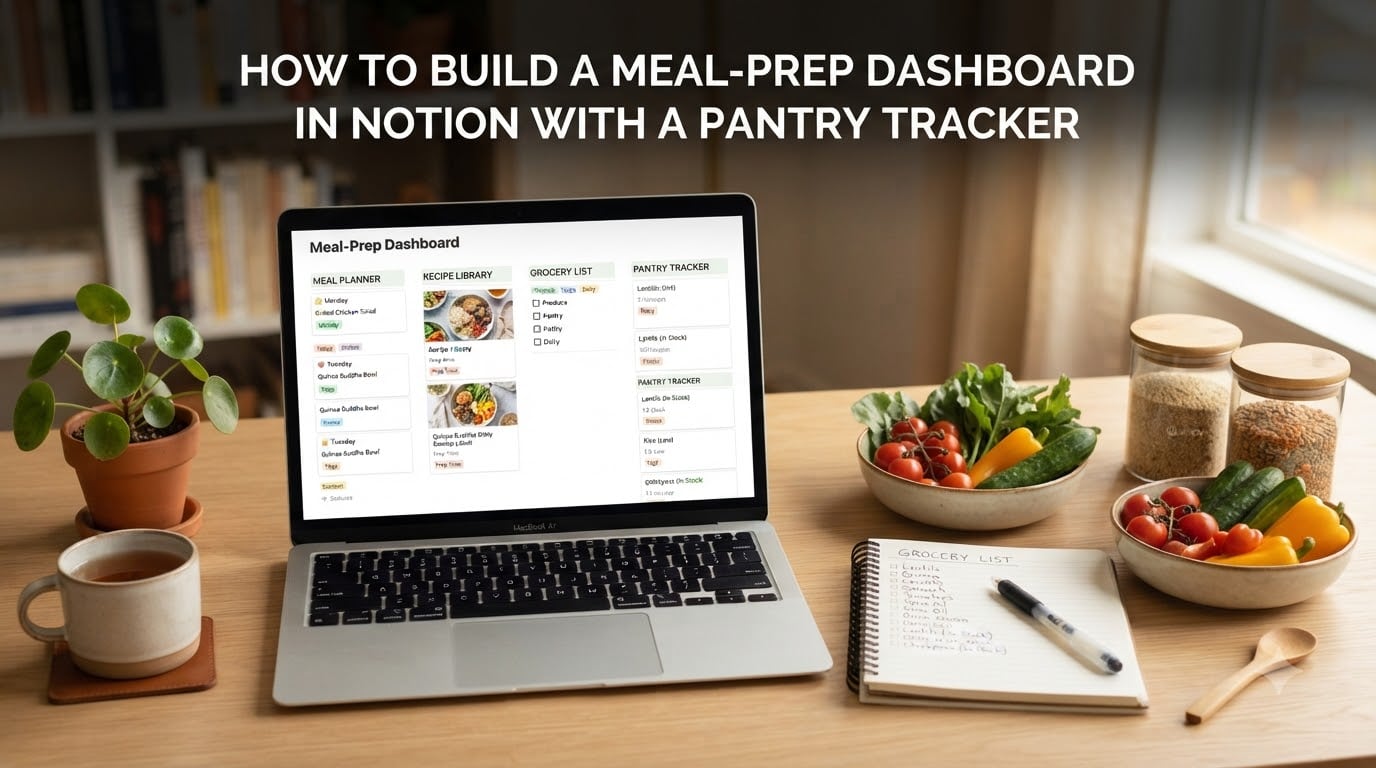
If you have ever opened your fridge at 6 p.m. with no idea what to cook, you already know why a meal-prep dashboard in Notion with a pantry tracker is worth an hour of setup. I built my first version three years ago after wasting roughly $80 a month on duplicate spices, half-used produce that went bad, and takeout I did not need. The dashboard fixed it. This guide walks you through the exact system I use, so you can build yours today.
By the end of this article you will have four interconnected Notion databases (Pantry, Recipes, Meal Plan, Grocery List), a one-page dashboard that pulls them together, and a weekly reset routine that takes about 30 minutes. No paid templates. No Notion API key. Just free accounts and a willingness to click through a few database menus.
Table of Contents
- What You Need Before You Build Your Meal-Prep Dashboard
- The Database Architecture Behind a Meal-Prep Dashboard
- Step 1: Build the Pantry Tracker Database
- Step 2: Create the Recipe Database With Ingredients
- Step 3: Set Up the Meal Planning Calendar
- Step 4: Automate Your Grocery List From Meals and Pantry
- Step 5: Stitch It All Together on One Dashboard Page
- Your 30-Minute Weekly Reset Workflow
- Common Mistakes to Avoid When Building a Notion Meal-Prep Dashboard
- Frequently Asked Questions
- Final Thoughts on Your Notion Meal-Prep Dashboard
What You Need Before You Build Your Meal-Prep Dashboard
You only need three things to get started: a free Notion account, a desktop or laptop (the mobile app is fine for edits but clunky for initial setup), and 45 to 90 minutes of uninterrupted time. If you already use Notion for other projects, that is fine. I recommend a fresh top-level page called “Meal HQ” so the dashboard is easy to share with a partner later.
Before you create a single property, decide on your naming convention. I use singular nouns (Recipe, Ingredient, Meal) because it reads naturally inside formulas later. Pick a color for each database so the icons stay visually consistent across the dashboard. These small choices save you from a messy workspace when you add a fifth database six months from now.
The Database Architecture Behind a Meal-Prep Dashboard
A reliable meal-prep dashboard in Notion with a pantry tracker rests on four databases that talk to each other through relations. Think of them as four tables that pass data back and forth: Pantry, Recipes, Meal Plan, and Grocery List. When one database updates, the others can react automatically through rollups and formulas.
Here is how the connections work. Recipes hold a relation to Pantry via an Ingredients property. Meal Plan holds a relation to Recipes so each calendar entry points to the actual recipe card. Grocery List pulls from Meal Plan, then subtracts anything already in Pantry using a formula. Once you understand that flow, every property below will make sense. If you have never used relations before, they are basically linked records: pick one or many items from another database and Notion stores the connection.
Step 1: Build the Pantry Tracker Database
The pantry tracker is the foundation of the whole system. Get this one right and the rest of the dashboard becomes easier.
Create the database
Inside your “Meal HQ” page, type “/database — inline” and choose “Table view.” Name it Pantry. Open the table and start adding properties.
Add these properties
- Name (title) — the ingredient or product. Example: “Olive oil,” “Canned tomatoes,” “Brown rice.”
- Category (select) — Produce, Pantry, Dairy, Meat, Frozen, Spices, Other.
- Quantity (number) — count or unit (1, 2, 0.5).
- Unit (select) — g, kg, oz, lb, ml, l, pcs, can, jar, bag.
- Par Level (number) — the minimum quantity you want on hand before restocking.
- Low Stock? (formula) — type
if(prop("Quantity") < prop("Par Level"), true, false). - Expiry Date (date) — optional but useful for produce and dairy.
- Location (select) — Fridge, Freezer, Pantry, Counter.
Pre-populate 20 to 30 staples
Spend 10 minutes adding your most-used items: salt, pepper, olive oil, butter, garlic, onion, rice, pasta, canned beans, chicken stock. You will thank yourself later when meal planning becomes a 10-minute task instead of a 40-minute one.
Add two views
Duplicate the default table and rename one “Low Stock” with a filter where Low Stock? is checked. Duplicate again as “By Location” and group by Location. You now have three views of the same data, each tuned to a different job.
Step 2: Create the Recipe Database With Ingredients
Your recipe database should be visual, scannable, and connected to your pantry so you can answer “what can I cook right now?” in two clicks.
Properties to add
- Name (title).
- Cuisine (multi-select) — Italian, Mexican, Thai, American, etc.
- Prep Time (number, minutes).
- Cook Time (number, minutes).
- Servings (number).
- Ingredients (relation) — link to Pantry.
- Tags (multi-select) — High-Protein, Vegetarian, Quick, Batch-Friendly.
- URL (url) — paste the original link if the recipe came from a blog.
- Cover Image (files & media) — drop in a photo for the gallery view.
Switch to a gallery view
Click “Add a view” and choose Gallery. Set the card preview to Cover Image, then group by Cuisine. This is the view you will scroll on Sunday night with a coffee.
Add a “What Can I Cook?” view
Duplicate the table view, rename it “Cookable Now,” and filter where every Ingredient relation is currently above its Par Level. This is the single most useful view in the entire meal-prep dashboard with pantry tracker because it answers the daily “what’s for dinner” question without thinking.
Step 3: Set Up the Meal Planning Calendar
The meal calendar turns abstract recipes into a concrete plan for the week. It also feeds the grocery list later, so build it carefully.
Create the database
Add a new inline database, name it Meal Plan, and set the default view to Calendar.
Properties
- Meal (title) — auto-filled from the recipe, but editable.
- Date (date) — the date you plan to cook or eat.
- Meal Slot (select) — Breakfast, Lunch, Dinner, Snack.
- Recipe (relation) — link to Recipes.
- Servings Planned (number).
- Leftovers? (checkbox).
- Status (select) — Planned, Cooked, Eaten Out.
Create a weekly template button
In the Meal Plan database, click the arrow next to the blue “New” button and choose “New template.” Name it “Sunday Reset” and add 14 default entries — breakfast, lunch, and dinner for each of the next 7 days. When you click the template, Notion drops 14 dated records you can edit instead of starting from scratch each week.
Step 4: Automate Your Grocery List From Meals and Pantry
This is where the dashboard earns its keep. A few formulas turn a weekly chore into a one-click task.
Create the Grocery List database
Add a new inline database named Grocery List with these properties:
- Item (title).
- Pantry Item (relation) — link to Pantry.
- Quantity Needed (number).
- Source Recipes (relation) — link to Recipes.
- Checked (checkbox) — tick when in the cart.
- Estimated Cost (number) — optional, for budget tracking.
Build a manual but fast workflow
Notion does not yet auto-create records across databases without third-party tools, so the fastest reliable workflow is this. Open your Meal Plan view for the upcoming week. For each unique ingredient that is not already in Pantry above its Par Level, add a row to Grocery List and link the source Recipe. This takes 5 to 10 minutes once you have done it a couple of times.
Use a rollup to estimate quantities
Add a rollup property called “Total Servings” that sums Servings from the linked Recipe entries. This gives you a quick gut check: a recipe planned for 8 servings probably needs a double grocery run.
Step 5: Stitch It All Together on One Dashboard Page
Now that the four databases exist, build the dashboard page that pulls them into one screen. Inside “Meal HQ,” create a new page called Dashboard.
Add a row of callout blocks at the top: today’s date, the count of Low Stock pantry items, and the number of meals planned this week. Underneath, embed four linked database views: Pantry (Low Stock), Recipes (Cookable Now), Meal Plan (Calendar for the current week), and Grocery List (unchecked items grouped by category).
Add a “Quick Actions” toggle with three buttons or text links: add a recipe, plan a meal, log a pantry restock. Notion buttons can perform actions like opening a database template, which removes the friction of hunting for the right page.
Your 30-Minute Weekly Reset Workflow
A dashboard only stays useful if you reset it weekly. Here is the routine that took my planning time from 90 minutes a Sunday to about 30.
- 5 min — Pantry check. Walk to the kitchen, scan shelves, update Quantity on anything visibly changed. Tick Low Stock items so they bubble up.
- 10 min — Recipe selection. Open the Cookable Now view. Pick 7 dinners and 4 to 5 breakfast or lunch repeats. Drag them onto the calendar via the Meal Plan relation.
- 10 min — Grocery list. Walk the planned recipes, compare against Pantry, and add anything missing to the Grocery List database.
- 5 min — Shop and update. Buy what is on the list. Tick items as they go into the cart, then bump the Pantry quantity for each item when you unpack.
Common Mistakes to Avoid When Building a Notion Meal-Prep Dashboard
The first version I built had 28 properties per database. It was unusable. Keep your property count under 12 per database until you actually need more. Notion is forgiving — adding a property takes 5 seconds, deleting it later takes courage because you have to migrate data.
Do not skip the Cover Image on Recipes. A wall of text is hard to browse at 7 p.m. when you are tired. Use a gallery view from day one, not as a “nice to have” you will get to later.
Test your dashboard on mobile before you commit. If the calendar view is unreadable on your phone, fix it now. Most meal decisions happen in the supermarket aisle, not at a desk.
Finally, do not over-automate early. The 5-to-10-minute manual grocery workflow is faster to maintain than a brittle Zapier setup that breaks when Notion updates its API.
Frequently Asked Questions
Can I use Notion for meal planning and pantry tracking?
Yes. Notion is one of the most flexible free tools for both. With four databases (Pantry, Recipes, Meal Plan, Grocery List) linked through relations, you can run your entire weekly meal-prep workflow in a single workspace, on desktop or mobile.
How do I automate grocery lists in Notion from a meal plan?
Build a Grocery List database with a relation to your Recipes database. After you plan your meals for the week, walk each recipe’s ingredients and add anything missing from your Pantry database to Grocery List. With practice this manual step takes 5 to 10 minutes, and it stays reliable without third-party automation tools.
What is the 3-3-3 rule for meal prep?
The 3-3-3 rule for meal prep means preparing 3 proteins, 3 carbs, and 3 vegetables in one cooking session, then mixing and matching them across the week. It is a fast framework for building a varied meal-prep dashboard rotation without spending a full day cooking.
Is it safe to meal prep for 4 days?
Yes, most cooked meals stay safe in the fridge for 3 to 4 days when stored in airtight containers below 40 degrees F. For meals planned on day 5 or later, freeze portions on prep day and thaw overnight in the fridge.
How long does it take to build a meal-prep dashboard in Notion?
Plan on 45 to 90 minutes for the first build, including pre-populating your pantry with staples. Once the architecture is in place, your weekly reset and grocery list workflow should take about 30 minutes.
Final Thoughts on Your Notion Meal-Prep Dashboard
Building a meal-prep dashboard in Notion with a pantry tracker is one of the highest-return projects I have ever set up. It costs nothing, it takes an hour, and it pays you back every Sunday for years. Start with the Pantry database today, add ten staples, and resist the urge to perfect everything before you use it. The system improves as you cook with it.