
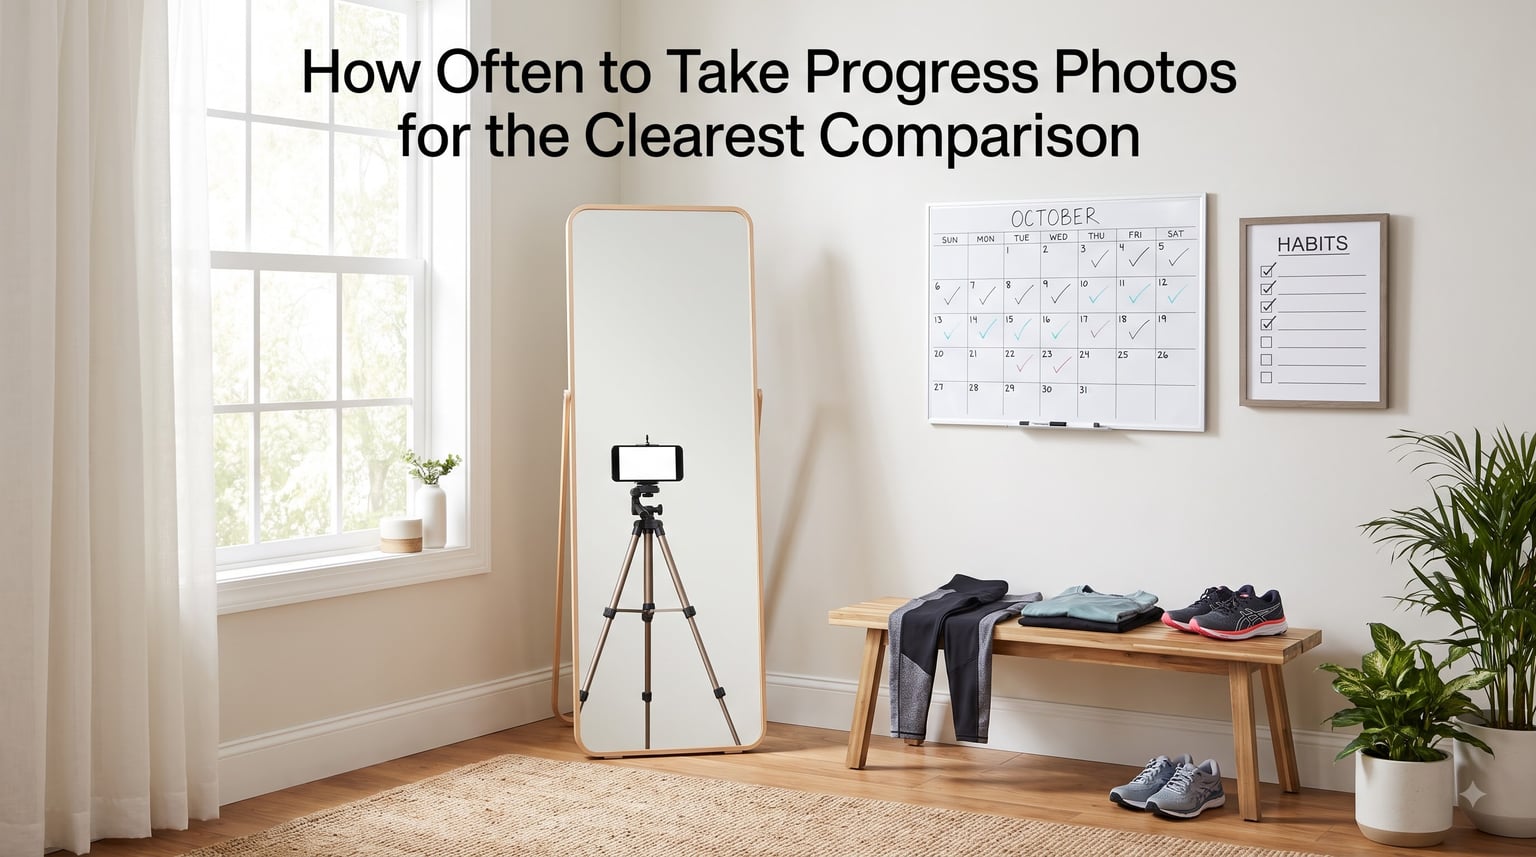
If you have ever stepped on the scale after weeks of clean eating and intense workouts, only to see the same number staring back at you, you know the frustration. The scale tells a narrow story. Progress photos tell the real one.
Knowing how often to take progress photos can make the difference between staying motivated and throwing in the towel. Take them too frequently and you will not see changes, which can crush your momentum. Take them too rarely and you miss the psychological boost that comes from seeing your body transform.
Our team has dug into forum discussions, fitness research, and expert recommendations to break down the ideal frequency, the consistency factors that matter most, and the exact posing setup that produces the clearest comparison shots. Whether your goal is fat loss, muscle building, or body recomposition, this guide gives you a practical system you can start using today.
Table of Contents
- Why Progress Photos Beat the Scale
- How Often to Take Progress Photos: The Sweet Spot
- Consistency Factors That Make or Break Your Photos
- How to Pose for Progress Photos: Front, Side, and Back
- Progress Photos vs Other Tracking Methods
- Common Progress Photo Mistakes to Avoid
- Evaluating Your Progress Photos Objectively
- Frequently Asked Questions
- Conclusion
Why Progress Photos Beat the Scale
The scale measures one thing: total body weight. It cannot tell you whether you are losing fat, gaining muscle, or just holding water from a salty dinner last night. This is why so many people on forums like r/loseit and r/beginnerfitness report feeling discouraged by the number on the scale even when their bodies are clearly changing.
Body composition shifts do not always show up as weight changes. When you build muscle while losing fat, your weight may stay flat for weeks even as your waist shrinks and your arms take on new definition. Progress photos capture these shifts in a way no other tracking method can.
There is also a psychological component worth addressing. Many people deal with a form of body dysmorphia during their transformation journeys, meaning they cannot see changes in the mirror even when those changes are obvious to friends and family. Side-by-side progress photos cut through this mental fog. They give you objective evidence that your effort is paying off.
One Reddit user from the r/loseit community put it this way: they take a set of progress pictures every four weeks, and looking back at photos from months ago is the only thing that convinces them the changes are real. That is the power of visual fitness tracking.
How Often to Take Progress Photos: The Sweet Spot
The short answer is every two to four weeks. This is the frequency range that virtually every expert and experienced fitness community member converges on, and it is the sweet spot for seeing meaningful changes without losing motivation.
Monthly progress photos are the gold standard for most people. It generally takes about a month for visible changes in body composition to become noticeable in photographs. This is not a guess; it reflects how slowly fat loss and muscle growth actually occur in healthy, sustainable programs. If you take photos more often than that, you risk seeing no difference and feeling discouraged.
Bi-weekly progress photos work well for people who are in a more aggressive cutting or bulking phase. If you are losing or gaining weight at a faster rate, two-week intervals will show discernible changes while keeping you motivated. Several fitness bloggers and personal trainers advocate for the bi-weekly approach, recommending snapping photos every other Sunday or Monday morning.
Weekly progress photos are generally too frequent. The day-to-day fluctuations in water retention, glycogen stores, and digestion can make you look leaner or softer from one week to the next without any real change in body composition. You end up chasing noise instead of signal.
Here is a quick breakdown to help you choose the right interval for your situation:
- Every 4 weeks (monthly): Best for most people, especially those on a steady, sustainable fat loss or muscle building program.
- Every 2 weeks (bi-weekly): Ideal for aggressive cuts, contest prep, or anyone who wants more frequent feedback without the noise of weekly photos.
- Every 6 to 8 weeks: Suitable for slower recomposition phases or maintenance, where changes are subtle and take longer to appear.
- Avoid weekly: Too much noise from water weight, bloating, and lighting variation. You will rarely see real change.
Pick one interval and stick with it. Consistency matters more than the exact frequency you choose.
Consistency Factors That Make or Break Your Photos
Taking progress photos at the right interval is only half the equation. If your lighting, timing, or camera angle shifts between sessions, your comparison shots will be useless. Here are the variables you need to control.
Time of Day: Shoot First Thing in the Morning
The best time of day to take progress photos is in the morning, right after waking up and using the bathroom, before eating or drinking anything. This is your fasted state, and it is when your body is least affected by food, water retention, and daily bloating.
Your weight and appearance can fluctuate by several pounds throughout the day based on what you eat, how much water you drink, and your activity level. Morning fasted photos eliminate these variables and give you the most consistent baseline possible.
Lighting: Keep It the Same Every Time
Lighting is the number one culprit behind misleading progress photos. overhead gym lighting can wash out definition, while golden hour sunlight from a window can create shadows that exaggerate muscle separation. Neither is wrong, but switching between them session to session will distort your results.
Pick one lighting setup and use it every time. Natural daylight from the same window at the same time of morning is ideal for most people. Avoid relying on bathroom vanity lights, which tend to be harsh and inconsistent.
Location, Attire, and Camera Distance
Stand in the exact same spot for every photo session. Mark the floor with a piece of tape if you need to. Wear the same clothing each time, ideally something fitted that shows your body shape without hiding it. Many people use the same pair of shorts or sports bra for every shoot.
Keep your camera at the same distance and height for every session. If you are shooting alone, prop your phone against a book or use a tripod at a consistent height. Full-body shots taken from too close will distort your proportions due to lens compression.
How to Pose for Progress Photos: Front, Side, and Back
A complete progress photo set includes three views: front, side, and back. Skipping any of these means you are only tracking part of the picture. Changes in your back and side are often the most dramatic, especially during fat loss, yet they are the angles most people ignore.
For each view, take two variations: one relaxed and one flexed. This gives you six photos per session and lets you compare both your everyday appearance and your peak muscular condition.
Should You Take Progress Pics Flexed or Unflexed?
Take both. Relaxed photos show how your body looks day to day, which is what most people care about for their own satisfaction. Flexed photos reveal muscle definition and separation that may not be visible in a relaxed pose, making them valuable for tracking strength and hypertrophy progress.
If you only want to take one set, go with relaxed. Relaxed poses are more reproducible because flexing at different intensities will change how you look from session to session. But if you can manage both, the comparison value is well worth the extra thirty seconds.
Front View
Stand facing the camera with your feet shoulder-width apart. For the relaxed shot, let your arms hang naturally at your sides without tensing. For the flexed version, perform a front double biceps pose or simply flex your abs and arms. Keep your posture tall and neutral.
Side View
Turn ninety degrees so one side of your body faces the camera. Keep your arms at your sides or slightly forward so they do not obscure your midsection. The side view is critical for tracking changes in stomach projection, posture improvements, and glute development. Take both left and right sides if you want to be thorough.
Back View
Stand with your back to the camera. This is where many people see the most dramatic changes, particularly in back fat, love handles, and posterior shoulder and lat development. For the flexed version, a rear double biceps pose shows upper back definition that the front view completely misses.
Progress Photos vs Other Tracking Methods
Progress photos are powerful, but they work best as part of a multi-method tracking system. Each method captures something the others miss, and together they give you a complete picture of your transformation.
The scale is useful for tracking overall trends over months, but day-to-day fluctuations make it unreliable for short-term feedback. Tape measurements are excellent for tracking specific body parts like waist, hips, and arms, and they provide hard numbers that photos cannot. BMI is the least useful metric for anyone who trains with resistance, because it cannot distinguish between muscle and fat mass.
The best combination is monthly progress photos plus weekly weigh-ins plus bi-weekly tape measurements. This trio covers visual changes, weight trends, and circumference data, giving you multiple angles to confirm whether your program is working.
What Is the 70/30 Rule in Fitness?
The 70/30 rule in gym and fitness circles refers to the idea that results come 70 percent from nutrition and 30 percent from training. Some people flip the ratio depending on their specific goals, but the underlying point is that diet drives the majority of body composition outcomes. You cannot out-train a poor diet, and your progress photos will reflect this reality no matter how hard you work in the gym.
Understanding this ratio helps explain why your progress photos might stall even when your workouts feel intense. If your nutrition is not aligned with your goals, the visual changes will be slow to appear regardless of how many days you train.
Common Progress Photo Mistakes to Avoid
After analyzing hundreds of forum posts and community discussions, several recurring mistakes stand out. Here are the ones that most commonly undermine people’s progress tracking.
Sucking in or altering your posture. If you pull your stomach in or shift your weight differently than last time, you are not comparing your actual body. Stand naturally and let the photos show reality.
Changing your outfit between sessions. Different clothing hides or reveals different parts of your body. Baggy clothes in one photo and fitted clothes in the next make comparison impossible. Pick one outfit and commit to it.
Using different camera angles or distances. A photo taken from chest height looks different from one taken at waist height. Closer shots distort proportions. Lock in your camera position and never change it.
Comparing photos from different times of day. An evening photo after a full day of eating will look noticeably different from a morning fasted photo. Always shoot at the same time under the same conditions.
Zooming in and obsessing over tiny details. Micro-analyzing individual body parts leads to the exact body dysmorphia issues that progress photos are supposed to counteract. Step back and compare the overall picture.
Forgetting to take the back and side shots. The front view alone misses some of the most significant changes. A complete three-angle set takes two extra minutes and dramatically improves your ability to track progress.
Evaluating Your Progress Photos Objectively
When you compare your photos, look at intervals of at least four to eight weeks apart. Day-to-day or even week-to-week comparisons will frustrate you because the changes are too subtle to notice up close.
Look for changes in overall body shape rather than focusing on one area. Notice how your waistline looks relative to your shoulders, whether your face appears leaner, and how your clothes fit differently even if the scale has not moved.
If you feel discouraged by your photos, try comparing today’s image with one from three or six months ago instead of last month. Longer timeframes reveal changes that shorter windows obscure. As one MacroFactor help article suggests, looking further back sometimes is one of the most valuable things you can do for your motivation.
Be honest with yourself, but also be compassionate. Your body is changing even when progress feels slow. The photos are there to keep you informed, not to judge you.
Frequently Asked Questions
How often should I take a progress pic?
Take progress photos every two to four weeks for the clearest comparison. Monthly intervals work best for most people on a sustainable program, while bi-weekly photos suit those on aggressive cutting or bulking phases. Weekly photos are too frequent because daily water and glycogen fluctuations obscure real changes.
Should you take progress pics flexed or unflexed?
Take both flexed and unflexed photos for the most complete tracking. Relaxed poses show your day-to-day appearance and are more reproducible, while flexed poses reveal muscle definition that may not otherwise be visible. If you can only choose one, go with relaxed for consistency.
What time of day to take progress pics?
Take progress photos first thing in the morning after waking and using the bathroom, before eating or drinking. This fasted state minimizes bloating and water retention, giving you the most consistent baseline. Shooting at the same time each session eliminates variables that distort your comparison.
How to properly take progress pictures?
Stand in the same spot with the same lighting and outfit each time. Take front, side, and back views with both relaxed and flexed poses. Keep your camera at a consistent height and distance, use morning fasted lighting, and store photos in a dedicated folder with dates for easy side-by-side comparison.
What is the 70/30 rule gym?
The 70/30 rule in fitness means results come roughly 70 percent from nutrition and 30 percent from training. Diet drives the majority of body composition changes, which is why progress photos may stall if your eating habits do not align with your goals even when your workouts are consistent.
Conclusion
Knowing how often to take progress photos comes down to one principle: choose an interval that shows real change without testing your patience. For most people, that means every four weeks. For those on aggressive programs, every two weeks works better.
The frequency you choose matters less than the consistency you bring to each session. Same time, same lighting, same spot, same outfit, same poses. Lock in those variables and your before-and-after pictures will tell a story that the scale never could.
Start this week. Pick your interval, set a recurring reminder on your phone, take your first set of photos tomorrow morning, and let the evidence accumulate. Your future self will be glad you started now.