
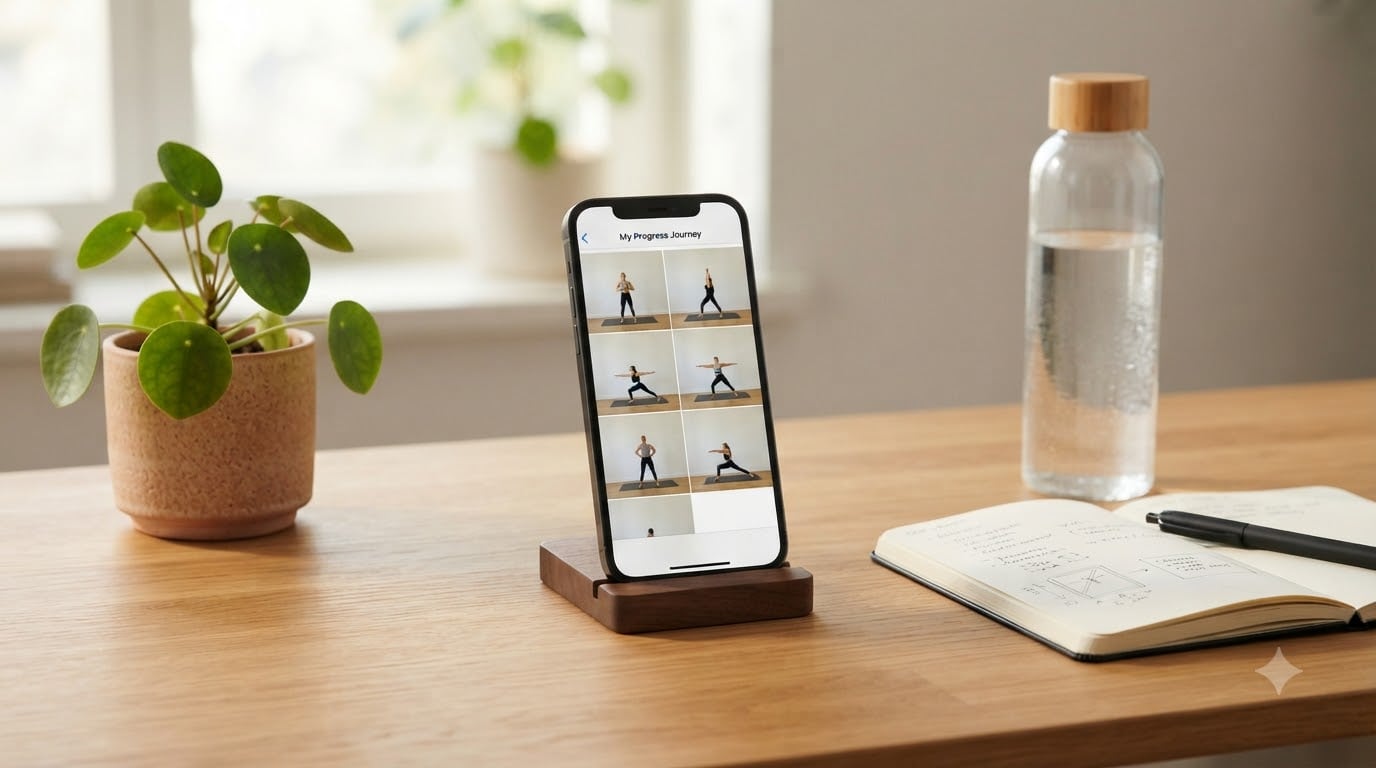
Learning how to organize and store progress photos on your phone saves you from losing months of fitness motivation to a cracked screen or full storage warning. I have tested dozens of photo workflows over the past five years, and the systems below are the ones that actually stick when life gets busy. This guide gives you a clear, repeatable process for capturing, sorting, backing up, and comparing your progress photos without drowning in camera roll clutter.
Table of Contents
- Why Organizing Your Progress Photos Matters
- How to Organize and Store Progress Photos on Your Phone Step by Step
- Best Cloud Backup Options for Progress Photos
- Tips for Taking Consistent Progress Photos
- How to Compare Progress Photos Side by Side?
- Privacy and Security for Your Progress Photos
- Frequently Asked Questions
- Final Thoughts on Organizing Your Progress Photos
Why Organizing Your Progress Photos Matters
Progress photos are the most honest mirror of your fitness journey. The scale lies, the mirror lies, but a side-by-side photo taken four weeks apart does not.
When photos are scattered across screenshots, accidental camera rolls, and buried albums, you stop taking them. I learned this the hard way during my first cut, when I lost three months of transformation photos in a single iCloud sync glitch.
Organizing your progress photos protects them from phone loss, makes them easy to compare, and turns the habit of taking them into something you actually look forward to reviewing.
How to Organize and Store Progress Photos on Your Phone Step by Step
The exact steps below take about 20 minutes the first time and become a five-minute monthly habit after that. I run through this routine on the first Sunday of every month.
Step 1: Cull your camera roll first. Open your camera roll and delete duplicates, blurry shots, and random memes. Forum users overwhelmingly recommend deleting bad shots immediately rather than culling later.
Step 2: Create a dedicated “Progress Photos” album. On iPhone, open Photos, tap Albums, then the + icon. On Android (Google Photos), tap Library, then Create Album. Name it something obvious like “Progress” or “Transformation”.
Step 3: Move only the keepers. Select each progress photo from your camera roll, tap Share, then Add to Album. Do not screenshot your photos to save them; screenshots reduce quality.
Step 4: Label by date. Rename the album or add a caption like “Aug 2026 – Week 4 cut”. Consistency in labeling is what makes side-by-side comparison possible later.
Step 5: Turn on auto-backup. Enable Google Photos or iCloud backup so every new progress shot syncs the moment you take it. Without this step, a single phone drop can erase months of work.
Step 6: Set a monthly reminder. Add a recurring reminder titled “Progress photo day” so the habit never slips. Most fitness forums recommend every 4 to 5 weeks.
Best Cloud Backup Options for Progress Photos
Cloud backup is non-negotiable for progress photos. Phone storage fails, phones get lost, and iCloud glitches are more common than Apple admits.
Google Photos: Free up to 15 GB with optional 100 GB or 2 TB plans. It works on both iPhone and Android, has strong search, and auto-creates albums by face and date. This is my top pick for Android users and most cross-platform users.
iCloud Photos: Free 5 GB, then 50 GB, 200 GB, or 2 TB tiers. It is the smoothest option if you live entirely inside the Apple ecosystem. The Photos app on Mac and iPad stays perfectly in sync.
Dropbox: Free 2 GB, with paid plans starting at 2 TB. Dropbox stands out because you can password-protect shared folders and links, which matters when sharing progress photos with a coach or trainer.
Which to pick: Use Google Photos if you want free storage and smart search. Use iCloud if you are all-in on Apple. Use Dropbox if you need password-protected sharing with a coach. Many of our readers stack two services for redundancy.
Tips for Taking Consistent Progress Photos
Inconsistent photos are the number one reason people feel their progress has stalled when it has not. Same lighting, same angle, same time of day is the formula.
Lighting: Use natural front lighting from a window whenever possible. Bathroom overhead lights cast unflattering shadows that hide muscle definition and exaggerate bloat.
Angle: Take three shots every time: front, side (right or left, but stay consistent), and back. Mark the floor with a piece of tape so you stand in the exact same spot each month.
Timing: First thing in the morning, before food and after using the bathroom, is the gold standard. Bloating, water retention, and food volume can swing your appearance by 5 to 10 pounds visually over a single day.
Flexed vs unflexed: Take both. Forum consensus and the Hevy app guidance agree: flexed photos show muscle gain, unflexed photos show body fat changes. You need both for an honest picture.
Frequency: Every 4 to 5 weeks is the sweet spot. Weekly photos will frustrate you because changes are invisible at that interval, and yearly photos miss important momentum.
How to Compare Progress Photos Side by Side?
Side-by-side comparisons are where progress photos pay off. Seeing two images next to each other turns vague feelings into real motivation.
Method 1: Use a dedicated app. Apps like Hevy, ProgressBody, and SnapTrack are built for this. They let you upload each weigh-in and view past photos in a slider. The Hevy app specifically shows a before-and-after timeline.
Method 2: Use your phone’s built-in collage. Open Google Photos or the iPhone Photos app, select two photos, tap Create, then Collage. This is free and quick.
Method 3: Make a comparison album. Create a separate album called “Comparisons” and save your favorite side-by-side shots there. Pin it to the top of your album list so it stays visible.
What to look for: Posture, shoulder width, waist definition, and facial leanness are easier to see side-by-side than in single photos. Avoid comparing yourself at the exact same weight; compare visual changes instead.
Privacy and Security for Your Progress Photos
Privacy is the most overlooked part of organizing progress photos. Most people take them in pajamas at 6 AM and never think about who else might see them in the cloud or on a shared laptop.
Use locked albums. Both Google Photos and iOS 16+ offer a Hidden album that requires Face ID or a passcode to view. Turn this on for your progress album.
Password-protect shared folders. If you share progress photos with a coach or accountability partner, use Dropbox’s password-protected link feature or iCloud’s Shared Album invite system rather than texting images.
Turn off automatic sharing. Disable “Shared with You” features that auto-add your photos to other people’s devices. This prevents accidental leaks during iCloud Family Sharing setups.
Strip location data if posting publicly. Before uploading a progress photo to social media, strip the EXIF data. iOS lets you do this in the share sheet; Android users can use the Photo Metadata Remover app.
Audit your cloud storage permissions. Once a year, check which apps have access to your photo library. Revoke any that no longer need it.
Frequently Asked Questions
What is the best app for taking progress photos?
Hevy, ProgressBody, and SnapTrack are the most popular dedicated apps. They let you upload photos, tag dates, view body weight next to each photo, and slide through a before-and-after timeline. For a free option, Google Photos combined with a dedicated album works well.
What is the best way to store all my photos from my phone?
Use a cloud service as your primary backup. Google Photos gives you 15 GB free and works on both iPhone and Android. iCloud is the smoothest option for Apple users. For maximum safety, enable two services and follow the 3-2-1 backup rule: three copies, on two different services, with one stored offline.
How do I organize my thousands of photos?
Start by deleting duplicates, blurry shots, and screenshots in bulk. Then create a small set of dedicated albums such as Progress Photos, Favorites, and To Print. Turn on Google Photos or iCloud auto-backup so new photos sort themselves going forward. Spend 15 minutes a week on this until the camera roll stays manageable.
Should you take progress pics flexed or unflexed?
Take both. Flexed photos show muscle definition and growth, while unflexed photos honestly display body fat changes and posture. Many users take four shots per session: front flexed, front unflexed, side, and back. Keep the pose consistent every month so comparisons stay accurate.
How often should I take progress photos?
Every 4 to 5 weeks is the most common recommendation from fitness forums and apps like Hevy. Weekly photos are too frequent to show visible change, which can feel discouraging. Monthly photos line up well with typical cut or bulk cycles and give enough time for real visual change to show.
Final Thoughts on Organizing Your Progress Photos
You now have a complete system to organize and store progress photos on your phone, from capture to comparison. Pick one cloud service, create that dedicated album today, and set a monthly reminder before you close this tab. The best photo system is the one you actually run on the first Sunday of every month for the next year.