
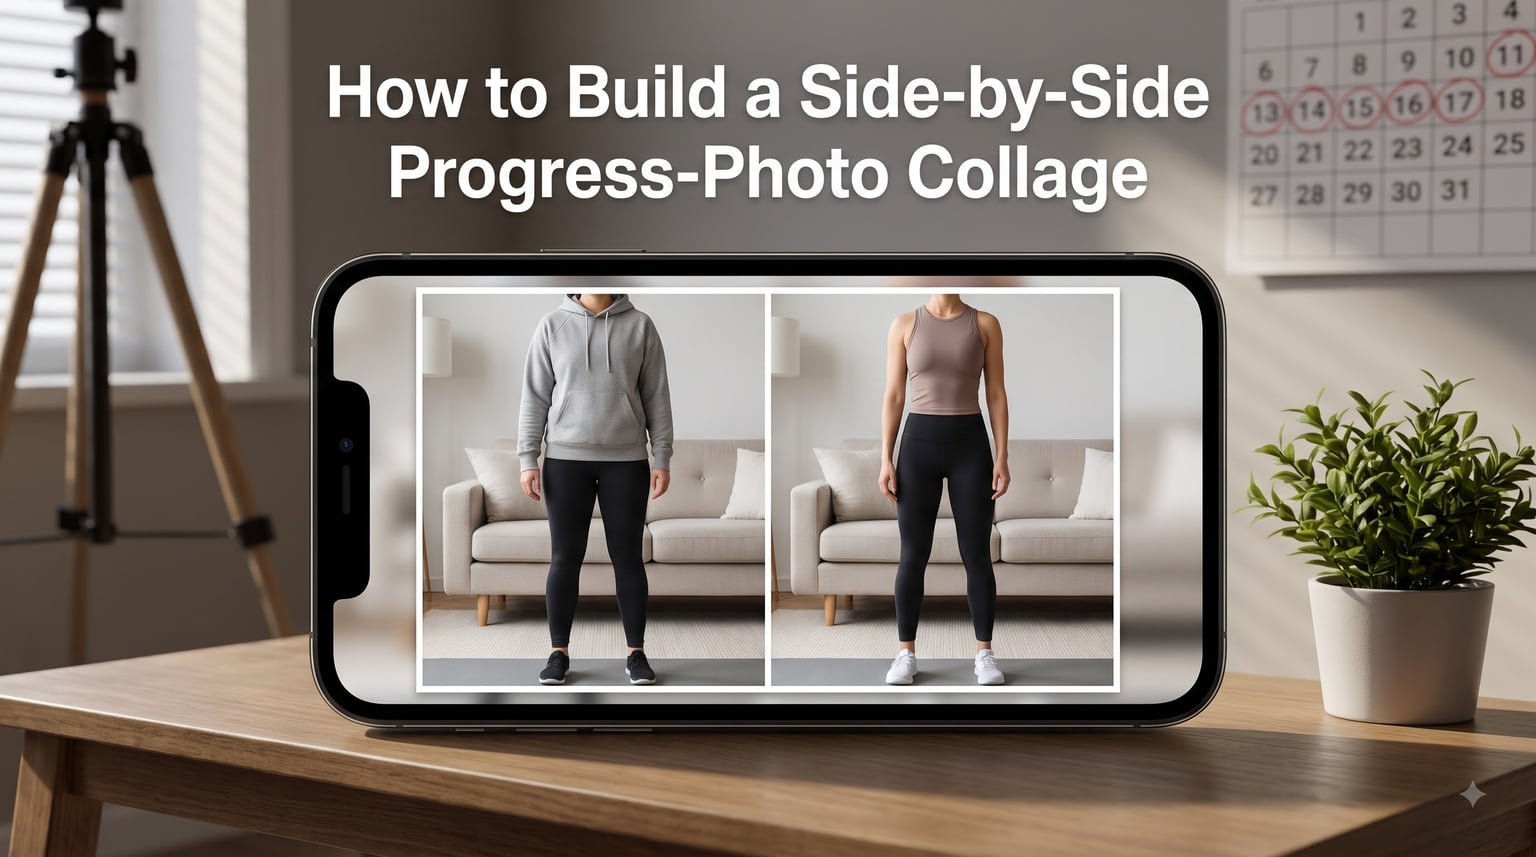
If you have ever stared at two photos of yourself taken months apart and wondered whether anything actually changed, you already know why a progress photo collage matters. Numbers on a scale tell only half the story, and measurements can be misleading when you are also building muscle. A well-built side-by-side progress photo collage lets you see the transformation at a glance and keeps you motivated on the days the mirror feels unforgiving.
In this guide, I will walk you through exactly how to build a side-by-side progress photo collage from start to finish. We will cover what the format really is, how it differs from a regular collage or a photo merge, the best free tools to use, and the photo-taking habits that make your comparisons fair. By the end, you will have a repeatable process you can use every month to see your progress honestly.
Table of Contents
- What Is a Side-by-Side Progress Photo Collage?
- Side-by-Side vs Collage vs Merge: What’s the Difference?
- How to Build a Side-by-Side Progress-Photo Collage (Step-by-Step)
- Best Free Tools and Apps for Building a Progress Photo Collage
- Tips for Taking Honest, Consistent Progress Photos
- Choosing the Right Layout, Dimensions, and Export Settings
- Common Mistakes to Avoid in Your Progress Photo Collage
- Frequently Asked Questions
- Start Building Your Side-by-Side Progress Photo Collage Today
What Is a Side-by-Side Progress Photo Collage?
A side-by-side progress photo collage is a single image that places two photos taken at different points in time next to each other so you can compare them visually. The “before” photo sits on one side and the “after” photo on the other, separated by a thin border or divider line. There is no overlap, no fancy filter, and no creative masking — just two clear, equally sized frames that make the change obvious.
This format is popular because it removes ambiguity. You are not asking viewers to scroll between two separate images or guess which one is older. They see both photos in the same glance, and the brain instantly picks up the differences in shape, posture, skin, or muscle tone. That is why fitness coaches, dermatologists, weight loss planners, and even home renovators use side-by-side collages more than any other layout when they want results to speak for themselves.
Side-by-Side vs Collage vs Merge: What’s the Difference?
People often use the words “collage,” “merge,” and “side-by-side” as if they mean the same thing. They do not, and picking the wrong format is one reason some progress posts feel confusing. Here is how they differ.
A side-by-side layout places two photos next to each other in equal-sized frames, usually horizontal or vertical. It is the cleanest choice for honest before-and-after comparisons. A collage is a more creative arrangement that uses multiple photos, varying sizes, borders, stickers, and sometimes overlapping shapes. It works well for memory boards but can feel cluttered for a transformation. A merge blends two photos into one continuous image, like a half-face transition or a horizon split. It is artistic but can hide subtle differences, which makes it less reliable for tracking real progress.
| Format | Best For | Honest Comparison |
|---|---|---|
| Side-by-side | Before-and-after transformations, weight loss, skincare, fitness | Very high |
| Collage | Memory boards, event recaps, multiple moments | Medium |
| Merge | Artistic transitions, product reveals | Low to medium |
If your goal is to document a journey so you and others can clearly see change, side-by-side wins every time.
How to Build a Side-by-Side Progress-Photo Collage (Step-by-Step)
The good news is that building a side-by-side progress photo collage takes less than five minutes once you have your photos ready. I will walk you through the exact process I use with my own clients, and you can adapt it whether you are on a phone or a laptop.
Step 1: Choose Your Photos Carefully
Pick two photos that were taken under similar conditions. Same angle, same lighting, same outfit, same time of day. If you are doing a fitness or weight loss collage, both photos should be taken in the morning before eating, wearing the same underwear or shorts, and standing in the same spot. The closer the conditions match, the more honest your comparison will be. If you do not have a matching pair yet, plan to take both photos today and your “after” in eight to twelve weeks.
Step 2: Pick the Right Tool or App
Choose a free side-by-side photo maker that lets you upload, customize, and export without watermarks. Popular choices include PhotoGrid, Fotor, Adobe Express, Canva, and Layout by Instagram. Mobile users usually prefer an app, while desktop users can get more control from a browser tool. Make sure the tool exports at full resolution and does not compress your images, otherwise you will lose the fine detail that makes your transformation visible.
Step 3: Select a Horizontal or Vertical Layout
Most tools will ask you to choose between horizontal (left/right) and vertical (top/bottom) layouts. Horizontal works best for full-body progress photos because humans read left to right, and the “before” naturally sits on the left where eyes land first. Vertical works better for portrait shots, face comparisons, or skincare results where the focus is on a specific area. Pick whichever matches the shape of your photos so neither gets awkwardly cropped.
Step 4: Customize Borders, Spacing, and Alignment
Once your photos are loaded, adjust the border thickness and spacing. A 4 to 10 pixel white or light gray border usually looks clean and separates the two photos without distracting from the content. Keep spacing consistent. Make sure both photos are aligned along the same baseline so eyes, hips, and feet line up across the divider. Misaligned photos are the number-one reason progress collages look amateur.
Step 5: Add Labels or Text Overlays (Optional)
Some tools let you add small text labels like “Day 1” and “Day 90,” or a date stamp. This is optional, but it is helpful if you are sharing your progress publicly or saving a series of monthly collages. Keep the text small and use a clean sans-serif font so it does not fight with the photos themselves.
Step 6: Export at Full Resolution Without Watermarks
When everything looks right, export your collage as a JPG or PNG file. Pick the highest resolution your tool offers — usually 2K or 4K. Avoid tools that force a watermark or downgrade your image. If the tool offers a “watermark-free” or “HD export” option, enable it. Save a copy to your phone or cloud storage so you can revisit your collages later and watch the full timeline of your progress.
Best Free Tools and Apps for Building a Progress Photo Collage
You do not need expensive software to build a great progress photo collage. These are the tools I have used and that the Best Weight Loss Planners community recommends most often.
PhotoGrid is my top pick because it is free, exports at full resolution, and has dedicated before-and-after layouts. Fotor is great if you want more design flexibility, including border colors and sticker overlays. Adobe Express offers template-based designs and integrates with Adobe Fonts for clean typography. Canva is beginner-friendly and works well if you want to add branded elements. Layout by Instagram is a quick mobile-only option for fast social posts.
On desktop, browser-based tools tend to give you more control over resolution and file format. On mobile, native apps are faster but may compress your images. Always check the export quality before committing to a tool, especially if you want print-ready collages.
Tips for Taking Honest, Consistent Progress Photos
Most guides stop at the upload step. The real difference between a useful progress photo collage and a misleading one happens before you ever open a tool. These are the habits I recommend to everyone in our community, and they come straight from years of feedback in fitness and weight loss forums.
Match Your Lighting, Angle, and Time of Day
Use the same room, the same window light, and the same time of day for every photo. Morning natural light works best because it is consistent and flattering. Avoid mixing fluorescent gym lighting with warm bedroom lighting — that alone can make your skin tone shift several shades and hide real change.
Use the Same Pose and Clothing
Wear the same outfit (or as close as possible) in both photos. Relaxed arms at your sides, feet shoulder-width apart, looking straight ahead. Do not flex in one photo and stand relaxed in the other — that creates a false contrast and makes your progress look bigger than it actually is. Honest comparisons build long-term trust with yourself and your audience.
Set Up a Tripod or Fixed Marker
Mark a small piece of tape on the floor where you stand, and set your phone on a tripod or stack of books at the same height every time. This removes the slight angle changes that happen when you hold your phone by hand. r/progresspics veterans swear by this method because it eliminates the most common source of “why does my before look so different” frustration.
Pick a Consistent Schedule
Take your photos every two to four weeks, on the same day of the week. Monthly is the most common rhythm because it gives your body enough time to show real change without dragging the process out. Pick a date that is easy to remember — the first of the month, every other Monday, the day you weigh in — and stick to it.
Avoid Filter, Tan Lines, and Flexing
Filters are tempting, but they distort skin tone and muscle definition. Skip them in both photos so the comparison stays fair. Same goes for fake tan, bronzer, or body makeup. If you would not wear it to your check-in, do not wear it for the photo.
Choosing the Right Layout, Dimensions, and Export Settings
Once your photos are ready, the layout you choose should match where you plan to share your collage. Different platforms prefer different aspect ratios, and forcing your collage into the wrong size can crop out the part that matters most.
Horizontal vs Vertical Side-by-Side
Horizontal side-by-side collages work best for full-body fitness and weight loss progress. The classic 2:1 ratio (twice as wide as it is tall) gives both photos room to breathe and reads naturally on a computer screen. Vertical side-by-side collages are better for face, skincare, or upper-body comparisons because they match the natural portrait orientation of a phone camera.
Social Media Size Presets
If you are posting to Instagram, use a 1:1 square (1080×1080) for feed posts or 9:16 for Stories. Facebook feed posts look best at 4:5 vertical, while Pinterest pins perform well at 2:3 vertical. For X (Twitter), stick with 16:9 horizontal so the image does not get cropped on mobile. Most side-by-side tools let you pick these presets directly.
File Format and Resolution
Export as PNG if you want the sharpest possible detail, especially for skin or muscle tone. Use JPG if file size matters and you are okay with mild compression. Aim for at least 2K resolution (2048 pixels on the long edge) so your collage stays crisp on retina displays and prints. Anything lower and your images may look soft when enlarged.
Common Mistakes to Avoid in Your Progress Photo Collage
Even with the right tools, a few small mistakes can make your collage feel off. Here are the most common pitfalls I have seen over the years, and how to avoid each one.
Mixing angles or poses. If your “before” is a side view and your “after” is a front view, viewers will subconsciously distrust the comparison. Stick to the same angle.
Using different lighting or color temperature. Warm bedroom light versus cool daylight will shift your skin tone dramatically. Match your lighting every time.
Flexing or sucking in only one photo. It feels harmless, but it inflates the difference. Relax in both photos so you see the true change.
Forgetting to crop or align. Make sure both photos share the same baseline so eyes, hips, and feet line up across the divider. Misalignment is the easiest way to make a collage look unprofessional.
Ignoring privacy. If you are sharing publicly, blur or crop out tattoos, faces of bystanders, or anything you would not want strangers to see. Most tools have built-in blur tools for this.
Frequently Asked Questions
How can I create a side-by-side photo collage?
Open a free side-by-side collage maker like PhotoGrid or Fotor, upload your two photos, choose a horizontal or vertical layout, adjust the border thickness and alignment, then export at full resolution without a watermark. The whole process takes under five minutes.
What is a good free app to create side-by-side photos?
PhotoGrid, Fotor, and Layout by Instagram are popular free options. PhotoGrid is best for full-resolution exports without watermarks. Fotor offers more design flexibility. Layout by Instagram is the fastest for quick social posts.
How to put two pictures side by side for comparison?
Upload both pictures to a side-by-side tool, choose a horizontal layout for full-body shots or vertical for face comparisons, line up the baselines, add a thin border to separate the photos, then export as a high-resolution PNG or JPG.
How to arrange pictures side by side?
Decide on horizontal or vertical based on your photo shape, drag each photo into its frame, align the baselines so key features line up across the divider, then adjust the spacing and border color until the two photos feel balanced.
How often should I take progress photos?
Most people see meaningful change every two to four weeks. Pick a consistent day of the month, take your photos in the same lighting and outfit, and build a new side-by-side collage each time so you can track your transformation over time.
Start Building Your Side-by-Side Progress Photo Collage Today
You now have everything you need to build a side-by-side progress photo collage that actually documents your transformation. Pick your tool, take two matching photos, line them up, and export. Save each new collage in a dedicated album so you can scroll through your timeline months from now and see exactly how far you have come.
Consistency beats perfection every single time. Even a simple monthly side-by-side progress photo collage, taken in the same spot with the same lighting, will tell a more honest story than the fanciest edit. Start today, and let your future self thank you for showing up.