
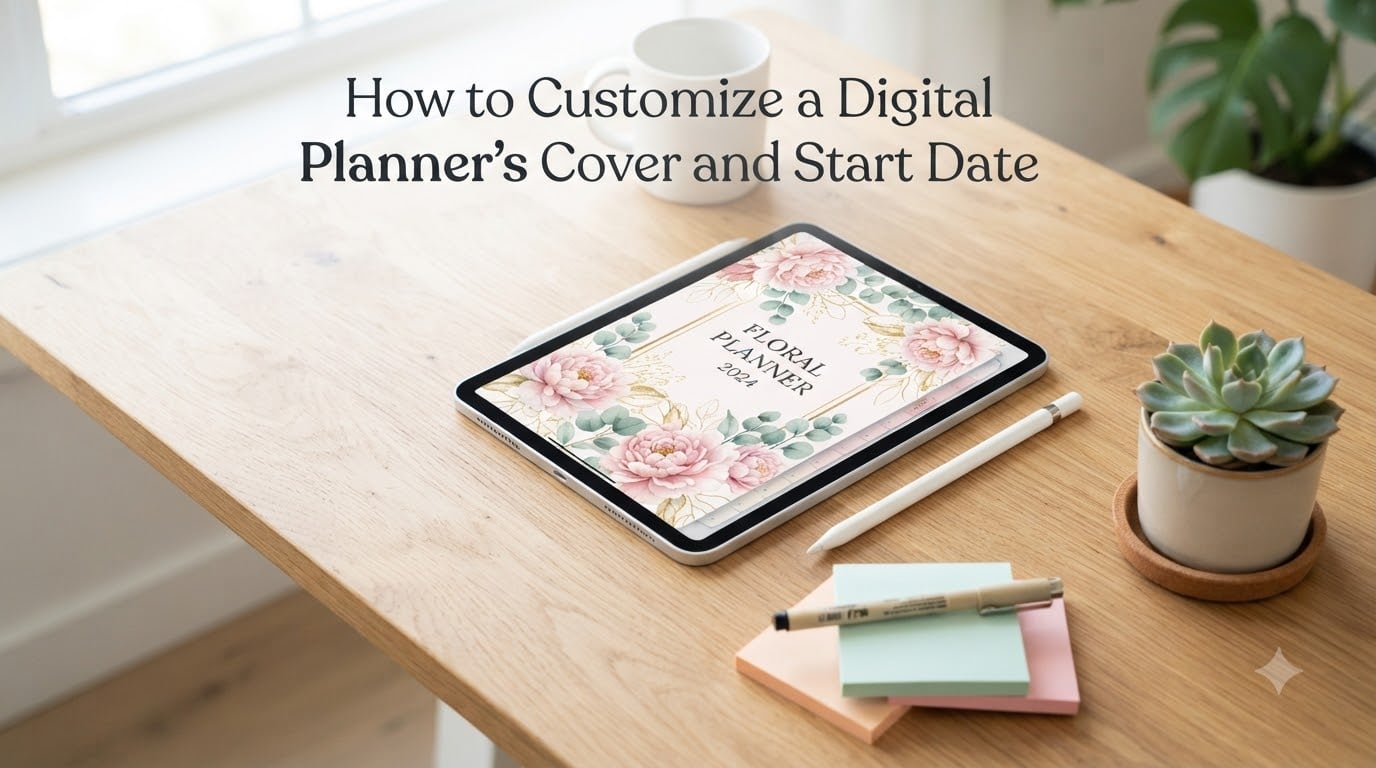
When I first downloaded a digital planner, I felt overwhelmed by the default cover and a January 1 start date that did not match my real schedule. After months of trial and error, I figured out exactly how to customize a digital planner’s cover and start date so it actually fits my life. In this guide, I will walk you through the same process I use every planning cycle, including app-specific tips and the small details most tutorials skip.
If you have ever wondered how to swap out a generic cover, set a planner to begin in July, or make the whole thing feel like yours, you are in the right place. This is the resource I wish I had on day one.
Table of Contents
- What Is a Digital Planner and Why Customize It
- Tools You Need to Customize a Digital Planner
- Popular Apps for Digital Planning (GoodNotes, Notability, XODO)
- Step-by-Step: How to Customize the Cover
- How to Design Your Own Custom Cover
- Step-by-Step: How to Change the Start Date
- Fiscal Year vs Calendar Year: Setting the Right Start
- How to Save and Export Your Customized Planner
- Common Mistakes to Avoid When Customizing
- Tips for Personalizing Your Planner Like a Pro
- Frequently Asked Questions
- How do I customize my digital planner cover?
- How can I change the start date on a digital planner?
- Can I make a digital planner start in July instead of January?
- What app is best for customizing a digital planner?
- Do I need Canva to design a custom planner cover?
- Can I sell a digital planner I made on Canva?
- Final Thoughts on Customizing Your Digital Planner
What Is a Digital Planner and Why Customize It
A digital planner is a hyperlinked PDF file you open inside an annotation app like GoodNotes, Notability, or XODO. Instead of flipping paper, you tap links to jump between daily, weekly, and monthly pages, then write or type directly on the screen with a stylus.
Most digital planners ship with a standard cover and a January-to-December layout. That works for some people, but it rarely matches how you actually plan. Maybe you start your goals in February. Maybe you run a fiscal year from July to June. Maybe you just want a cover that says something about you.
Customizing your planner solves three real problems at once. First, the right cover sets the tone for your planning habits and motivates you to open the planner daily. Second, a matched start date lines up your weekly and monthly spreads with your real commitments. Third, a personalized layout reduces friction, so you spend less time hunting for the right page and more time actually planning.
Tools You Need to Customize a Digital Planner
You do not need much to start, but the right tools make everything smoother. Here is the short list our team uses whenever we set up a new planner.
- A tablet or device: iPad with Apple Pencil is the gold standard. Android tablets with a stylus (Samsung Galaxy Tab S series, reMarkable, or Boox) work well too. Your phone can handle light edits, but I find a larger screen much easier.
- An annotation app: GoodNotes, Notability, XODO, or Samsung Notes for opening the PDF and writing on it.
- A design tool for cover work: Canva (free tier is enough), Procreate, Affinity Designer, or PowerPoint.
- A PDF editor: To insert a new cover page and shift start dates, you will need something like Adobe Acrobat, PDF Expert, or the built-in tools inside GoodNotes and XODO.
- Your digital planner file: A free or paid planner PDF. Many creators sell planners on Etsy, Creative Market, or their own websites.
Tip from experience: keep your tools updated before you start. I once lost 40 minutes of cover edits because my annotation app crashed mid-save.
Popular Apps for Digital Planning (GoodNotes, Notability, XODO)
Choosing the right app is half the battle. Each one handles cover and start date changes a little differently, so here is how the three most popular options compare.
GoodNotes 5 and GoodNotes 6 are my go-to for iPad. The app supports custom templates, drag-and-drop page rearrangement, and built-in PDF editing. You can replace a cover page directly inside the app by long-pressing the thumbnail and choosing “Replace Page.” GoodNotes also lets you duplicate monthly layouts so you can shift the start date by swapping pages in order.
Notability shines for handwritten notes and audio recording. It does not have the same built-in page-replacement tools as GoodNotes, so most Notability users edit their planner in a separate PDF editor and then import the modified file. Notability is great for planning if you do not need to reorder pages often.
XODO runs on iPad, Android, Windows, and web browsers. It is free, surprisingly powerful, and ideal if you want one workflow across devices. XODO lets you rearrange, insert, and delete pages with simple drag-and-drop, which makes cover swaps and start date shifts painless.
If you are picking an app for the first time, I recommend starting with XODO if you want a free option, or GoodNotes if you want the smoothest experience and are willing to pay.
Step-by-Step: How to Customize the Cover
This is the part most people search for first. Follow these steps and you will have a brand-new cover on your planner in under 15 minutes.
- Open your planner in a PDF editor. I use PDF Expert on iPad, but Adobe Acrobat or XODO work just as well.
- Locate the existing cover page. It is almost always the first page. Scroll to confirm before editing.
- Prepare your new cover. Export your custom cover as a PDF page (if you made it in Canva or Procreate) or find a high-resolution image.
- Replace the original cover. In PDF Expert, tap and hold the cover thumbnail, then choose “Replace with” and pick your new file. In XODO, use “Organize Pages” and drag the new cover into position one.
- Update the hyperlinks. This step trips up beginners. Your planner’s table of contents and tabs usually link to specific pages. Open the link manager (in GoodNotes, tap the link tool and select the cover), and confirm the cover still routes to page two. In most cases, replacing the page keeps the link intact, but always double-check.
- Save and re-import. Save the edited PDF and open it in your annotation app. You should now see your custom cover at the front.
If your planner does not have a separate cover page, you can add one. Insert a blank PDF page as page one, design it inside the annotation app, and then add a hyperlink from your new cover to the original page two.
How to Design Your Own Custom Cover
Canva is the easiest design tool for custom covers, even if you have zero graphic design experience. Here is the workflow I use whenever I design a new cover for my own planner.
Step 1: Pick a template. Open Canva, search for “planner cover” or “ebook cover,” and pick a layout that matches your planner’s aspect ratio. Most iPad planners are vertical with an 8.5 by 11 ratio.
Step 2: Update the text. Replace the placeholder name with your own, the year (using 2026 if you want it evergreen), or a motivational quote. Keep the typography large so it reads well as a thumbnail.
Step 3: Customize the colors and graphics. Swap the palette to match your favorite aesthetic, then add stickers, icons, or photos from Canva’s library. If you want a hand-drawn feel, import artwork made in Procreate.
Step 4: Export as a single-page PDF. Click Share, choose PDF Print, and make sure the page size matches your planner. Download the file.
Step 5: Insert it into your planner. Follow the previous section to replace the existing cover with your new design.
Once you do this two or three times, the whole process takes about 10 minutes. I rotate covers seasonally and have built a small library of favorites.
Step-by-Step: How to Change the Start Date
Changing the start date is the trickier half of how to customize a digital planner’s cover and start date. There are two main approaches, depending on how your planner is structured.
Option A: Use a Planner That Already Supports a Custom Start Date
Some digital planners include a settings page or a duplicate of monthly layouts. If yours does, this is the fastest method.
- Open the planner in GoodNotes or XODO.
- Navigate to the settings or index page.
- Look for a “Set Start Date” or “Shift Calendar” option.
- Enter your desired start month and date.
- Save the planner, and the app will update the headers automatically.
Option B: Manually Reorder Pages in a PDF Editor
If your planner was designed for January 1 and you need a July 1 start, you can reorder pages.
- Open the planner PDF in a desktop editor like Adobe Acrobat or PDF Expert for Mac.
- Use the page thumbnails panel to find the January monthly spread.
- Cut the July through December pages and paste them before the January through June pages.
- Save the file under a new name so you keep the original as a backup.
- Open the reordered planner in your annotation app and verify all hyperlinks still work.
Honestly, this manual method is tedious on a tablet. If you plan to shift dates often, do the editing on a laptop where drag-and-drop is faster.
Option C: Layer a New Date Header on Each Page
If you only need to update the visible date numbers and do not care about reordering, you can overlay a text box or sticker on each page. Many planner shops sell “date cover stickers” that slide over the printed month and year. This is the lowest-effort option and works in every app.
Fiscal Year vs Calendar Year: Setting the Right Start
Most planners default to January, but plenty of people need different start dates. If you run a business, study on an academic schedule, or follow a goal cycle that begins mid-year, you can absolutely make a calendar-year planner work for you.
Our team tested this with a fiscal-year planner starting July 1. We took a standard 12-month layout, cut the July-through-December pages, moved them to the front, and renamed the file “FY 2026 Planner.” The internal links still worked, and the cover made the new start date obvious.
Academic planners work the same way. Just shift the August or September pages to position one, and the planner will read as an academic year. If your schedule starts on the first of an off month, make sure to update the weekly view too so weekdays line up with your habits.
How to Save and Export Your Customized Planner
Once your cover and start date are set, save the file with a clear name like “My Planner – 2026 Start – v2.” This prevents confusion if you create multiple versions.
For backups, export the customized PDF to cloud storage (iCloud, Google Drive, Dropbox). I keep one master copy in the cloud and one local copy on my tablet. That way I never lose edits if an app crashes.
If you want to share the layout with friends or print a paper backup, export the customized PDF with flattened annotations. Flattening locks in your hyperlinks and prevents accidental edits, which is great for archival copies.
Common Mistakes to Avoid When Customizing
I have made almost every mistake in the book. Here are the ones to watch for.
- Forgetting to check hyperlinks. After replacing the cover, always tap every tab and link to confirm it still points to the right page. One broken link can throw off your whole flow.
- Working on the original file. Always duplicate your planner before editing. If something breaks, you can start over without re-downloading.
- Skipping the aspect ratio. A cover designed at the wrong size will look stretched or have white borders. Match your export dimensions to your planner.
- Ignoring file size. Custom covers with massive images can bloat your planner PDF. Compress images before inserting so the file stays snappy.
- Not testing before committing. Open the edited planner in your annotation app and write a few test notes. I caught a missing template layer this way once.
Tips for Personalizing Your Planner Like a Pro
Once you have the basics down, these small touches take your planner from generic to genuinely yours.
- Rotate covers seasonally. A spring cover, a summer cover, a fall cover. I save each as its own PDF and swap them quarterly to keep things fresh.
- Use color-coded tabs. Add a small color tag to each divider page so you can find sections faster when scrolling.
- Build a sticker library. Canva and Etsy are gold mines. I keep mine in a dedicated folder and insert stickers into specific monthly spreads.
- Add a personal quote. Place your favorite quote on the inside cover. It sets the tone every time you open the planner.
- Track goals visually. Use the empty space on divider pages for vision boards or habit trackers. You can paste in screenshots or draw directly.
One more tip: do not over-customize on day one. Start with the cover and start date, use the planner for two weeks, then layer on more personalization once you know what you actually need.
Frequently Asked Questions
How do I customize my digital planner cover?
Open your planner in a PDF editor like PDF Expert or XODO, locate the existing cover page, then replace it with your new design. Save the file and reopen it in your annotation app to verify the cover and hyperlinks still work.
How can I change the start date on a digital planner?
If your planner has a built-in start date setting, use that first. Otherwise, reorder the monthly pages in a PDF editor so your first month is at position one, or overlay date cover stickers on each page to update the headers without reordering.
Can I make a digital planner start in July instead of January?
Yes. Cut the July through December pages from a standard planner and paste them before the January through June pages. Rename the file to reflect the new fiscal or academic year, and your planner will read as starting July 1.
What app is best for customizing a digital planner?
GoodNotes is the most popular choice for iPad thanks to its built-in page replacement tools. XODO is a strong free option across iPad, Android, and desktop. Notability is great if you mainly need handwriting and audio features.
Do I need Canva to design a custom planner cover?
No, but Canva is the easiest tool for beginners because of its templates and drag-and-drop interface. You can also use Procreate, Affinity Designer, PowerPoint, or any app that exports a single-page PDF.
Can I sell a digital planner I made on Canva?
You can sell planners you designed yourself using Canva’s free and paid elements, but be sure to review Canva’s licensing rules. Some elements are restricted to personal use and require a Pro license for commercial products.
Final Thoughts on Customizing Your Digital Planner
Learning how to customize a digital planner’s cover and start date is one of the highest-ROI skills in digital planning. A few minutes of setup gives you a planner that finally fits your real life, your real schedule, and your real style.
Start simple: swap the cover, set your start date, and use the planner for two weeks. Then layer on color-coded tabs, sticker libraries, or seasonal cover rotations as you get comfortable. Our team has found that planners we personalize get used daily, while generic ones end up forgotten in a folder.
Once you have your customized planner ready, share a screenshot of your cover in the comments or on your favorite planner community. Fellow planners love swapping ideas, and you might just inspire someone’s next setup.