
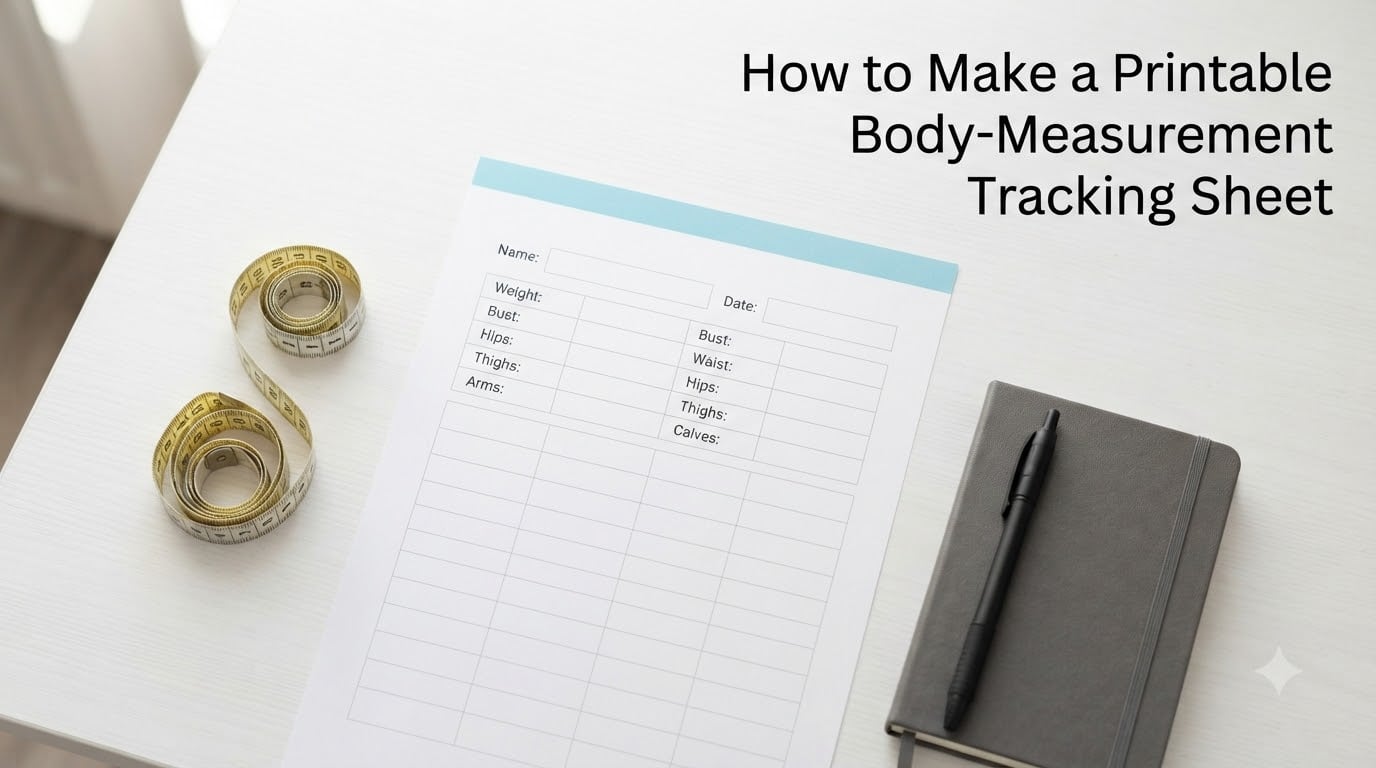
If you have ever stepped on the scale, watched the number stay the same, and felt like the last six weeks of effort accomplished nothing, you are not alone. I made that same mistake for years before I started tracking my measurements with a printable body-measurement tracking sheet. The scale only tells you about gravity, not about how your body is changing.
In this guide, I will walk you through how to make a printable body-measurement tracking sheet from scratch, including the exact measurements to track, how to record them, and the common mistakes that throw off your numbers. You will also get a digital version for Excel or Google Sheets if you prefer paperless tracking.
Table of Contents
- Why Track Body Measurements Instead of Just Weight
- Materials You Need to Make a Printable Body-Measurement Tracking Sheet
- How to Make a Printable Body-Measurement Tracking Sheet: Step by Step
- Creating a Measurement Tracker in Excel or Google Sheets
- Body Measurement Locations Guide
- Male vs Female Measurement Tracking Differences
- Common Measuring Mistakes to Avoid
- Tips for Consistent and Accurate Measurements
- How Often Should You Measure
- Frequently Asked Questions
- Conclusion
Why Track Body Measurements Instead of Just Weight
Weight is a single number that hides more than it reveals. A pound of muscle takes up less space than a pound of fat, which means you can lose inches without moving the scale at all. When I started strength training, my weight actually went up by four pounds while my waist dropped by two inches.
A printable body-measurement tracking sheet shows you what the scale cannot: redistribution of fat, muscle gain in specific areas, and shifts in body composition. If you are on a weight loss journey, inches lost are often a more honest marker of progress than pounds.
Tracking measurements also helps you spot plateaus. When the scale freezes but your waist keeps shrinking, you have proof your plan is working. That kind of evidence is what keeps most people consistent for the long haul.
Materials You Need to Make a Printable Body-Measurement Tracking Sheet
You do not need expensive equipment to build your own tracker. Here is the short list I use every time I set one up for a client or for myself.
- A flexible soft measuring tape (the kind tailors use, marked in both inches and centimeters)
- Printer paper or a notebook
- Pen or pencil
- A mirror or a second person to help with hard-to-reach spots
- Optional: laptop with Excel or Google Sheets for a digital version
A retractable myotape body tape measure is what most people on fitness forums recommend because it self-tensions and stays in place while you read the number.
How to Make a Printable Body-Measurement Tracking Sheet: Step by Step
Below is the exact process I use to build a body measurement chart from scratch. You can do this on paper or in a spreadsheet, and either way the result is a clean, reusable tracker you can print and fill in every week.
- Decide on your measurement categories. Write down the body parts you want to track. The most common ones are neck, chest, bust (for women), waist, hips, thighs, calves, biceps, and forearms.
- Set up your columns. On the left side of your page, list each body part vertically. Across the top, create columns for the date, the measurement, and any notes such as “morning” or “post-workout.”
- Add a baseline row. Reserve the first row for your starting measurements so you always have a reference point.
- Include progress columns. Add a column for “change since last” and “total change” so you can see your trends at a glance without doing math each time.
- Print or save the template. Once your layout feels right, print several copies or save the file so you can reuse it monthly.
- Take your first set of measurements. Use the technique section below to record accurate numbers on day one.
- Schedule your check-ins. Block 10 minutes on your calendar every two to four weeks to repeat the process.
That is the whole framework. If you want a more visual layout, search for a body measurement chart template online and copy the structure into your own spreadsheet.
Creating a Measurement Tracker in Excel or Google Sheets
A digital version makes tracking painless because the math happens automatically. Here is how I build one in five minutes.
- Open a new spreadsheet and label column A “Date,” column B “Weight,” then add one column per body part (waist, hips, chest, thighs, arms).
- In row 2, type your starting measurements.
- In row 3, add a formula like
=B3-B2in a “Change” column to calculate the difference automatically. - Drag the formula down so every new row calculates its own change.
- Add a chart by highlighting your data and selecting Insert > Chart to see a visual trend line.
If you prefer not to build your own, Google Sheets has a free Body Measurement Tracking template in the Template Gallery. Type “body measurement” in the template search box and you will find several ready-made options.
Body Measurement Locations Guide
Where you place the tape is just as important as the number you read. Here are the standard body measurement locations and how to measure each one accurately.
Neck
Measure around the middle of your neck, just below the Adam’s apple for men. Keep the tape level and snug but not tight.
Chest and Bust
For men, measure around the chest at nipple level. For women, measure around the fullest part of the bust, keeping the tape level across the back.
Waist
Find the narrowest point, usually just above the belly button. Exhale normally and measure without sucking in. This is the spot most people track for weight loss.
Hips
Stand with feet together and measure around the widest part of the hips and buttocks, usually 7 to 9 inches below the natural waistline.
Thighs
Measure around the fullest part of each thigh, about one hand’s width below the buttock crease. Track both legs separately if you notice imbalance.
Arms (Biceps)
Measure around the largest part of the upper arm with your arm relaxed at your side. Do not flex.
Calves and Forearms
Measure around the widest part of each calf and the thickest part of each forearm. These are optional but useful for muscle-building tracking.
Male vs Female Measurement Tracking Differences
Men and women generally prioritize different measurements because fat distribution is different. Women usually focus on bust, waist, hips, thighs, and upper arms since these areas show change fastest during weight loss.
Men typically track chest, waist, arms, and thighs since upper body muscle gain is often the goal. If you are unsure, start with the universal four: chest, waist, hips, and thighs. You can always add more later.
Common Measuring Mistakes to Avoid
These are the errors I see most often, and they can completely throw off your tracking numbers.
- Measuring at different times of day. Your body shifts up to two inches between morning and evening. Pick one time and stick with it.
- Pulling the tape too tight. The tape should sit flat against your skin without compressing the tissue. Snug, not strangled.
- Letting the tape sag. Keep it level all the way around. For your waist, a mirror helps.
- Measuring over clothing. Always measure against bare skin or form-fitting undergarments for accurate results.
- Slipping on location. Measure the same spot every single time. Use a washable marker or note a small landmark like a freckle or mole.
- Skipping the starting photo. Pair your tracker with a front and side photo in the same lighting. The numbers will mean more when you can see them.
Tips for Consistent and Accurate Measurements
The single best tip I can give is to create a ritual. Measure first thing in the morning, after using the bathroom and before eating or drinking. Same mirror, same tape, same outfit every time.
Keep your tape measure in one fixed spot so you never waste a check-in looking for it. I hang mine on the back of the bathroom door.
Write the number down immediately. Do not trust yourself to remember it five minutes later. This is where a printable format shines because you can fill in the row right there.
How Often Should You Measure
For weight loss, measure every two to four weeks. Anything more frequent will show noise rather than progress, and you may get discouraged.
For muscle building, every four to six weeks is plenty since body composition changes more slowly. Consistency matters more than frequency here.
Frequently Asked Questions
How to create a template for body measurement?
Open a blank document, list body parts like chest, waist, hips, thighs, and arms in the left column, then add date and measurement columns across the top. Add a change column and print copies for ongoing tracking.
Is there a free body measurement tracker available?
Yes. Google Sheets has free body measurement templates in its Template Gallery, and many sites offer printable PDF trackers you can download at no cost.
How to make body measurements?
Use a flexible tape measure against bare skin, keep the tape level, and measure the same spot every time. Standard spots include neck, chest, waist, hips, thighs, and arms.
How to keep track of body measurements?
Record each measurement in a printable tracker or spreadsheet on a fixed schedule, such as every two to four weeks. Use the same tape, same time of day, and same body landmarks for accuracy.
What measurements should I track for weight loss?
Focus on waist, hips, chest, thighs, and arms. These areas show fat loss most clearly and give you a fuller picture than the scale alone.
Conclusion
Knowing how to make a printable body-measurement tracking sheet puts you in control of your progress in a way the scale never can. Pick your body parts, set up your columns, take a baseline, and check in every two to four weeks using the same tape and the same landmarks.
Start with the simple paper version from this guide, then move to Excel or Google Sheets once you are comfortable with the routine. Your future self will thank you for the data.