
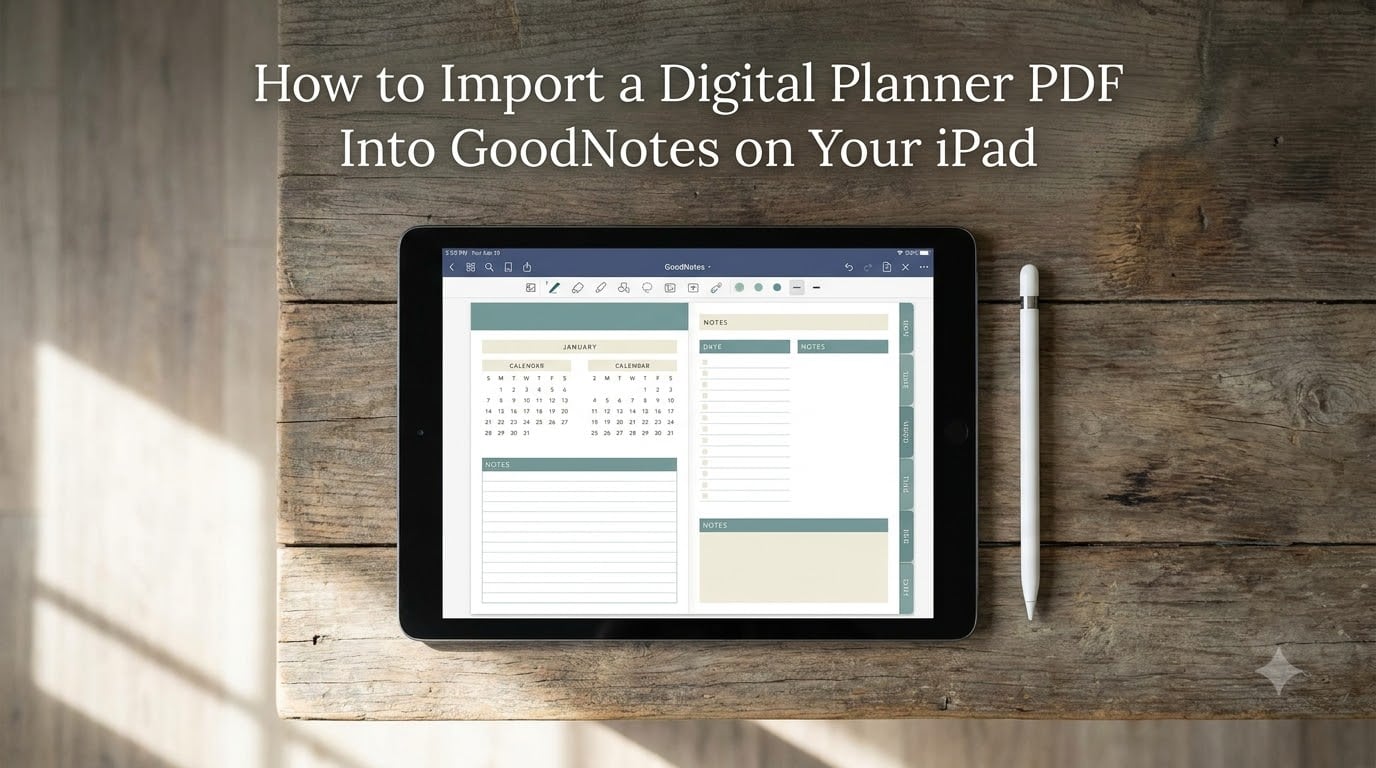
I remember the first time I bought a digital planner from Etsy. I stared at my iPad for ten minutes wondering why nothing worked. The PDF was sitting in my Files app, but GoodNotes refused to cooperate. If that sounds familiar, this guide will walk you through exactly how to import a digital planner PDF into GoodNotes on your iPad, using six methods that actually work in 2026.
By the end of this article, you’ll know how to move any PDF planner into GoodNotes, avoid the common mistake that mixes two planners into one file, and troubleshoot hyperlinks that don’t click after import.
Table of Contents
- What You Need Before Importing Your Digital Planner
- Method 1: Import a Digital Planner PDF Using the Files App
- Method 2: Import a Digital Planner Using the Share Button
- Method 3: Import a Digital Planner From iCloud Drive
- Method 4: Import a Digital Planner From Dropbox
- Method 5: Import a Digital Planner via AirDrop
- Method 6: Import a Digital Planner From Safari or Etsy
- GoodNotes 5 vs GoodNotes 6: Which Buttons to Tap
- Using Your Planner After Import: Hyperlinks and Write Mode
- Troubleshooting: Why Your Digital Planner Is Not Working in GoodNotes
- Frequently Asked Questions
- Wrapping Up Your First Import
What You Need Before Importing Your Digital Planner
Before we get into the steps, make sure you have these three things ready. I’ve helped friends troubleshoot this exact setup, and 90% of failed imports trace back to one missing item on this list.
GoodNotes installed. You need GoodNotes 5 or GoodNotes 6 from the App Store. Both versions support PDF import, but the button locations are slightly different. I’ll cover both later.
The PDF planner saved on your iPad. Your file needs to live somewhere your iPad can see it, like the Files app, iCloud Drive, Dropbox, or your email inbox. Don’t keep it only on your computer.
An Apple Pencil (optional). You don’t need one to import the planner, but you’ll want it for writing inside the pages once the file is open.
Method 1: Import a Digital Planner PDF Using the Files App
This is the most reliable way to import a digital planner PDF into GoodNotes on your iPad. It works whether you saved the file from an email, a website, or AirDrop. I use this method almost every time because it gives me the most control.
Step 1. Open the Files app on your iPad. It’s the blue folder icon on your home screen.
Step 2. Browse to the folder where you saved your planner PDF. Most people use Downloads or a folder named “Planners.”
Step 3. Tap and hold the PDF file. A menu will appear with several options.
Step 4. Tap Share from the menu. A new panel slides up showing app icons.
Step 5. Scroll right in the share panel and tap More if you don’t see GoodNotes. Then enable GoodNotes from the Activities list.
Step 6. Tap the GoodNotes icon. The app will open automatically and ask where to place the file.
Step 7. Choose Import as New Document. This is the critical warning I wish someone had told me earlier: tapping “Import to Current Document” merges the planner with whatever notebook you have open. I’ve accidentally combined a fitness planner with a meal planner this way, and it’s a pain to undo.
Step 8. Wait two to five seconds for GoodNotes to load the pages. Your planner will appear in your library, ready to use.
Tip: If you want to add the planner as a template instead of a standalone notebook, choose Import to Templates from the same menu. This is useful if you plan to duplicate pages.
Method 2: Import a Digital Planner Using the Share Button
The Share button works from almost any app on your iPad, including Mail, Safari, Messages, and Photos. I use this method when the PDF is still sitting in an email attachment or a chat thread.
Step 1. Open the app that contains your planner PDF (Mail, Messages, Safari, etc.).
Step 2. Tap the PDF attachment to preview it.
Step 3. Tap the Share icon (square with an arrow pointing up).
Step 4. Select GoodNotes from the share menu.
Step 5. Choose Import as New Document when GoodNotes opens.
This method saves you a trip to the Files app and works beautifully with planners purchased directly through Etsy or a planner shop’s download link.
Method 3: Import a Digital Planner From iCloud Drive
If your planner already lives in iCloud Drive, you can pull it straight into GoodNotes without downloading it first. This is the fastest method for people who sync files across Apple devices.
Open GoodNotes and tap the + button in your library. Choose Import, then select iCloud Drive from the file picker. Navigate to your planner file, tap it, and confirm the import.
Make sure iCloud Drive is enabled in your iPad Settings under Apple ID > iCloud. Without that toggle on, GoodNotes won’t see any iCloud files.
Method 4: Import a Digital Planner From Dropbox
Dropbox users have a slightly different path, but it’s just as quick. You’ll need the Dropbox app installed on your iPad for this method to work.
Open the Dropbox app and find your planner PDF. Tap the three dots next to the file and choose Export, then Save to Files or Open In. Pick GoodNotes from the list, and your planner will import as a new document.
If you prefer not to leave Dropbox, you can also tap the share icon on the PDF preview and choose GoodNotes directly. Both routes work.
Method 5: Import a Digital Planner via AirDrop
AirDrop is the easiest way to move a planner from a Mac or another iPad to your device. I use this when I’m editing a planner on my laptop and want to test it on the iPad.
On the source device, right-click (or long-press) the PDF and choose Share or AirDrop. Select your iPad from the AirDrop menu. On your iPad, tap Accept when the transfer prompt appears.
Once accepted, tap the planner PDF in your iPad’s share sheet and choose GoodNotes. Confirm the import as a new document.
Method 6: Import a Digital Planner From Safari or Etsy
Many digital planner shops, including most Etsy sellers, deliver their product as a download link sent to your email. If you opened that link directly on your iPad, you’re already in Safari with the PDF ready to go.
Tap the download link in Safari. Once the PDF opens, tap the Share button at the top or bottom of the screen. Choose GoodNotes from the share menu and import as a new document.
If Safari shows the PDF as a preview without a download button, take a screenshot instead, then use the Files app method. I keep this as my backup when a website’s download link is broken.
GoodNotes 5 vs GoodNotes 6: Which Buttons to Tap
The biggest frustration our team hears from readers is button location. GoodNotes 6 redesigned the import flow, so muscle memory from version 5 trips people up.
In GoodNotes 6: Tap the + icon in the top-right of your library. A small menu appears with Import as the first option. Tap it to open the file picker.
In GoodNotes 5: Tap the Manage button at the top of your library, then choose Import from the dropdown.
If you don’t see either option, your app may be on the older GoodNotes 4, which uses a different import path. Updating to the latest version from the App Store fixes this in under a minute.
Using Your Planner After Import: Hyperlinks and Write Mode
Once your digital planner PDF is in GoodNotes, you need to switch to Write Mode to use hyperlinks and write with your Apple Pencil. Tap the pen icon at the top of the screen, then tap the [T] text tool icon to toggle Write Mode on.
Most digital planners come with clickable tabs that link monthly calendars to weekly spreads. In Read Mode, these tabs don’t respond to taps. In Write Mode, they work as designed. If your hyperlinks stop working after an update, switch modes and try again.
For sticky notes and quick edits, double-tap a page to add a text box. For handwritten notes, tap the pen icon and start writing. GoodNotes auto-saves every change, so you never lose work.
Troubleshooting: Why Your Digital Planner Is Not Working in GoodNotes
Even with a perfect import, things can go wrong. Here are the four issues I see most often in the GoodNotes Reddit and Facebook planner groups, and how to fix each one.
Planner imports as a static PDF with no clickable buttons. This usually means you imported in Read Mode. Tap the pen icon, switch to Write Mode, and the hyperlinks should activate.
Import option is missing in GoodNotes. Your app version may be outdated or restricted. Update GoodNotes from the App Store, then check Settings > GoodNotes > Files and Folders to confirm access is enabled.
Two planners merged into one file. You accidentally tapped “Import to Current Document” instead of “Import as New Document.” Unfortunately, there’s no easy undo. You’ll need to re-import the original PDF and choose the correct option this time.
Hyperlinks won’t click even in Write Mode. The PDF may have been flattened by the seller, which removes interactive elements. Contact the planner shop for a non-flattened version, or check the original Etsy listing for an interactive PDF download link.
Frequently Asked Questions
How do I import a digital planner into GoodNotes?
Open the Files app on your iPad, tap and hold the PDF planner file, tap Share, then choose GoodNotes from the share menu. When GoodNotes opens, select Import as New Document to keep your planner as a separate notebook.
How to use a digital planner in GoodNotes?
After import, open the planner and tap the pen icon at the top of the screen to switch to Write Mode. In Write Mode, hyperlinks become clickable and your Apple Pencil will write on the pages. GoodNotes auto-saves every change you make.
How do I download a planner on GoodNotes?
You first download the planner PDF from your email, Etsy, or the shop’s download link. Save it to your iPad’s Files app or iCloud Drive. Then open GoodNotes, tap the + icon, choose Import, and select the PDF from your file picker.
Why is my digital planner not working in GoodNotes?
The most common cause is importing in Read Mode instead of Write Mode. Switch to Write Mode by tapping the pen icon at the top of the screen. If hyperlinks still don’t work, the PDF may have been flattened by the seller, which removes interactive elements.
Wrapping Up Your First Import
Learning how to import a digital planner PDF into GoodNotes on your iPad takes about five minutes once you know which button to tap. The Files app method covers 90% of cases, and the Share button handles everything else. Pick the import method that matches where your PDF lives, always choose “Import as New Document” on your first try, and switch to Write Mode before testing any hyperlinks.
Once you’ve done it once, every future planner import will feel automatic. Your iPad is now a fully functional paper planner, and your Apple Pencil is the only pen you’ll ever need.