
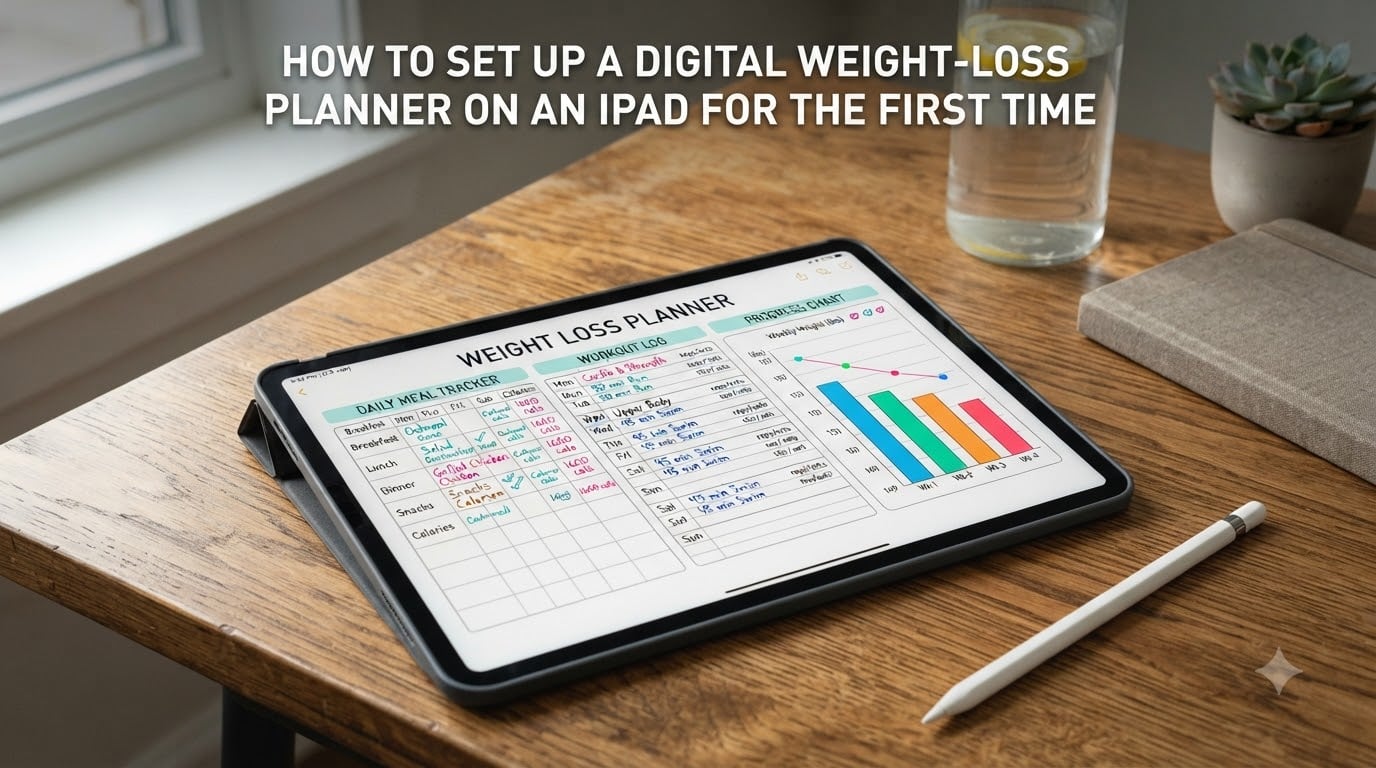
If you have ever stared at a blank paper journal wondering where your weight-loss tracking went off the rails, you are in the right place. Learning how to set up a digital weight-loss planner on an iPad for the first time can feel overwhelming, especially when every tutorial seems aimed at general productivity rather than fitness goals. I have helped dozens of people make this exact transition, and the good news is that once you understand the basics, the process takes about 20 minutes.
This guide walks you through every step from choosing an app to customizing your meal tracker and weight progress charts. Whether you have an Apple Pencil or just your finger, you will be logging meals, tracking workouts, and watching your progress charts fill in by the end of this tutorial. I will also cover the common mistakes that trip up first-time users, so you can skip the frustration I went through.
Table of Contents
Why Use a Digital Weight-Loss Planner on iPad?
A digital weight-loss planner on iPad gives you the tactile satisfaction of handwriting with the convenience of digital tools. You get unlimited pages, instant corrections with the undo button, and the ability to carry an entire year of meal logs, workout plans, and progress photos in a device that weighs about one pound.
The biggest advantage over paper is flexibility. Made a mistake logging your breakfast calories? Just erase it. Want to move a workout from Tuesday to Thursday? Use the lasso tool to drag it. Want to see your weight trend over six months? Your planner keeps everything in one file, not scattered across multiple notebooks.
Reddit users on r/ipad and r/DigitalPlanner consistently highlight portability and convenience as their top reasons for switching. One user mentioned they went from carrying three separate notebooks (meal log, workout journal, habit tracker) to a single iPad with everything organized under tabs. That kind of consolidation matters when you are already juggling meal prep, gym bags, and water bottles.
For weight-loss specifically, digital planners shine because they let you duplicate pages. If your weekly meal planning template works great, you copy it 52 times for the whole year. Try doing that with paper.
What You Need Before You Start
Before diving into setup, gather these essentials. You probably already have most of them.
An iPad: Any iPad model from the iPad 6th generation onward works well for digital planning. Larger screens (iPad Air, iPad Pro 11-inch or 12.9-inch) give you more writing space, but even a standard 10.2-inch iPad works fine.
A note-taking app: GoodNotes 6 and Notability are the two most popular options. Both support PDF import, hyperlinks, and stylus input. Apple Notes is free and built in, though it lacks some advanced planning features.
Apple Pencil or a stylus: Apple Pencil (1st or 2nd generation depending on your iPad model) gives you pressure sensitivity and palm rejection. Third-party styluses like Logitech Crayon work too, and you can even use your finger in a pinch.
A weight-loss planner template: This is a PDF file designed with hyperlinked tabs for navigating between sections. You can find free options or purchase detailed templates on platforms like Etsy.
How to Set Up a Digital Weight-Loss Planner on an iPad (Step-by-Step)
Follow these seven steps in order and you will have a fully functional weight-loss planner running on your iPad today. I have tested this process on GoodNotes and Notability, and it works the same way on both.
Step 1: Choose Your Note-Taking App
Your app is the foundation of your digital planning experience. The three most common options each have distinct strengths.
GoodNotes 6 is the most popular choice for digital planning. It costs a one-time fee, supports hyperlinked PDFs natively, and offers excellent organization with folders and documents. It handles large planners (500+ pages) smoothly. If you want the widest compatibility with planner templates sold online, GoodNotes is your safest bet.
Notability offers a subscription model and is known for its audio recording feature, which pairs well if you like narrating your meal prep or workout reflections. Its writing experience feels slightly smoother to some users, and it handles multi-page PDFs effortlessly.
Apple Notes is free and already on your iPad. It supports basic sketching and checklists but does not handle hyperlinked PDF planners well. If you want to try digital planning before spending money, start here with simple handwritten notes.
For most people setting up a weight-loss planner for the first time, I recommend GoodNotes. It has the largest community of digital planner users, which means more tutorials, more template options, and more help when you get stuck.
Step 2: Download and Install the App
Open the App Store on your iPad and search for your chosen app. GoodNotes 6 and Notability both appear in the top results. Tap “Get” or the price button, then confirm with Face ID, Touch ID, or your password.
The download takes about 30 seconds on most connections. Once installed, open the app and grant any requested permissions, such as access to your Files app for importing documents. You do not need to create an account to start using either app, though doing so enables cloud syncing across devices.
Step 3: Get a Weight-Loss Planner Template
Your template is the actual planner file, usually a PDF with interactive hyperlinks. This is what makes it different from a blank note. The template determines your page layouts, tab structure, and available sections.
Free options: Search for “free digital weight-loss planner PDF” on Pinterest or Reddit. Several creators offer free starter templates with basic weekly spreads and a weight tracking page. These are great for testing whether digital planning works for you.
Paid templates: Etsy has hundreds of weight-loss specific planner templates ranging from budget options to comprehensive systems with 200+ pages. Look for templates that include meal planning sections, workout logs, weekly and monthly weight tracking pages, habit trackers, grocery lists, and goal-setting worksheets.
When shopping for a template, check that it is compatible with GoodNotes or your chosen app. Most Etsy listings specify compatibility. Also verify the file format is PDF with hyperlinks. A plain PDF without hyperlinks will not have tappable tabs for navigation.
I recommend starting with a free template for your first week. Once you know which sections you actually use, invest in a paid template that matches your style.
Step 4: Import the Planner Into Your App
This is the step where your planner comes to life on the screen. The import process is slightly different depending on your app.
In GoodNotes 6: Open the app and tap the “New” button. Select “Import” and navigate to your downloaded PDF file, usually in your Files app under Downloads. Tap the PDF, and GoodNotes creates a new document from it. The app processes the hyperlinks automatically. Your planner now appears in your GoodNotes library.
In Notability: Open the app and tap the import icon (a square with a downward arrow). Locate your PDF in the Files app and tap it. Notability imports the file and creates a new note. Hyperlinks work automatically once the PDF is loaded.
For both apps, importing takes a few seconds for a standard planner. Very large files (300+ pages) may take up to a minute. Once imported, tap to open your planner and you should see the first page, usually a cover or index page with tappable tabs.
Step 5: Navigate Between Read Mode and Write Mode
This is the single biggest source of confusion for first-time users, based on forum discussions. Digital planners use two modes, and understanding the difference is essential.
Read mode lets you tap hyperlinks to jump between pages. When you tap a tab labeled “Meal Plan,” the planner navigates to that section. In Read mode, your stylus taps are interpreted as navigation clicks, not writing.
Write mode lets you write, draw, and annotate. Your stylus strokes appear on the page as ink. In Write mode, tapping a hyperlink does nothing because the app interprets your touch as a pen stroke.
In GoodNotes, the mode toggle is the hand icon in the top toolbar. When the hand icon is highlighted (blue), you are in Read mode. Tap it to switch to Write mode, where the pen icon becomes active. In Notability, the navigation mode is indicated by a similar hand icon in the navigation bar.
The workflow is simple: use Read mode to get to the page you want, then switch to Write mode to fill it in. Switch back to Read mode to navigate to the next section. After a day of practice, toggling becomes second nature.
Step 6: Use Hyperlinks to Jump Between Pages
Hyperlinks are what separate a digital planner from a static PDF. A well-designed weight-loss planner contains dozens or even hundreds of hyperlinks that let you tap your way to any section instantly.
Most planners use tabs along the edges of each page. These tabs might say “Weekly,” “Monthly,” “Meals,” “Workouts,” “Progress,” and “Goals.” In Read mode, tapping a tab takes you directly to that section. Some planners also include hyperlinked dates, so tapping “August 12” jumps to that day’s daily spread.
To test your hyperlinks, make sure you are in Read mode. Then tap any tab or linked element. If nothing happens, double-check that you are in Read mode and not Write mode. This is the most common reason hyperlinks seem broken.
Forum users on r/DigitalPlanner mention that planners with extensive hyperlink networks (some have 20,000+ links) dramatically improve the experience. More links means faster navigation, which means you are more likely to actually use the planner daily.
Step 7: Customize Your Pen, Colors, and Tools
Now that your planner is imported and you can navigate it, it is time to make it yours. The pen and tool customization is where digital planning outshines paper.
Pen settings: In both GoodNotes and Notability, tap the pen icon to access pen options. You can choose from multiple thicknesses (fine for small handwriting, medium for standard text, bold for headers). Most apps offer a ballpoint, fountain pen, and brush style.
Colors: Pick colors for different categories. Use red for high-calorie meals, green for workouts completed, blue for water intake. Color coding makes patterns visible at a glance. Both apps let you save favorite colors for quick access.
Highlighter: The highlighter tool works like a real marker but with adjustable opacity. Use it to emphasize weight-loss milestones or highlight foods you want to remember.
Lasso tool: This is the most powerful tool for reorganizing your planner. Draw a circle around any handwriting or element, then drag it to a new position. If you wrote your workout in the wrong day’s box, lasso it and move it. Try doing that with ink on paper.
Text boxes: If you prefer typing over handwriting, insert text boxes anywhere on the page. This is handy for long grocery lists or detailed meal plans where handwriting would take too long.
Shapes: The shape tool auto-corrects your drawings into clean circles, rectangles, and arrows. Use it to draw progress charts, plate portion diagrams, or weekly workout grids.
Setting Up Weight-Loss Specific Sections
Generic digital planner tutorials stop at the basics. What makes this guide different is focusing on the sections that actually help you lose weight and keep it off.
Meal Tracking and Planning
Your meal section should include a weekly meal grid where you plan breakfast, lunch, dinner, and snacks for each day. Use the text box tool to type out meals for the week, or handwrite them if you prefer the tactile feel. Add a grocery list page linked to your meal plan so you can tap straight from “Tuesday dinner” to the ingredients you need to buy.
Many weight-loss planner templates include a macro or calorie tracking page. If yours does not, create a simple table using the shape tool: columns for date, meals, calories, protein, carbs, and fat. Duplicate this page weekly.
Workout Logging
Set up a workout log with columns for the exercise, sets, reps, and weights. If you follow a specific program (like a 3-day split or a running plan), create a template page and duplicate it for each week. Use color coding to mark completed workouts green and missed ones red, so your consistency is visible at a glance.
Weight Progress Tracking
This is the section that keeps you motivated. Use a monthly weight log page where you record your weight daily or weekly. Many templates include a visual progress chart. If yours does not, draw one using the shape tool: a simple line graph with weeks on the x-axis and weight on the y-axis.
Add a progress photo page for each month. Import photos using the image tool and label them with the date. Seeing visual changes month over month is one of the strongest motivators for staying on track.
Habit Tracking
Weight loss is built on daily habits: drinking water, getting enough sleep, hitting step goals, avoiding late-night snacking. Set up a habit tracker grid with habits listed vertically and days of the month horizontally. Check off each habit daily. The lasso tool makes it easy to copy this grid each month.
Goal Setting and Reflection
Create a goals page where you write your starting weight, target weight, and the reasons you want to lose weight. Refer back to this page when motivation dips. Add a weekly reflection page where you note what worked, what did not, and what to adjust next week.
Tips for First-Time Users (Common Mistakes to Avoid)
After helping many people set up their first digital planner, I see the same mistakes repeatedly. Here is how to avoid them.
Forgetting to switch to Read mode before tapping links. If your tabs are not working, you are almost certainly in Write mode. Check the hand icon in your toolbar before panicking.
Buying an expensive template before testing the setup. Start free. Learn the app. Then invest in a template once you know what features matter to you.
Overcomplicating your tracker. A simple planner you use daily beats an elaborate system you abandon after a week. Start with meals, workouts, and weight tracking. Add sections later.
Not using palm rejection. Both GoodNotes and Notability support palm rejection, meaning you can rest your hand on the screen while writing with your stylus. Enable it in settings if your hand keeps leaving stray marks.
Skipping the lasso tool. The lasso is your best friend for fixing mistakes without erasing. Circle what you want to move and drag it. Most beginners discover this tool weeks in and wish they had known from day one.
Not backing up your planner. Enable iCloud sync in your app settings. If you lose your iPad or the app crashes, your weight-loss data is safe in the cloud.
Frequently Asked Questions
How to use a digital planner on an iPad?
Download a note-taking app like GoodNotes or Notability, import a PDF planner template via the import button, then use Read mode (hand icon) to tap hyperlinks and navigate, and Write mode (pen icon) to fill in your entries. Toggle between the two modes using the icons in the top toolbar.
What is the best free digital planner app for iPad?
Apple Notes is the best free option since it comes pre-installed on every iPad and supports basic sketching and checklists. For hyperlinked PDF planners, GoodNotes offers a free version with limited documents, and OneNote is completely free with cross-device syncing. For full-featured digital planning, GoodNotes 6 requires a one-time purchase.
How can I turn my iPad into a digital calendar?
Import a digital planner PDF with dated calendar pages into GoodNotes or Notability. The hyperlinked tabs let you jump to any month or week instantly. You can also use the built-in Apple Calendar app, or try a dedicated digital planner template from Etsy that includes full-year calendar layouts with navigation tabs.
Does an iPad have a built-in digital planner?
The iPad does not include a dedicated planner app, but it comes with Apple Notes which supports sketches, checklists, and handwritten notes. For full digital planning with hyperlinked pages, tabs, and templates, you need a third-party app like GoodNotes or Notability plus a PDF planner template.
How to set up a planner on GoodNotes?
Open GoodNotes, tap New, select Import, and choose your PDF planner file from the Files app. GoodNotes processes the hyperlinks automatically. Tap the hand icon for Read mode to navigate via tabs, and the pen icon for Write mode to write entries. Organize planners into folders for easy access.
Can I use a digital planner on my iPad without an Apple Pencil?
Yes, you can use any active stylus like the Logitech Crayon, or even your finger. Apple Pencil provides pressure sensitivity and palm rejection for the best writing experience, but it is not required. Third-party styluses work with most note-taking apps, though some advanced features like pressure-sensitive drawing may be limited.
Conclusion
Setting up a digital weight-loss planner on an iPad for the first time comes down to seven steps: pick your app, install it, find a template, import it, learn Read and Write modes, master hyperlinks, and customize your tools. Once those are in place, you can focus on what matters, which is building the meal tracking, workout logging, and progress sections that keep you accountable.
The real magic happens when your planner becomes a daily habit. Start simple, use a free template for the first week, and add complexity only when you know what you need. Your iPad is now a complete weight-loss tracking system, and the only thing left is to fill it in.