
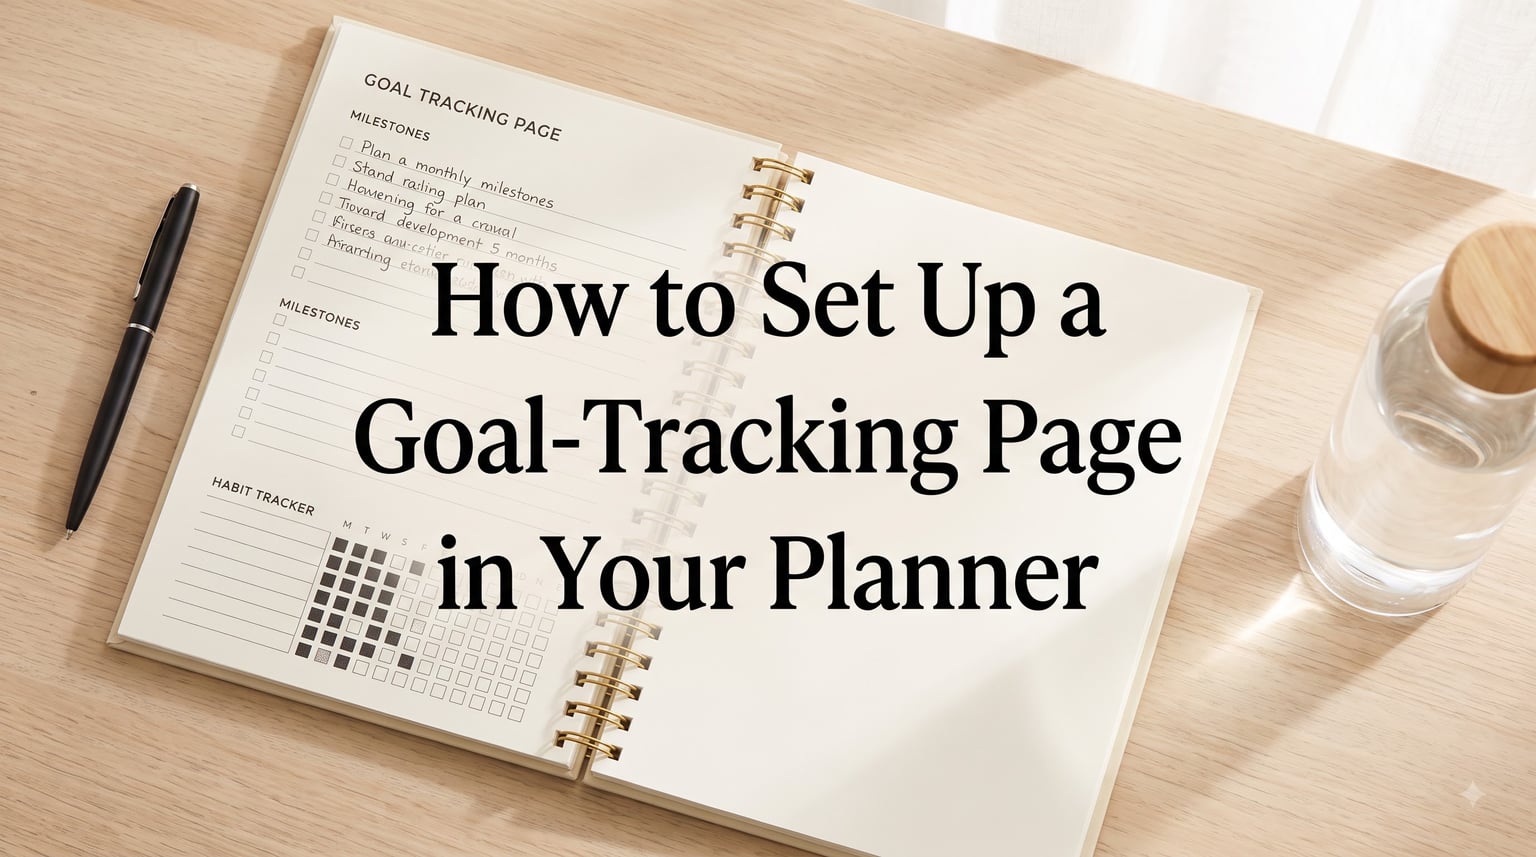
If you have ever set a goal in January only to forget about it by February, you are not alone. The missing piece is rarely motivation. It is a system that keeps your goals in front of you every single day. That is exactly what a goal-tracking page in your planner does for you.
Learning how to set up a goal-tracking page in your planner gives you a dedicated space to write down what you want, break it into manageable steps, and check off progress as you go. For anyone on a weight loss journey, this kind of visible accountability can make the difference between stalling out and pushing through.
I have used planner-based goal tracking for years, and the pattern is always the same. When my goals live on a page I open every morning, I follow through. When they live only in my head, they fade. This guide walks you through building a goal-tracking page from scratch, whether you use a bound planner, a binder system, or a bullet journal.
You will learn what belongs on a goal-tracking page, how to structure it step by step, and how to adapt it specifically for weight loss and health goals. By the end, you will have everything you need to create a page that keeps you moving forward.
Table of Contents
- What Is a Goal-Tracking Page in Your Planner?
- Benefits of Goal Tracking in Your Planner
- Essential Components of a Goal-Tracking Page
- How to Set Up a Goal-Tracking Page in Your Planner
- Tracking Different Types of Goals
- Grid vs List vs Calendar: Choosing Your Layout Style
- Digital vs Paper Planners for Goal Tracking
- Common Mistakes to Avoid
- FAQs
- Conclusion
What Is a Goal-Tracking Page in Your Planner?
A goal-tracking page in your planner is a dedicated section where you write your goals, break them into smaller action steps, and track your progress over time. Think of it as command central for everything you are working toward, all visible on one or two pages.
Most planners come with weekly and monthly calendar layouts. Those are great for scheduling appointments and remembering events. But they do not give you a structured place to work on goals. A goal-tracking page fills that gap by giving you space for the big picture, the milestones, and the daily habits that get you there.
The beauty of a goal-tracking page is that it grows with you. You can start simple with a checklist and expand into milestone tracking, habit grids, and reflection notes as your system evolves. There is no single right way to do it, and that flexibility is what makes it stick.
Benefits of Goal Tracking in Your Planner
Writing your goals down makes them real. Tracking them daily keeps them urgent. Here is why a goal-tracking page works so well within a planner system you already use.
Daily visibility. When your goals sit on a page you open every morning, you cannot forget about them. Reddit users on r/planners consistently report that goals fall away by midweek without a visible system. A dedicated tracking page solves that problem.
Built-in accountability. Checking off a box or filling in a progress bar feels satisfying. That small hit of accomplishment trains your brain to keep showing up. You become accountable to yourself in a way that feels rewarding rather than punishing.
Course correction. A tracking page shows you patterns. If you keep missing the same workout day after day, that data tells you something needs to change. Without tracking, you might not notice the pattern until weeks have passed.
Momentum building. Seeing a chain of checked boxes builds visual momentum. The longer your streak, the more motivated you feel to keep it going. This is why habit trackers and goal pages work so well together.
Essential Components of a Goal-Tracking Page
Every effective goal-tracking page shares a few core elements. You do not need all of them on day one, but understanding what each one does helps you design a page that works for your goals.
1. Goal Statement. Write your goal in one clear sentence. Use the SMART framework: Specific, Measurable, Achievable, Relevant, and Time-bound. Instead of writing “lose weight,” write “lose 15 pounds by 2026’s end through daily walking and portion control.”
2. Milestone Markers. Break your big goal into checkpoints. For a weight loss goal, milestones might be every 5 pounds lost. For a fitness goal, they might be hitting a new personal record or completing a 30-day program. Milestones give you short-term wins to celebrate.
3. Action Steps. List the specific behaviors that move you toward your goal. These should be things you control directly, like “drink 8 glasses of water” or “walk 30 minutes after dinner.” Action steps are where the real work happens.
4. Progress Tracker. This is the visual heart of your page. Use checkboxes, a grid, a progress bar, or a color-coded system. The format matters less than the consistency. You need a way to see at a glance how you are doing.
5. Reflection Space. Reserve a small section for weekly or monthly notes. Write what worked, what did not, and what you want to adjust. Reflection turns experience into insight.
6. Habit Tracker Integration. Habits are the building blocks of any goal. If your planner has a habit tracker, connect it to your goal page so you can see which daily behaviors are driving your progress.
How to Set Up a Goal-Tracking Page in Your Planner
Ready to build your page? Follow these seven steps to create a goal-tracking page that actually keeps you on track. Grab your planner, a pen, and a few minutes of focused time.
Step 1: Define Your Big-Picture Goal
Start at the top of your page and write your main goal. Make it specific and time-bound. If your goal is weight-related, include the target and the timeline. For example: “Lose 20 pounds by March 2026 through consistent nutrition and daily movement.”
Write it large enough that it catches your eye every time you open your planner. This is your north star. Every other element on the page should point back to this one statement.
Step 2: Break It Into Monthly Milestones
Underneath your main goal, create a section for monthly milestones. If your goal spans six months, you should have six milestone lines. Write a target for each month that builds toward the final goal.
For a 20-pound weight loss goal over six months, aim for roughly 3 to 4 pounds per month. Write those numbers down. Monthly milestones keep your big goal from feeling overwhelming.
Step 3: Create Weekly Action Steps
Below your milestones, add a section for this week’s action steps. List three to five specific behaviors you will focus on this week. These are not outcomes. They are actions you fully control.
Good examples for weight loss: “meal prep on Sunday,” “walk 30 minutes five days this week,” “track food intake daily,” “drink 64 ounces of water each day.” Rewrite these every week based on what you need to focus on.
Step 4: Design Your Daily Tracking System
This is where the magic happens. Create a visual tracker for your daily habits and action steps. The format depends on your style. A simple grid works well. List your habits down the left side and the days of the week across the top.
Fill in a box, check a checkbox, or use a color code for each day you complete the habit. At the end of the week, you can see your consistency at a glance. This visual feedback loop is what keeps people coming back to their planners day after day.
Step 5: Add a Reflection and Review Section
At the bottom of your page, leave space for notes. Use it during your weekly review to answer three questions: What went well this week? What was a challenge? What will I adjust next week?
This section turns your tracker from a static record into an active learning tool. Without reflection, you are just checking boxes. With it, you are constantly improving your approach.
Step 6: Build In Accountability and Rewards
Decide how you will hold yourself accountable. Some people check in with a friend each week. Others use a sticker or a special pen color to mark milestones reached. Choose something that feels rewarding to you.
Plan a small reward for each monthly milestone and a bigger reward for hitting your final goal. Non-food rewards work especially well for weight loss journeys. Think new workout gear, a massage, or a day trip somewhere you love.
Step 7: Test and Adjust Your Layout
Use your page for one full week before judging it. After that first week, ask yourself what felt easy and what felt clunky. Maybe you need more space for daily tracking. Maybe your milestones need adjusting.
Tweak the layout and try again for another week. Goal-tracking pages are never perfect on the first try. The best system is the one you refine over time through actual use.
Tracking Different Types of Goals
Not all goals look the same, and your tracking page should reflect that. Here is how to adapt your page for different goal categories, with specific weight loss examples.
Weight Loss Goals
For a weight loss goal, your tracking page should include your starting weight, target weight, and a progress chart or grid where you record weekly weigh-ins. Pair this with a habit tracker for nutrition and exercise habits. I recommend tracking behaviors (like meals logged or workouts completed) alongside the scale, because behavior is what you control.
Fitness and Activity Goals
If your goal is to run a 5K, hit 10,000 steps daily, or lift a certain weight, use a cumulative tracker. Log each workout’s distance, duration, or weight lifted. Over time, you will see your numbers climb, which is incredibly motivating.
Long-Term vs Short-Term Goals
Long-term goals (six months to a year) need milestone markers and quarterly reviews. Short-term goals (one to four weeks) can live entirely on a single page with daily checkboxes. Many people keep one page for their big yearly goal and a separate weekly spread for the short-term actions that feed into it.
The key is matching the tracking method to the timeframe. Daily checkboxes work for habits. Monthly milestones work for big goals. Trying to track a one-year goal with daily checkboxes alone leads to burnout.
Grid vs List vs Calendar: Choosing Your Layout Style
Forum discussions on r/planners reveal that people swear by different layout styles. Here is a breakdown of the three most popular approaches so you can choose what fits your brain.
Grid Layout. A grid gives you a matrix of habits or tasks down one side and days across the top. You fill in boxes as you go. Grids are perfect for visual thinkers who like seeing patterns and streaks. They work well for habit tracking and daily accountability.
List Layout. A list is vertical and linear. You write tasks or milestones as a checklist and cross them off. Lists appeal to people who like structure and the satisfaction of crossing things out. They are ideal for one-time action steps and milestone tracking.
Calendar Layout. A calendar-based tracker maps your goal onto specific dates. You might write “run 5K” on three specific days each week. Calendars work well for deadline-driven goals and people who think in terms of schedules rather than habits.
Many experienced planner users combine approaches. A grid for daily habits, a list for weekly action steps, and a calendar overlay for scheduled workouts or events. Start with one style and add others as you learn what works.
Digital vs Paper Planners for Goal Tracking
Both formats have devoted fans, and the best choice depends on how your brain works and what you already use daily. Here is a quick comparison.
Paper planners give you a tactile experience that many people find satisfying. Writing by hand helps with memory and commitment. Paper planners never run out of battery, and there is something powerful about physically crossing off a goal. On the downside, paper is harder to edit, and you cannot back it up.
Digital planners and apps offer flexibility. You can rearrange, color-code, and duplicate pages instantly. Apps like Microsoft Planner, Notion, and dedicated goal-tracking apps can send reminders and generate charts automatically. The tradeoff is screen fatigue and the temptation to switch apps every few weeks.
For weight loss specifically, paper planners tend to win for habit tracking and daily food logging. The act of writing down what you eat and checking off your daily walk creates a stronger mind-body connection than tapping a screen. But if you are already glued to your phone all day, a digital system you will actually use beats a paper system you will ignore.
The best system is the one you will open every day. Pick the format that fits your life, not the one that looks the most impressive on social media.
Common Mistakes to Avoid
After years of planner use and reading hundreds of forum threads, here are the mistakes that derail goal-tracking pages most often.
Tracking too many goals at once. If your page has ten goals and twenty habits, you will feel overwhelmed by week two. Pick one to three focus goals. You can always add more later once these become routine.
Skip the weekly review. A tracking page without review is just decoration. The review is where you learn what is working and decide what to change. Block out fifteen minutes every Sunday to sit with your page and reflect.
Overcomplicating the layout. Stickers, washi tape, and hand-lettering are fun, but they can turn a five-minute daily check-in into a thirty-minute craft project. Keep the core tracking simple. Add decoration only if it brings you joy without slowing you down.
Ignoring small wins. People tend to celebrate only the big milestones. But the daily walk you took even though it was raining? That counts. Acknowledge small wins in your reflection section. They are the building blocks of every big achievement.
Abandoning the page after a bad week. One rough week does not mean your system failed. Cross out the old week, start fresh on the next page, and keep going. Consistency over perfection is what gets results.
FAQs
What should be on a goal-tracking page in my planner?
A goal-tracking page should include your main goal statement, monthly milestones, weekly action steps, a daily progress tracker (grid or checklist), a reflection section for notes, and optionally a habit tracker. Keep it to one to three focus goals so the page stays manageable.
How often should I review my goals in my planner?
Review your goals weekly, ideally on Sunday evening. Spend 10 to 15 minutes checking your progress, noting what worked and what did not, and planning your action steps for the coming week. Do a deeper monthly review to assess milestone progress.
Can I use a goal-tracking page for weight loss?
Absolutely. Weight loss is one of the best use cases for a goal-tracking page. Track your weekly weigh-ins, daily nutrition and exercise habits, water intake, and milestone rewards. Pair outcome tracking (pounds lost) with behavior tracking (workouts completed, meals logged) for the best results.
Do I need a special planner for goal tracking?
No. You can create a goal-tracking page in any planner, notebook, or bullet journal. Bound planners like Erin Condren, Clever Fox, and Plum Paper often include goal sections, but you can draw your own layout on blank grid or lined pages with just a pen and ruler.
Conclusion
Setting up a goal-tracking page in your planner is one of the highest-impact things you can do for your weight loss journey or any personal goal. The process comes down to seven steps: define your goal, break it into milestones, create weekly action steps, design a daily tracker, add reflection space, build in accountability, and adjust as you go.
Start simple. One goal, one page, one week. The system that works is the one you actually use, not the one that looks perfect on Instagram. Grab your planner today and build your first goal-tracking page. Your future self will thank you for showing up.