
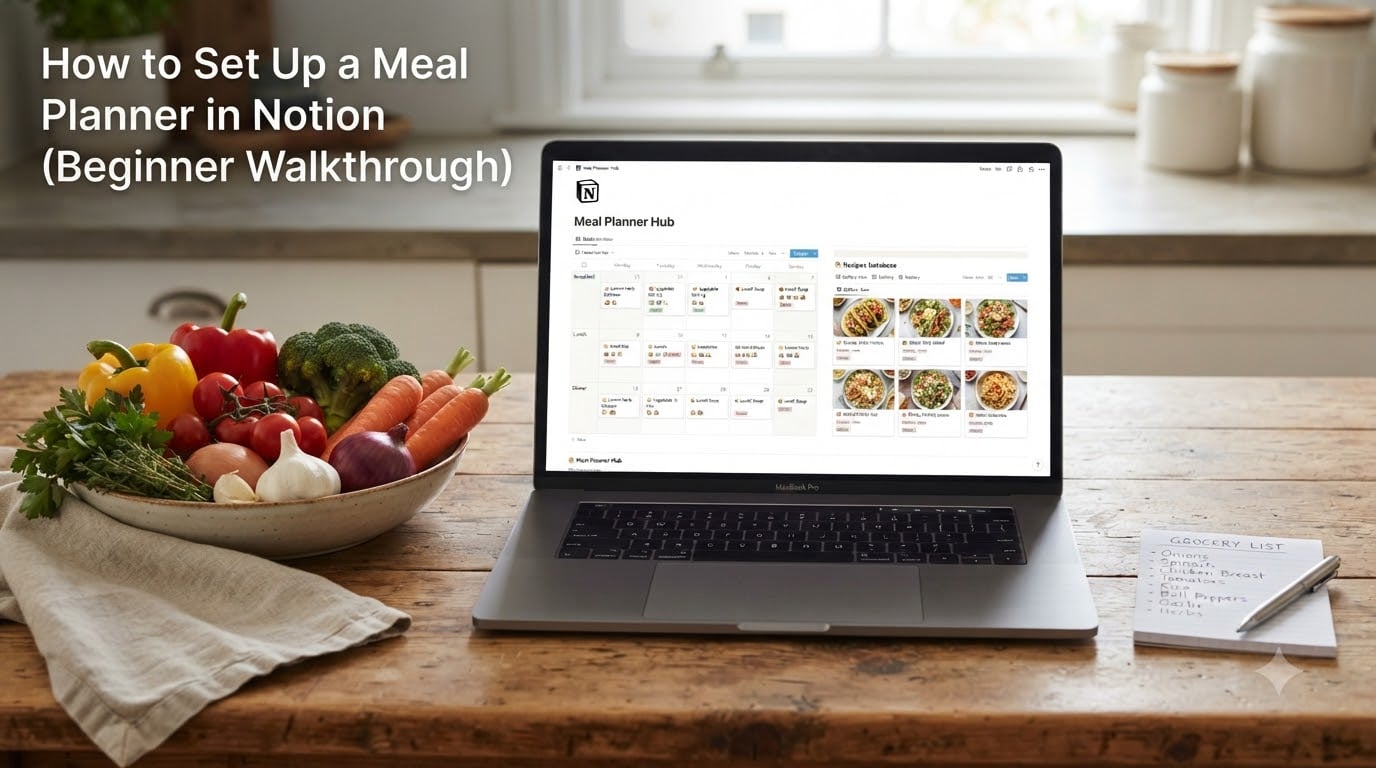
Yes, you can absolutely use Notion for meal planning, and it is one of the most flexible tools I have found for organizing recipes, weekly menus, and grocery lists in one place. I have spent the last two years refining my own Notion meal planner, and in this beginner walkthrough I will walk you through every click so you can have a working system in under an hour.
Learning how to set up a meal planner in Notion is easier than most people think. You do not need coding skills, and the free plan covers everything we will build here. By the end of this guide you will have a searchable recipe database, a drag-and-drop weekly calendar, and a grocery list that updates itself.
If you have ever scribbled meal ideas on sticky notes, lost a favorite recipe link, or shown up at the store without a list, this walkthrough is for you. Let’s build your meal planning system from scratch.
Table of Contents
Why Use Notion for Meal Planning
Notion stands out because it combines a database, calendar, and note-taking app into one workspace. Instead of juggling a recipe app, a notes app, and a separate grocery list, everything lives in a single connected system.
I switched from paper planners to a Notion meal planner after realizing I kept rewriting the same 15 meals every week. With Notion, my recipe database remembers everything. I just drag meals onto a calendar and the shopping list builds itself.
The biggest advantages I have noticed are searchable recipes, reusable weekly templates, and the ability to filter meals by category, cook time, or ingredients on hand. You can also share your workspace with a partner or family member so everyone can vote on dinner.
Unlike dedicated meal planning apps that lock features behind subscriptions, Notion’s free personal plan gives you unlimited pages and blocks. You only pay if you need team collaboration or large file uploads, neither of which matters for personal meal planning.
What You Need Before You Start
You need a free Notion account, which you can create at notion.so using any email address. The web version, desktop app, and mobile app all sync automatically, so pick whichever device you are comfortable with.
Three Notion terms will come up repeatedly, so let me define them quickly. A database is a collection of entries stored in rows and columns, similar to a spreadsheet. Properties are the columns themselves, things like meal name, category, or cook time. Views are different ways to display the same database, such as a table, a board, or a calendar.
That is all the vocabulary you need. If you understand those three concepts, the rest of this walkthrough will feel straightforward.
How to Set Up a Meal Planner in Notion: Step-by-Step
This is the core of the guide. Follow these steps in order and you will have a fully functional Notion meal planner by the end. Each step builds on the previous one, so resist the urge to skip ahead.
Step 1: Create a New Page for Your Meal Planner
Open Notion and click the New Page button in the left sidebar. Title the page something simple like “Meal Planner” and add a clean icon and cover image if you like. This page will be your hub.
Inside that page, type a forward slash (/) to open the block menu and select Page to create a sub-page called “Recipe Database.” Keeping your recipes on a dedicated sub-page keeps your main dashboard clean.
Step 2: Create Your Recipe Database
Inside the Recipe Database page, type a forward slash and select Table – Full page from the menu. Notion creates an empty database with one default column called “Name.”
This table is where every recipe and meal you own will live. Think of each row as a single recipe card. You can open any row to add the full recipe, photos, and notes inside.
To add your first recipe, click where it says “New” and type a meal name, such as “Sheet Pan Chicken and Vegetables.” Click into the row to open the page view, where you can paste the ingredients, instructions, and a photo.
Step 3: Add Properties to Your Database
Properties are what make your database powerful. Click the + button at the far right of your table header to add new columns. Here are the properties I recommend starting with, based on what I have found useful over many months of daily use:
Name (Title): The meal or recipe name. This is already there by default.
Category (Select): Options like Breakfast, Lunch, Dinner, Snack, or Dessert.
Cuisine (Select): Italian, Mexican, Asian, American, and so on.
Cook Time (Select or Number): Under 30 min, 30 to 60 min, or Over 60 min.
Protein (Multi-select): Chicken, Beef, Tofu, Fish, Vegetarian.
Rating (Select): 1 to 5 stars so you can filter for family favorites.
Last Made (Date): Track when you last cooked this meal.
Link (URL): The original recipe source if you pulled it from a blog.
Start with just two or three properties if that feels less overwhelming. The Reddit Notion community strongly recommends starting simple and adding columns only when you actually need them. I agree, because too many blank columns early on creates clutter.
Step 4: Create Filtered Views
Views let you see the same database in different ways without duplicating data. Click the blue + Add a view button at the top left of your database to create new tabs.
Here are the views I use every week and recommend you set up:
All Recipes (Table view): Your master list, showing every recipe with all properties visible. This is the default view.
Quick Dinners (Filtered Table view): Create a new table view, then click Filter and set Category to Dinner and Cook Time to Under 30 min. Now you have a shortcut to fast weeknight meals.
Favorites (Filtered Table view): Filter by Rating equal to 5 stars. This is perfect for those nights when you cannot decide what to cook.
By Cuisine (Board view): Switch to Board view and group by the Cuisine property. You get visual columns for Italian, Mexican, Asian, and so on, making it easy to browse by mood.
Step 5: Set Up a Weekly Calendar View
This is where meal planning comes alive. You need a second database for your weekly plan, or you can use a calendar view of your recipe database. I prefer a separate weekly plan database because it lets me assign meals to specific days.
Create a new full-page Calendar database called “Weekly Meal Plan.” Add a Relation property that links to your Recipe Database. This connection is what lets you pull in recipe details without retyping anything.
Now add a Select property called “Meal” with options like Breakfast, Lunch, and Dinner. On any calendar day, click to create a new entry, select the meal type, and link it to a recipe from your database using the Relation field.
The calendar gives you a visual snapshot of your entire week. If Wednesday looks too heavy on cooking, just drag the entry to a different day. Reddit users consistently say this drag-and-drop flexibility is their favorite feature.
Step 6: Build a Self-Updating Grocery List
This step is where most beginners get stuck, but the payoff is huge. The goal is a grocery list that automatically pulls ingredients from the meals you planned this week.
The simplest approach I have found is to add a Checkbox property called “Need Groceries” to your Weekly Meal Plan entries. Then create a filtered view showing only entries where that checkbox is checked. Inside each linked recipe page, store the ingredient list in a checklist format.
For a more advanced setup, create a separate Grocery List database with a Relation to your Recipe Database. Each recipe page can have a sub-database of ingredients. When you plan meals for the week, you can open each recipe and check off what you need to buy.
If that sounds complex, start with the checkbox method. I used it for months before upgrading to the relational approach. The key is having your shopping list accessible on your phone through the Notion mobile app while you are actually in the store.
Tips for a Faster Weekly Workflow
Once your meal planner is set up, the goal is to make weekly planning fast. Most users on Reddit report spending 30 minutes to 2 hours on weekly planning, and I have narrowed mine down to about 25 minutes using these techniques.
Use the mobile app for grocery shopping. The Notion mobile app syncs instantly with your desktop workspace. Open your grocery list view on your phone while walking the aisles, check off items as you go, and everything updates at home.
Duplicate last week’s plan. If your family tends to rotate through similar meals, open last week’s calendar entries, click the three-dot menu, and select Duplicate. Then just swap out one or two meals for variety. This alone saved me 15 minutes per week.
Batch-add recipes on weekends. Spend 20 minutes on Saturday adding 3 to 5 new recipes to your database. Over a month, you will have 15 to 20 options ready to drag onto any week’s calendar without thinking.
Create a template inside recipe pages. Open any recipe entry, structure it with headings for Ingredients, Instructions, and Notes, then click the three-dot menu and select Save as template. Now every new recipe starts with that structure automatically.
Use tags for dietary needs. If anyone in your household has allergies or preferences, create a Multi-select property for tags like Gluten-Free, Dairy-Free, or Low-Carb. Filter your views to instantly see compatible meals.
Common Mistakes to Avoid
I made every one of these mistakes when I started, so you do not have to. Avoiding them will save you hours of frustration.
Overcomplicating your first setup. Beginners often add 15 properties on day one, then feel paralyzed by all the empty columns. Start with Name, Category, and Rating. Add more only when you actually reach for a piece of information that is not there.
Skipping the mobile app. Many people build their entire meal planner on desktop and never test it on their phone. Since grocery shopping happens on mobile, check early that your views look good on a small screen and that the Notion app is installed before you need it at the store.
Manually writing grocery lists. If you are retyping ingredients from your recipes into a separate shopping list, you are doing double work. Use the relation and checkbox methods from Step 6 so your list builds itself from the meals you planned.
Forgetting to rate meals. The Rating property only helps if you actually use it. Take five seconds after dinner to give the meal 1 to 5 stars. After a few weeks, your Favorites view becomes a goldmine of dinners you know your family enjoys.
Not using templates for recipe pages. Without a consistent structure, recipe pages become a mess of copy-pasted text from different blogs. A saved template keeps every recipe clean and scannable.
Free Notion Meal Planner Templates
If building from scratch feels daunting, you can start with a free Notion meal planner template and customize it. All three top competitors in this space offer free templates, and I have tested several from the Notion community.
To use a template, open Notion, click Templates in the left sidebar, and browse the Meals category. You can also search the Notion template gallery online for “meal planner” and duplicate any free template directly into your workspace with one click.
My recommendation is to start with a template to see how an experienced user structured their database, then adapt it to your own needs. Removing properties you do not want is faster than building everything from zero.
Every free template I have seen covers the basics: a recipe database, a weekly calendar, and a grocery list. The differences are mostly in design and how many properties are pre-configured. Pick one that looks clean to you and start editing.
Frequently Asked Questions
Can I use Notion for meal planning?
Yes, Notion is an excellent tool for meal planning. You can create a recipe database, plan meals on a weekly calendar, and generate grocery lists all in one free workspace. The free personal plan covers everything you need.
How to start meal planning for beginners?
Start by creating a simple table database in Notion with just two properties: meal name and category. Add 10 to 15 of your go-to recipes, then create a calendar view to assign meals to specific days. Keep it simple at first and add features like ratings and grocery lists once you are comfortable.
Is there a free Notion template for planning meals?
Yes, Notion offers free meal planner templates directly inside the app. Click Templates in the sidebar and browse the Meals category. You can also find free community templates on the Notion template gallery website and duplicate them into your workspace with one click.
Can ChatGPT make a Notion template?
ChatGPT can generate the structure and content for a Notion meal planner, including property names, categories, and sample meal entries. However, it cannot directly create a usable Notion database file. You will still need to manually set up the database in Notion or use a prompt to generate a markdown table that you paste into a Notion page.
How do I create a grocery list from my Notion meal plan?
Create a checkbox property called Need Groceries on your weekly meal plan entries, then filter a view to show only checked items. For an automated approach, use a Relation property linking your meal plan to your recipe database and store ingredients as checklists inside each recipe page.
Can I track calories and macros in a Notion meal planner?
Yes, you can add Number properties for calories, protein, carbs, and fat to your recipe database. You can also use a formula property to sum totals across a week. For detailed macro tracking, dedicated apps like MyFitnessPal are faster, but Notion works well for a lightweight overview.
Conclusion
Setting up a meal planner in Notion takes about an hour the first time and pays off every single week after that. You now have a recipe database that never loses a meal, a calendar you can drag and drop, and a grocery list that builds itself from your planned dinners.
The most important advice I can share from my own experience is to start simple. Two or three properties are enough on day one. You can always add more as your needs grow, and a simple system you actually use beats a complex one you abandon in a week.
If you found this walkthrough on how to set up a meal planner in Notion helpful, grab a free template from Notion’s built-in gallery to speed things up even more. Then come back and customize it using the steps and tips in this guide once you are comfortable with the basics.