
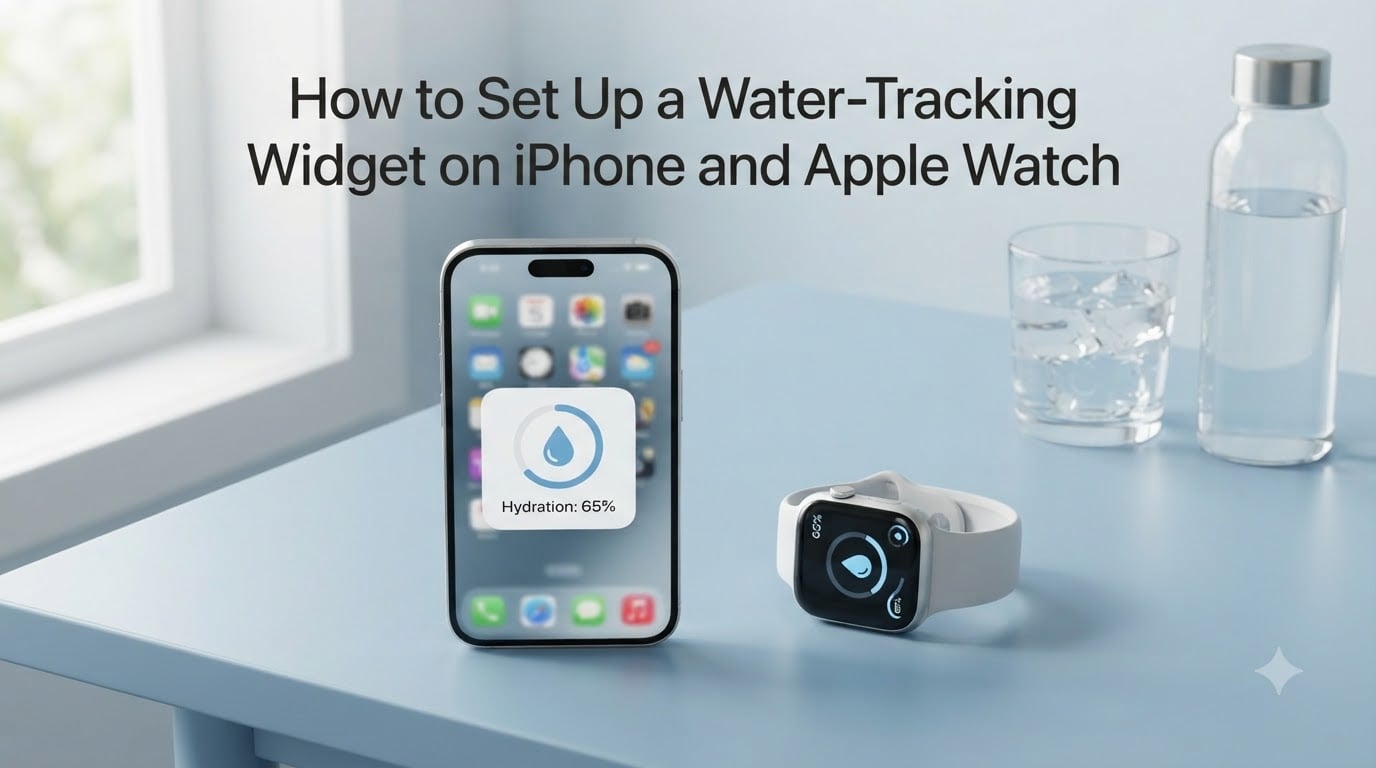
Staying hydrated is one of those simple habits that keeps slipping through the cracks. You start the morning with a glass of water, get busy, and suddenly it is 3 PM and you have not had a single sip since breakfast. That is exactly why I wanted to figure out the best way to set up a water-tracking widget on iPhone and Apple Watch — so the reminder is always visible, right on the screen I check dozens of times a day.
A water-tracking widget puts your daily hydration progress front and center on your Home Screen, Lock Screen, and Apple Watch face. Instead of unlocking your phone, finding an app, and tapping through menus, you just glance down and tap once to log a glass. It removes nearly all the friction.
In this guide, I will walk you through the complete water tracking widget iPhone Apple Watch setup process, from choosing the right app to configuring Siri Shortcuts and troubleshooting sync issues. By the end, both your phone and your watch will be working together to keep you hydrated.
Table of Contents
- What You Need Before You Start
- Step 1: Choose and Install a Water Tracking App
- Step 2: Add a Water Tracking Widget to Your iPhone Home Screen
- Step 3: Add a Water Tracking Widget to Your iPhone Lock Screen
- Step 4: Set Up the Water Tracker on Apple Watch
- Step 5: Configure Daily Water Goals and Smart Reminders
- Step 6: Use Siri Shortcuts for Hands-Free Water Logging
- How to Sync Your Water Data with Apple Health
- Troubleshooting Common Widget Issues
- Frequently Asked Questions
- Conclusion
What You Need Before You Start
The setup process is straightforward, but a few things need to be in place first. Here is what I recommend having ready before you begin.
A compatible iPhone and Apple Watch. You need an iPhone running iOS 16 or later for Lock Screen widgets, and iOS 17 or later gives you the best widget experience overall. Your Apple Watch should be running watchOS 9 or newer for full complication support.
A water tracking app that supports widgets. Not every hydration app includes Home Screen or Lock Screen widgets, so this matters. The most popular options with full iPhone and Apple Watch widget support are WaterMinder, Waterllama, and Hydration by Metrics.
Apple Health enabled. Most quality water tracking apps integrate with HealthKit, which lets your hydration data sync automatically between your iPhone and Apple Watch. Make sure Apple Health is set up on your phone before you start.
Step 1: Choose and Install a Water Tracking App
This is the foundation of everything else, so it is worth picking the right app the first time. I tested three of the most recommended options before settling on a favorite, and each has its own strengths.
WaterMinder is the app I keep coming back to. It offers Home Screen widgets, Lock Screen widgets, a standalone Apple Watch app, smart reminders based on your body weight and activity, and HealthKit integration. Apple has featured it as App of the Day, and it has thousands of positive reviews. It is free with a premium upgrade.
Waterllama is the other top contender. It has a fun, colorful design, tracks more than just water (coffee, tea, smoothies), and includes Apple Watch support with widgets. The reminders are playful, which some people find more motivating. It is also free with premium features.
The Apple Shortcuts method is the fully free, no-third-party-app route. You create a custom Shortcut that logs water directly into Apple Health, then turn that Shortcut into a widget. It takes more setup effort but costs nothing and avoids subscription prompts entirely. I will cover this in Step 6.
Once you decide, download your chosen app from the App Store and complete the initial setup. Most apps ask for your weight, activity level, and daily water goal. You can change these later, so do not stress about getting the numbers perfect on day one.
Step 2: Add a Water Tracking Widget to Your iPhone Home Screen
This is the part most people are looking for — getting that hydration widget visible on the Home Screen. Here are the exact steps.
Step 1: Go to your iPhone Home Screen and find an empty space. Press and hold the background until the apps start to jiggle.
Step 2: Tap the plus button in the top-left or top-right corner of the screen. This opens the widget gallery.
Step 3: Scroll or search for your water tracking app (for example, WaterMinder or Waterllama). Tap it to see the available widget sizes and styles.
Step 4: Swipe through the options to preview the different widget layouts. Most apps offer a small widget showing today’s progress, a medium widget with a quick-log button, and sometimes a large widget with a weekly chart.
Step 5: Tap Add Widget, then drag it to wherever you want it on your Home Screen. Tap Done or press the home gesture to exit jiggle mode.
That is it. You now have a water tracking widget on your iPhone Home Screen. Tap it to log a drink, and the progress ring or bar updates instantly.
One tip I learned the hard way: place the widget on the first Home Screen page, not buried three screens deep. If you have to swipe to find it, you will stop using it within a week.
Step 3: Add a Water Tracking Widget to Your iPhone Lock Screen
Lock Screen widgets are one of the most underused features for hydration tracking, which is surprising because the Lock Screen is the first thing you see every time you pick up your phone. Here is how to add one.
Step 1: Lock your iPhone, then wake the screen so your Lock Screen is visible.
Step 2: Press and hold the Lock Screen until the Customize button appears at the bottom.
Step 3: Tap Customize, then tap the Lock Screen preview (not the widgets area below the clock, unless you want it there instead).
Step 4: You will see a grid of available widgets. Tap the boxes above or below the clock to add a widget there.
Step 5: Select your water tracking app from the list. Lock Screen widgets are limited to small sizes, so you will see a compact progress indicator.
Step 6: Tap Done, then tap the Lock Screen to set it.
Now every time you wake your phone, you see your hydration progress without even unlocking it. This small change made a big difference for me — I started logging water more consistently just because the reminder was always in my line of sight.
Step 4: Set Up the Water Tracker on Apple Watch
Phone reminders are easy to miss, especially when your phone is in your pocket or across the room. That is the number one complaint I saw in forums — people say they switched to Apple Watch tracking because wrist-based reminders actually get their attention. Here is how to set it up.
Install the app on your Apple Watch:
Step 1: Open the Watch app on your iPhone.
Step 2: Scroll down to the list of installed apps under My Watch.
Step 3: Find your water tracking app in the list. If it is not there, go to the Available Apps section and tap Install next to the app name.
Step 4: Once installed, tap the app in the list to configure settings like default cup size, daily goal, and whether reminders should come from the watch.
Add a water complication to your watch face:
Step 1: Press and hold your current watch face.
Step 2: Tap Edit, then swipe all the way left to the Complications screen.
Step 3: Tap a complication slot you want to use (such as a corner slot or the middle area, depending on your watch face).
Step 4: Scroll through the list and select your water tracking app.
Step 5: Press the Digital Crown to save and return to the watch face.
Now your daily water progress is visible on your wrist at all times. Tap the complication to open the app and log a drink directly from the watch, no phone needed.
Step 5: Configure Daily Water Goals and Smart Reminders
A widget is only useful if it is tracking toward a goal that makes sense for you. Here is how to dial in your settings.
Set a realistic daily water goal. Most apps start with a default based on your body weight — typically around 2 to 3 liters per day. If you are very active or live in a hot climate, consider bumping that up. You can always adjust it later based on how you feel.
Customize your cup sizes. This is a step people skip, but it saves time. If you always drink from the same water bottle, set that exact volume as a quick-log option. For example, I set a 500ml bottle, a 250ml glass, and a 200ml coffee cup as my three presets. One tap and the right amount is logged.
Enable smart reminders on both devices. In your app settings, turn on reminders and set the window — for example, 8 AM to 9 PM. Decide whether you want reminders on your iPhone, Apple Watch, or both. I recommend both, because the watch taps your wrist and the phone shows the widget, giving you two chances to actually take a sip.
Space out your reminders. Instead of a single reminder at noon, set them every two hours. Smaller, frequent nudges are far more effective than one big reminder that you dismiss and forget.
Step 6: Use Siri Shortcuts for Hands-Free Water Logging
This is the feature most guides skip, and it is also one of the most powerful. You can create a Siri Shortcut that logs water into Apple Health using just your voice. It costs nothing and works with or without a third-party app.
Step 1: Open the Shortcuts app on your iPhone.
Step 2: Tap the plus button to create a new shortcut.
Step 3: Tap Add Action and search for Log Water or Add Sample. Under Health, select Log Health Sample.
Step 4: Set the Health Sample Type to Dietary Water, enter the amount (for example, 250ml), and save the shortcut.
Step 5: Name the shortcut something easy to say, like Log Water.
Step 6: Now you can say Hey Siri, Log Water and it records a glass instantly, hands-free.
You can also turn this shortcut into a Home Screen widget using the Shortcuts widget, giving you a free water logging button without any third-party app. Several Reddit users in the AppleWatch and iOS communities confirmed this is their preferred method because it avoids subscriptions entirely.
How to Sync Your Water Data with Apple Health
HealthKit integration is what ties everything together. When your water tracking app syncs with Apple Health, your iPhone and Apple Watch stay in sync automatically. Here is how to make sure it is enabled.
Open the Settings app on your iPhone, scroll to Privacy and Security, then tap Health. Under Apps, find your water tracking app and make sure it has permission to write water data to Apple Health. If this permission is off, your watch will not see water you log on your phone, and vice versa.
You can also check inside the app itself. Most apps have a Health Sync or Apple Health toggle in their settings. Turn it on and grant write access for water or dietary data. Once enabled, logging a drink on either device updates the other within seconds.
Troubleshooting Common Widget Issues
Widgets are generally reliable, but a few issues come up again and again in forums. Here are the most common problems and how I fix them.
The widget is not updating after I log water. This usually means background refresh is off. Go to Settings, then General, then Background App Refresh, and make sure it is enabled for your water tracking app. Also try removing and re-adding the widget, which forces a refresh.
My iPhone and Apple Watch are out of sync. Check that both devices have Apple Health write permission enabled (see the previous section). If they do, try opening the app on your watch — this often forces a manual sync. Restarting both devices resolves lingering sync glitches.
I am not getting water reminders on my Apple Watch. Open the Watch app on your iPhone, go to your water tracking app settings, and confirm notifications are enabled. Also check that Do Not Disturb or Focus mode is not blocking them during the day.
The widget disappeared after an iOS update. iOS updates can occasionally reset widget configurations. Just re-add the widget following the steps in Step 2. Your data is not lost — it is stored in the app and Apple Health.
Frequently Asked Questions
How to add a water tracker to an Apple Watch?
Install a water tracking app like WaterMinder or Waterllama through the Watch app on your iPhone, then press and hold your watch face, tap Edit, swipe to Complications, and select the water tracker for a slot on your watch face.
Is there an iPhone water tracker widget available?
Yes. WaterMinder, Waterllama, and several other hydration apps offer Home Screen and Lock Screen widgets on iPhone. You can also create a free widget using the Shortcuts app to log water directly into Apple Health.
What is the best water tracking app with a widget?
WaterMinder is the most popular choice, offering Home Screen widgets, Lock Screen widgets, a standalone Apple Watch app, smart reminders, and full HealthKit integration. Waterllama is a strong alternative with a more playful design and multi-beverage tracking.
What is the best water tracking app for Apple Watch?
WaterMinder is widely considered the best Apple Watch water tracker because it includes a standalone watch app, custom complications, and wrist-based reminders. Waterllama also offers solid Apple Watch support with complication integration.
Conclusion
Setting up a water-tracking widget on your iPhone and Apple Watch takes about 15 minutes, and it is one of those small changes that pays off every single day. Once your hydration progress is visible on your Home Screen, Lock Screen, and watch face, drinking enough water stops being something you have to think about and starts becoming automatic.
The key steps are choosing an app with good widget support, adding widgets to both your Home Screen and Lock Screen, installing the app on your Apple Watch with a complication, configuring reminders that match your routine, and enabling Apple Health sync so everything stays in sync. If you want to skip paid apps entirely, the Siri Shortcuts method gives you a free, fully functional water logging widget.
Pick one app, follow the steps above, and start logging today. Within a week you will notice the difference in how you feel.