
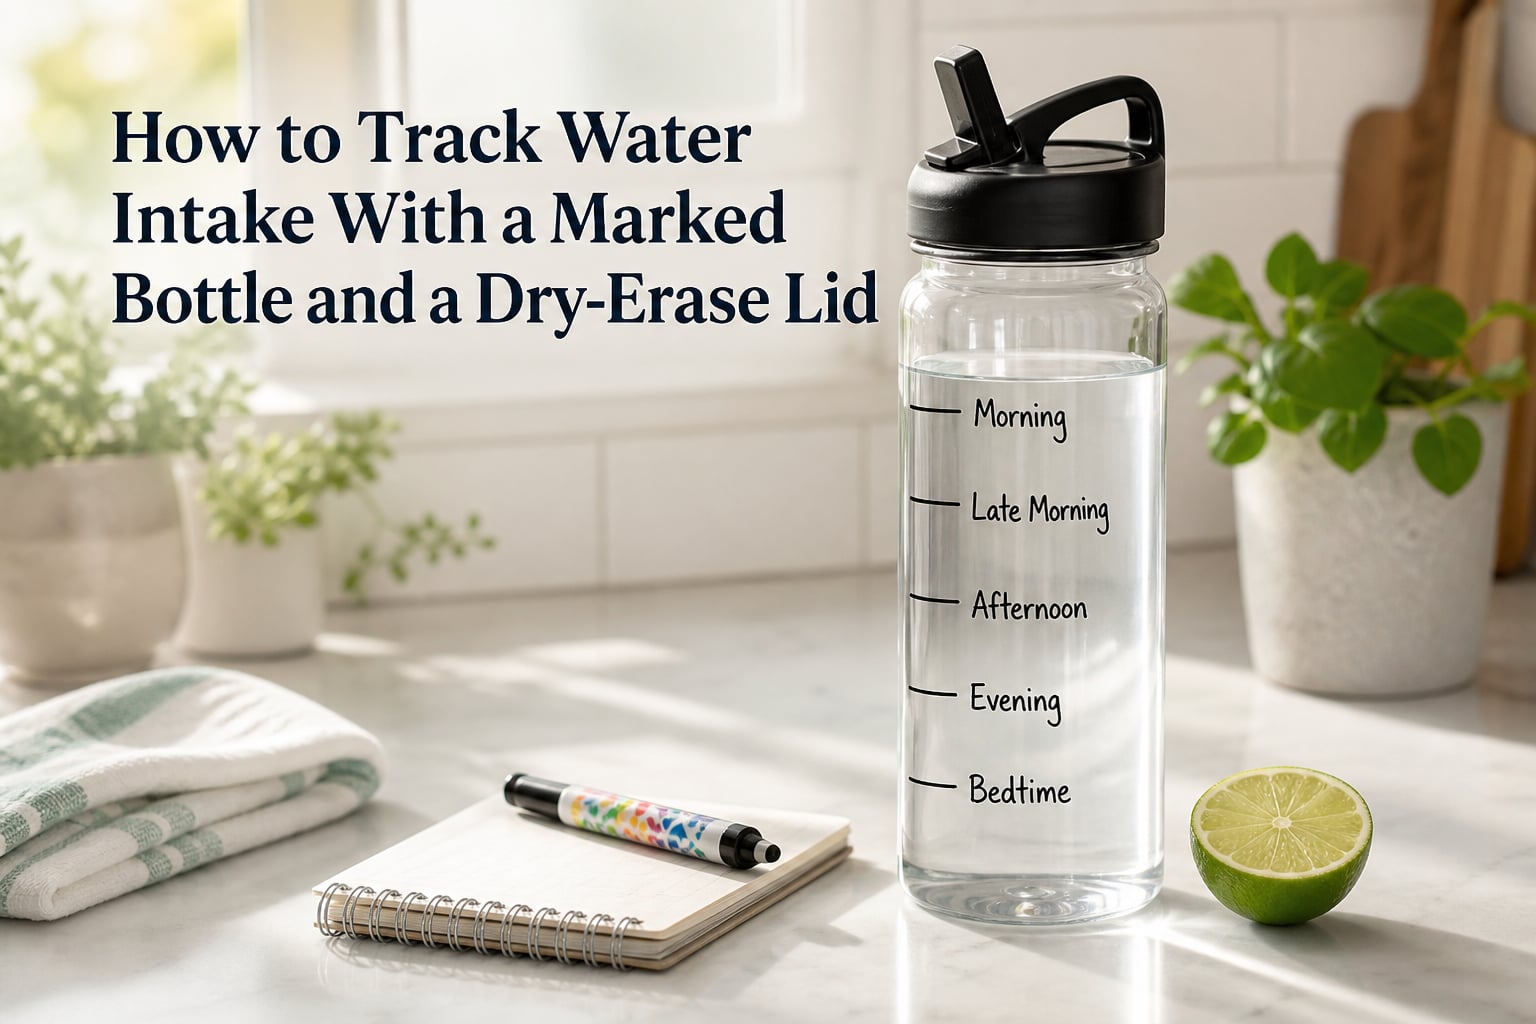
Staying hydrated sounds simple until life gets busy and you realize it’s 3 PM and you’ve had one glass of water all day. I’ve been there more times than I can count. That’s why I want to share how to track water intake using nothing more than a marked bottle and a dry-erase lid — no apps, no subscriptions, no fancy gadgets.
This method takes about five minutes to set up and has helped me consistently hit my daily water goals. If you have tried and failed to drink enough water each day, this visual tracking system might be exactly what you need.
Table of Contents
Why This DIY Hydration Tracker Actually Works
Most hydration apps rely on you remembering to log every sip. That is exactly where they fail — you get distracted, skip a log entry, and the whole system falls apart by lunchtime.
A marked water bottle solves this problem by putting your progress right in front of your eyes. You do not need to open an app or check a notification. You just look at the bottle sitting on your desk and instantly see where you should be by 10 AM, noon, and 2 PM.
The dry-erase lid adds a second layer of accountability. Each morning, you write your goal for the day directly on the cap. Every time you twist it open to drink, you are reminded of that commitment. It is simple, physical, and surprisingly powerful.
What You’ll Need to Track Water Intake
You probably already have everything required for this DIY hydration tracker at home. Here is the full list:
- A reusable water bottle — ideally one you already carry daily, between 20 and 32 ounces
- A fine-tip permanent marker — for marking measurement lines on the bottle itself
- A dry-erase marker — for writing daily goals on the lid that you can wipe and reset each morning
- A ruler or measuring cup — to get accurate volume markings
- Rubbing alcohol and a cotton pad — for cleaning old marks and making adjustments
That is it. No special equipment, no recurring costs.
How to Track Water Intake With a Marked Bottle and a Dry-Erase Lid
This is the core process. Follow these five steps and you will have a fully functional water intake tracking system ready to go in minutes.
Step 1: Choose the Right Bottle
Pick a bottle you actually enjoy carrying. If it is too heavy, leaks in your bag, or does not fit your cup holder, you will stop using it within a week.
I recommend a clear or translucent bottle so you can see the water level at a glance. Opaque metal bottles work too, but you will need to rely more on the time-based marks than visual volume checks. A 32-ounce bottle is ideal because it holds about a third of your daily water goal in a single fill.
Step 2: Calculate Your Hourly Water Goal
A common recommendation is to aim for roughly half your body weight in ounces of water per day. So if you weigh 160 pounds, your target is about 80 ounces. Divide that by your waking hours — say 16 hours from 6 AM to 10 PM — and you get roughly 5 ounces per hour.
For weight loss support, some people prefer to aim higher. Talk to your doctor about what makes sense for your body, activity level, and climate. Once you have your daily total, divide it by the number of hours you want to spread it across.
Write down your hourly target. You will use this number in the next step.
Step 3: Mark the Bottle with Time-Based Lines
Take your permanent marker and draw a horizontal line on the side of the bottle at the water level that corresponds to each hour’s goal. Next to each line, write the time you should reach that level.
For example, on a 32-ounce bottle with a goal of 5 ounces per hour starting at 7 AM, your first mark would be at the 5-ounce line labeled “8 AM.” The next mark at 10 ounces would say “9 AM,” and so on.
If your bottle tapers at the top, the visual distance between marks will look uneven even though the volume is the same. That is normal and actually helpful — it gives you a quick visual sense of whether you are ahead or behind.
Step 4: Write Daily Goals on the Lid with Dry-Erase Marker
Now for the part that makes this system unique. Take your dry-erase marker and write today’s goal directly on the bottle lid. Keep it short and motivating.
Examples that have worked well for me:
- “80 oz today — you’ve got this”
- “Refill #1 by 10 AM”
- “3 bottles = done”
- “Monday: full send”
The dry-erase ink wipes off easily at the end of the day with a tissue or your finger. That means you can customize the message every single morning. Some days I write a goal number, other days I write a quick motivational note. It keeps the habit fresh.
Step 5: Track and Update Throughout the Day
Now you just drink and check. Every time you take a break, glance at the water level relative to your time marks.
If the water is above the current time line, you are ahead. If it is below, you know exactly how many ounces you need to catch up. This instant visual feedback is what makes the marked bottle method so effective compared to mentally tracking refills.
Each time you finish a full bottle, use the dry-erase marker to add a tally mark on the lid. By the end of the day, you can see exactly how many refills you completed.
Tips for Making This Habit Stick
The system works, but only if you use it consistently. Here is what has helped me and others keep the habit going past the first week.
Keep your bottle visible at all times. Out of sight means out of mind. If your bottle lives in your bag, you will forget it exists. Put it on your desk, on the kitchen counter, or next to your bed. Physical proximity is the single biggest factor in building a hydration habit.
Pair drinking water with existing routines. Take three gulps every time you sit down at your computer. Drink half a bottle with every meal. Finish your current mark before you check social media. These small rules remove the need for willpower.
Set a phone timer for your first week. After seven days of consistent tracking, the habit starts to feel automatic. Until then, a simple hourly buzz on your phone bridges the gap.
Make refills easy. If your bottle is annoying to wash or fill, you will avoid using it. Choose one with a wide mouth or a flip-top lid that makes topping off quick and painless.
Maintaining Your Water Tracker Over Time
Permanent marker lines will fade after weeks of handling and washing. To keep your marks sharp, go over them with the permanent marker once every two to three weeks.
If you want to change your time goals — say you shift your schedule or increase your daily target — dab rubbing alcohol on a cotton pad and wipe the old permanent marks clean. Then redraw your new lines. This is why placing marks on one side of the bottle and leaving the other side blank is smart. You always have a clean surface for adjustments.
For the dry-erase lid, a quick wipe with a dry tissue at the end of each day is all you need. If the ink starts building up or getting smudgy, a tiny drop of rubbing alcohol on a paper towel cleans it back to new.
Marked Bottle vs App-Based Tracking
You might wonder why you should bother with a physical tracker when there are dozens of free hydration apps available. Both approaches have merit, and I have used both extensively.
Apps excel at data. They calculate personalized goals, send reminders, and generate charts showing your trends over weeks and months. If you love data and analytics, an app might suit you better.
But apps fail at the moment of truth. You have to open your phone, navigate to the app, and tap a button every single time you drink water. That friction adds up. Studies on habit formation consistently show that reducing steps between cue and action is what makes habits stick.
The marked bottle removes all of that friction. The tracker IS the bottle. You cannot forget to log your water because the act of drinking automatically updates your progress. For most people, this zero-friction approach wins over the long run.
Some people combine both methods. They use the marked bottle for daily tracking and log a weekly total in an app for long-term trend tracking. That hybrid approach gives you the best of both worlds.
Frequently Asked Questions
What kind of marker works best on a water bottle lid?
A standard dry-erase marker works well on smooth plastic and metal lids. For the measurement lines on the bottle body, use a fine-tip permanent marker so the lines survive daily handling and washing.
Will dry-erase marker smudge on a bottle throughout the day?
Dry-erase ink can smudge if you handle the lid constantly. To reduce smudging, let the ink dry for about 10 seconds after writing, and avoid touching the written area. If smudging persists, try a fine-tip dry-erase marker or write on the bottom of the lid instead.
How much water should I drink each day?
A common guideline is to drink roughly half your body weight in ounces of water daily. So a 160-pound person would aim for about 80 ounces. Your actual needs vary based on activity level, climate, and overall health, so check with your doctor for a personalized target.
Can I use this method with any bottle size?
Yes. The method works with any bottle from 16 ounces to a gallon jug. You simply adjust the time-based marks to match your bottle volume and daily goal. Smaller bottles mean more frequent refills, while larger jugs need fewer marks spread across wider time intervals.
How often should I redo the marks on my bottle?
Permanent marker lines typically last two to three weeks before fading from handling and washing. Touch them up as needed. If you change your schedule or water goal, wipe old marks off with rubbing alcohol and redraw fresh ones.
Wrapping Up
Learning how to track water intake with a marked bottle and a dry-erase lid gives you a hydration system that costs almost nothing and requires zero technology. The visual feedback keeps you honest, the daily lid message keeps you motivated, and the simplicity keeps you consistent.
Grab a bottle, grab two markers, and spend five minutes setting this up today. Your future self — better hydrated, more energized, and free from app notifications — will thank you.