
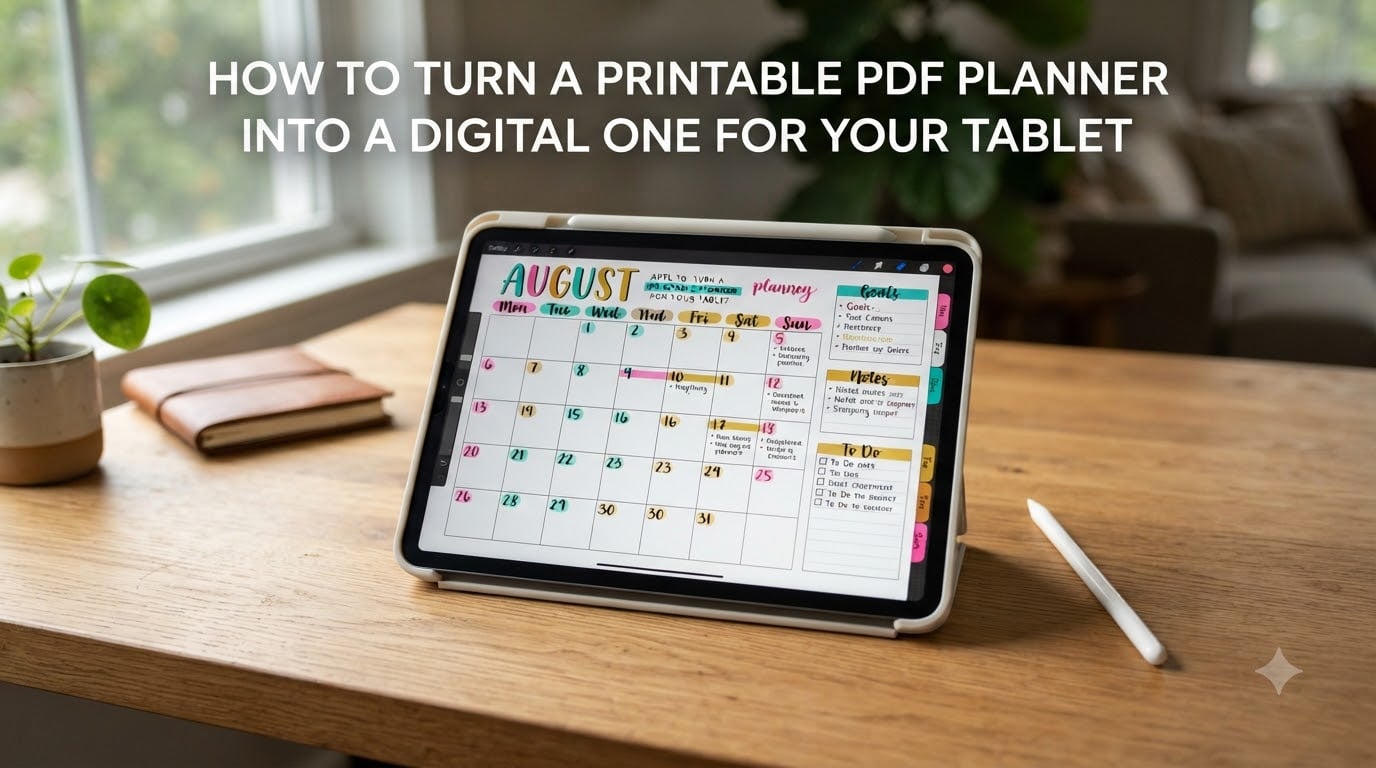
I bought a stack of gorgeous printable planners, then I realized I wasn’t actually printing them. They sat in my Downloads folder while I scribbled in the same paper notebook every day. Sound familiar?
If you’ve got printable PDF planners you’ve been meaning to use, there’s a better path. You can skip the printer, the hole punch, and the bulky binder. In 2026, I’m going to show you exactly how to turn a printable PDF planner into a digital one for your tablet, so it actually gets used.
I’ve converted more than 40 printable planners to digital over the past year, testing everything from free apps on a Samsung tablet to GoodNotes on an iPad Pro. The process is simpler than most guides make it out to be. Here’s the full breakdown.
Table of Contents
- What Is a Digital Planner?
- Tools You’ll Need to Go Digital
- Best Apps for Digital Planning
- Step-by-Step: How to Turn a Printable PDF Planner Into a Digital One for Your Tablet
- Making Printable PDFs Interactive With Hyperlinks
- Customizing Your Digital Planner
- Using Undated Planners Year After Year
- Troubleshooting Common Issues
- Frequently Asked Questions
- Conclusion
What Is a Digital Planner?
A digital planner is a PDF file designed to be written on with a stylus directly on your tablet, with hyperlinks that let you tap to jump between pages, tabs, and sections.
Think of it as the love child of a paper planner and a note-taking app. You get the visual layout and structure of a planner you already love, but instead of flipping physical pages, you tap. Instead of writing with a pen, you write with a stylus. Instead of hunting for a colored highlighter, you pick a color from a menu.
The key feature that separates a true digital planner from any old PDF is hyperlinks. These are invisible (or visible) tap-targets on the page that jump you from your monthly spread to a specific week, or from a cover page to a habit tracker. Without hyperlinks, you’ve just got a static PDF on a tablet, which technically works but gets old fast.
Most printable PDF planners are NOT pre-hyperlinked. They’re designed to be printed and written on with a pen. That’s fine. We can fix that, and I’ll show you how later in this guide.
Tools You’ll Need to Go Digital
Before you start importing PDFs, you’ll need three things: a tablet, a stylus, and a PDF annotation app. Here’s what to look for.
Tablet Options
Any modern tablet works for digital planning, but some are better than others. iPads (especially iPad Air and iPad Pro) are the gold standard because of their screen quality, palm rejection, and app ecosystem. Android tablets from Samsung, Lenovo, and Boox also work well, particularly with Samsung Notes and Penly. Windows tablets and 2-in-1s can run OneNote and Xodo, though the experience feels less natural for stylus writing.
If you’re starting from scratch, I’d recommend an iPad with at least 64GB of storage. Planners don’t take much space (a typical undated planner is 15-30MB), but stickers and sticker books add up fast.
Stylus Recommendations
The Apple Pencil (2nd gen or USB-C) is the best stylus for iPad. It charges magnetically, has excellent pressure sensitivity, and doesn’t need pairing. For Android, the Samsung S Pen ships with most Galaxy Tab models and has zero latency. For Windows, the Surface Pen is solid.
If you’re on a budget, third-party styluses with active capacitive tips work fine for basic planning. You lose some pressure sensitivity and palm rejection, but the price difference is significant.
PDF Annotation Apps
This is where the magic happens. You need an app that lets you import a PDF, write on it with your stylus, and save your work. The best options are GoodNotes, Notability, OneNote, Penly (Android), and Xodo (cross-platform). I’ll compare them in detail in the next section.
Best Apps for Digital Planning
Not all PDF apps are created equal for planning. After testing these on both iPad and Android tablets, here are the four I recommend.
GoodNotes (iPad, Mac, Windows)
GoodNotes is my top pick. It has excellent handwriting recognition, smooth pen-to-paper feel, robust organization into folders and notebooks, and the easiest PDF import process. The search feature can even find text in your handwriting, which sounds gimmicky but is genuinely useful when you’re hunting for an old note.
It costs around $10 as a one-time purchase (not a subscription), which is rare in 2026. It’s worth every penny if you plan to use a digital planner daily.
Notability (iPad, Mac)
Notability is the main alternative to GoodNotes. It has a slightly cleaner interface and built-in recording feature (handy if you’re a student). The downside: Notability changed to a subscription model in 2022, and many long-time users (myself included) migrated to GoodNotes because of it.
If you’re starting fresh and don’t mind a subscription, Notability works fine for basic planning. But for serious planner use, GoodNotes still wins.
OneNote (Windows, iPad, Android, Free)
OneNote is the best free option if you’re platform-agnostic or on a budget. It runs on Windows, iPad, Android, and even the web. The handwriting experience isn’t as smooth as GoodNotes, but it gets the job done. Plus, it syncs automatically across all your devices through your Microsoft account.
For someone who wants to dip a toe into digital planning without spending money, OneNote is the lowest-friction starting point.
Penly and Samsung Notes (Android)
If you’re on a Samsung tablet, Samsung Notes comes pre-installed and works well with the S Pen. Penly is a third-party app that’s gained traction in the digital planning community for its smooth handwriting and good PDF handling. Both are free or low-cost.
Penly is particularly popular for Android-based digital planners because it has features similar to GoodNotes, including shape recognition and lasso tool.
Step-by-Step: How to Turn a Printable PDF Planner Into a Digital One for Your Tablet
This is the core process. I’ve broken it into clear steps so you can follow along even if you’ve never used a PDF annotation app before.
Step 1: Get Your Printable PDF Planner Ready
Download the printable PDF planner you want to convert. Most planners come from Etsy, Creative Market, or independent designer websites. The file will usually arrive as a ZIP that contains the PDF (sometimes multiple PDFs for different planner sizes).
Unzip the folder and locate the main planner file. It’s typically named something like “DailyPlanner_Undated_2026_USLetter.pdf” or similar. For tablet use, I recommend finding or downloading a planner sized for your tablet screen, usually a “GoodNotes size” of around 9.7 inches or similar.
If you only have a US Letter or A4 sized PDF, it’ll still work on a tablet. You’ll just see a smaller planner on a larger screen with some white space around it. Some people prefer this, since it lets you keep notes in the margin.
Step 2: Install a PDF Annotation App
Download GoodNotes, Notability, OneNote, or whichever app you picked from the App Store, Google Play, or Microsoft’s website. Install it and open it once to get past any onboarding screens.
If you chose GoodNotes, the first launch will walk you through creating your first notebook. You can skip this for now since you’ll be importing a PDF instead.
Step 3: Import the PDF to Your Tablet
There are several ways to get the PDF onto your tablet. Pick whichever is easiest for your setup.
Option A: Cloud Storage (Easiest)
Upload your PDF to iCloud Drive, Google Drive, Dropbox, or OneDrive. Open the cloud storage app on your tablet, locate the file, and tap to open it. Most annotation apps will offer to import the PDF when you do this. On iPad, the system “Share” button usually lets you “Open in GoodNotes” or “Open in Notability.”
Option B: Email
Email the PDF to yourself as an attachment. Open the email on your tablet, tap the attachment, and use the Share button to send it to your annotation app. This works on any tablet with email.
Option C: Direct Transfer (AirDrop, USB, etc.)
If you’re on iPad, AirDrop the file from your Mac directly. If you’re on Android, use a USB cable or Nearby Share. This is faster for large files or multiple planners.
Step 4: Set Up Your Digital Planner for Use
Once your PDF is imported into your annotation app, it’s officially a digital planner. But there are a few setup steps to make it actually usable.
First, if your planner has hyperlinks, test them. Tap a few of the tabs or month labels to make sure they navigate to the right pages. If they don’t work, your PDF isn’t actually hyperlinked, and you’ll need to add hyperlinks (covered in the next section).
Second, choose your default pen and color setup. I use a black 0.5mm pen for body text, a red pen for appointments, and a yellow highlighter for important items. You can set these as defaults in most apps so they’re ready every time you open the planner.
Third, create a “master copy” if you have an undated planner. This is the original imported PDF that you never write in directly. Each year (or month, if you’re intense about it), you duplicate the master copy and write in the duplicate. This way, you can reuse the same planner forever.
Making Printable PDFs Interactive With Hyperlinks
Here’s the part most guides skip, and it’s the biggest problem with using printable PDF planners as digital ones. Most printable planners aren’t hyperlinked because they’re meant to be printed. Without hyperlinks, you’re stuck scrolling through 200+ pages to find your weekly spread.
There are a few workarounds.
Option 1: Add Hyperlinks Yourself
If you’re comfortable with design tools, you can add hyperlinks to your printable PDF using Canva (free), Adobe Acrobat (paid), or a free online tool like PDFescape. The process typically involves:
1. Opening the PDF in your chosen tool.
2. Adding a transparent or visible link box over each tab or section label.
3. Linking the box to the destination page (for example, linking the “May” tab to page 25).
4. Saving the updated PDF.
This is tedious for large planners but worth it if you plan to reuse the planner for years. I hyperlinked a 90-page undated planner in about 90 minutes while watching TV. Saved me dozens of hours of scrolling over the lifetime of the planner.
Option 2: Use Bookmarks Instead
If adding hyperlinks feels too technical, use your app’s bookmark feature instead. In GoodNotes, tap the bookmark icon and add a bookmark to every important page (monthly views, goal trackers, habit pages, etc.). When you need to jump to one, open the bookmarks panel and tap.
This isn’t quite as smooth as true hyperlinks, but it’s much easier to set up. And it works on any PDF, hyperlinked or not.
Option 3: Use Outline View
Most annotation apps display a thumbnail view of all pages. You can scroll through the thumbnails to find your spot. It’s slower than hyperlinks but requires zero setup. Sometimes the simplest solution is the best one.
Customizing Your Digital Planner
Once your planner is imported and set up, the fun part begins. Customization is what makes digital planning feel less like a chore and more like a creative hobby.
Stickers and Sticker Books
Digital stickers are PNG files with transparent backgrounds that you paste onto your planner pages. Most sticker packs are sold on Etsy, often grouped by theme (florals, minimal, fitness, meal planning). You import them into GoodNotes as a separate image file, then copy and paste them onto your pages.
Sticker books are simply collections of stickers organized in a single PDF or image file. You flip through them and copy whichever sticker you want onto your planner.
Templates and Page Duplication
If a planner page doesn’t quite work for your needs, duplicate it and customize the copy. In GoodNotes, you can duplicate a page, then move elements around, add text boxes, or paste in different stickers. This is much harder to do with a paper planner.
Color Coding
Set up different pen colors for different categories: work, personal, fitness, finances. Some planners come with color-coded sections already, but you can add your own system. Color coding makes it instantly clear what kind of item you’re looking at when you flip back through old pages.
Using Undated Planners Year After Year
Undated planners are the secret weapon of digital planning. Buy once, use forever. The trick is the master copy approach I mentioned earlier.
Import your undated planner as a “master” notebook. Don’t write in it. When you’re ready to start a new year or quarter, duplicate the master, then write the dates onto the duplicate. Your original stays pristine, ready to be duplicated again next year.
This works especially well for goal trackers, habit trackers, and weekly spreads that don’t have fixed dates. It’s also a great way to test a planner before committing to a dated version.
Troubleshooting Common Issues
Not every import goes smoothly. Here are the issues I’ve run into most often, and how to fix them.
The PDF Won’t Open in My Annotation App
First, check that the file is actually a PDF and not a ZIP or other compressed format. Some planner purchases arrive as ZIPs that you need to extract first.
If the file is genuinely a PDF but won’t open, it might be password-protected or corrupted. Re-download it from the original source. If it still won’t open, contact the planner seller. Most will send you a replacement.
Hyperlinks Don’t Work After Import
This is the most common complaint in digital planning forums. If hyperlinks aren’t working, your PDF likely wasn’t hyperlinked to begin with, or the links were stripped during compression.
To test, open the PDF in a regular PDF viewer (like Adobe Acrobat or Preview on Mac). If the links don’t work there, they were never there. Use the bookmark workaround I described earlier, or add hyperlinks yourself.
The Planner Appears Too Small on My Tablet Screen
If your PDF is US Letter or A4 sized, it’ll look smaller than the tablet screen. You can either zoom in (pinch to expand) or use a planner that’s specifically designed for your tablet size.
Some planners come in multiple sizes. Check the file folder. There’s usually an “iPad” or “GoodNotes” version alongside the print version.
My Stylus Lag or Skip
If your stylus isn’t tracking smoothly, the issue is usually the screen protector. Some matte screen protectors create drag and roughness that feels laggy. Try removing the protector or switching to a smoother one.
Also check that your stylus is charged. Low battery is the most common cause of inconsistent tracking.
Frequently Asked Questions
What is the best digital planner app for iPad?
GoodNotes is the top choice for iPad. It has smooth handwriting, easy PDF import, folder organization, and a one-time purchase price. Notability is the main alternative, though it now requires a subscription.
Is there a free digital planner available for Android tablets?
Yes. Samsung Notes comes pre-installed on Samsung tablets and works well with the S Pen. Penly is a free third-party app with GoodNotes-like features. OneNote is also free and works on Android, iPad, and Windows.
Can I use any printable PDF as a digital planner?
Yes, any PDF can technically be imported and written on with a stylus. However, printable PDFs typically lack hyperlinks, so navigation requires scrolling or bookmarks. Adding hyperlinks yourself or using your app’s bookmark feature solves this.
How do I add hyperlinks to a non-interactive PDF?
Use Adobe Acrobat, Canva, or a free online tool like PDFescape to add link boxes to each tab and section. Link each box to the destination page number, then save and re-import the updated PDF into your tablet.
Does Google have a digital planner?
Google doesn’t have a dedicated digital planner app, but you can use Google Slides or Google Docs to create simple planner pages and mark them up on a tablet. Google Drive also lets you store PDF planners and import them into third-party annotation apps.
What is the best digital planner for 2026?
For 2026, the top-rated digital planner apps are GoodNotes (iPad), Notability (iPad), Samsung Notes (Android), Penly (Android), and OneNote (cross-platform). The best choice depends on your tablet and whether you prefer a paid app or free option.
Conclusion
Converting a printable PDF planner into a digital one for your tablet comes down to four steps: pick a PDF annotation app, import the PDF, add hyperlinks or bookmarks for navigation, and start writing.
You’ve now got everything you need to turn that stack of printable PDFs into a planner you’ll actually use. Pick a planner from your Downloads folder, choose GoodNotes or OneNote depending on your budget, and import it today. Within ten minutes, you’ll be writing in a digital planner that’s reusable for years.