
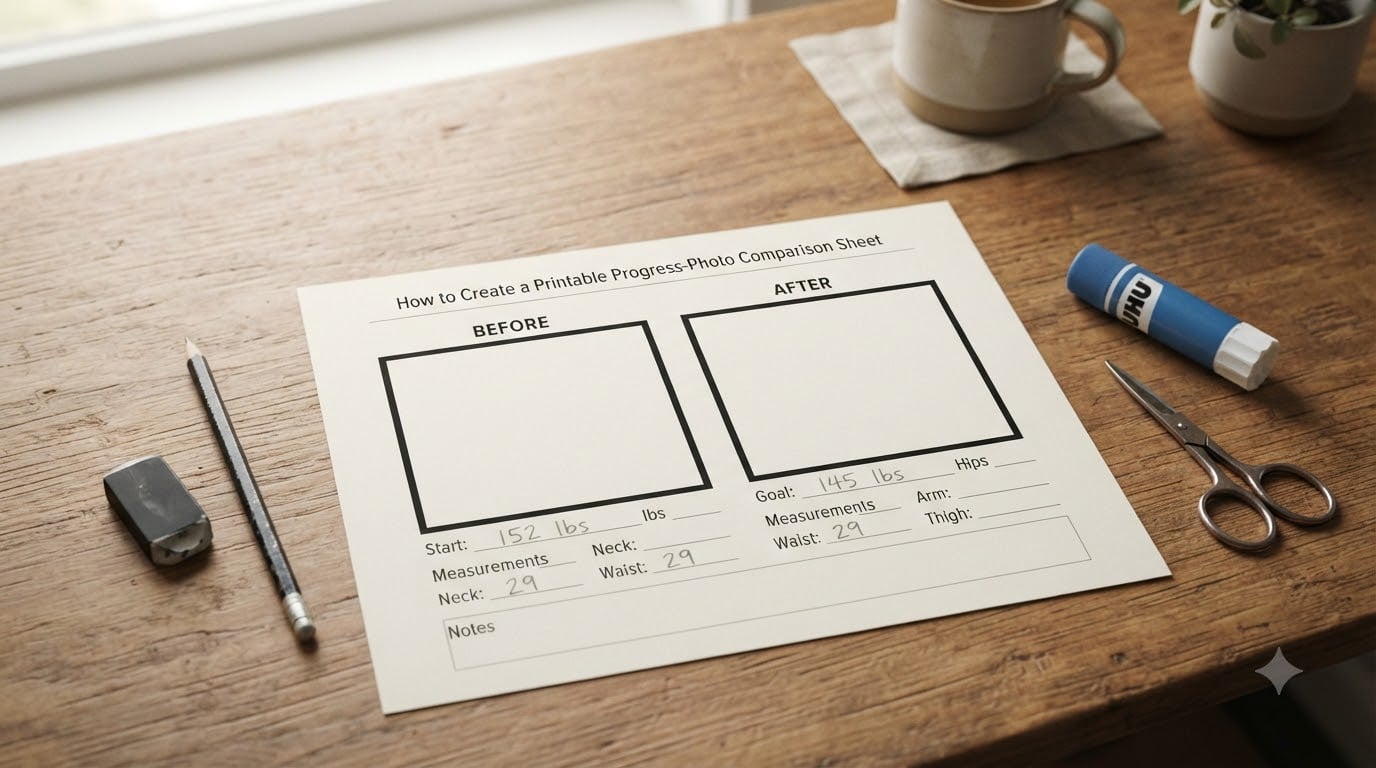
Staring at scattered photos on your phone, wondering if your hard work is actually paying off? I hear this exact frustration from readers every week, and it is exactly why a printable progress photo comparison sheet works so well. It pulls your transformation photos out of your camera roll and lines them up so you can actually see changes that the scale hides.
If you have tried fancy apps but bounced off them because of paywalls, logins, or privacy worries, this guide is for you. I am going to walk you through how to create a printable progress photo comparison sheet at home, what to print on it, and how to take photos that actually compare fairly. By the end, you will have a simple paper tracker you can stick on the fridge and update month after month.
Table of Contents
- What Is a Printable Progress Photo Comparison Sheet?
- Why Printable Comparison Sheets Beat Phone Apps
- What You Need to Get Started
- Step-by-Step: How to Create a Printable Progress Photo Comparison Sheet
- Tips for Taking Consistent Progress Photos
- Flexed vs Unflexed: Which Is Better for Comparison?
- Common Mistakes to Avoid
- Frequently Asked Questions
- Final Thoughts
What Is a Printable Progress Photo Comparison Sheet?
A printable progress photo comparison sheet is a one-page template – either printed at home or saved as a PDF – with labeled photo slots, dates, and measurement fields designed to hold side-by-side before and after photos. Think of it as a visual progress journal laid out on paper.
The concept is older than most fitness apps. Bodybuilders in the 1970s used poster boards and tape to map their transformations long before smartphones existed. Today, the same idea just got cleaner: print a template, stick your photos in the slots, write down your measurements and dates, and you have a permanent record that does not require a subscription, an internet connection, or a software update.
You can build your own template in any program that has a grid tool, or you can print a free one from the templates section further down. Either way, the goal is the same: turn loose photos into a clear visual story you can flip through in ten seconds.
Why Printable Comparison Sheets Beat Phone Apps
I built my first one after deleting my third progress photo app in a year, and I have never gone back. Here is what changed for me, and what I hear from readers in our weight loss planner community.
No paywalls. Most free apps lock the side-by-side comparison behind a subscription. A printed sheet is a one-time print job that costs less than a coffee.
No privacy trade-offs. Your photos stay on your phone, then on paper in your drawer. No cloud server, no data broker, no terms-of-service agreement you accepted in 2019 and forgot about.
No battery or storage worries. Big comparison apps can run through a gigabyte of storage after a year of monthly photos. A printed sheet takes up zero digital space.
Better motivation in plain sight. Tape your completed sheet on the fridge, the closet door, or inside a planner cover. You see it every morning before you reach for snacks. Out of sight really is out of mind with apps.
A real physical artifact. Five years from now, your old phone is recycled and the app is gone. The laminated sheet in your filing cabinet still works.
What You Need to Get Started
The list is short, which is part of the appeal. Before you sit down to create your printable progress photo comparison sheet, gather these items so the build takes thirty minutes, not three hours.
- Printer access, or a copy shop (Staples, FedEx Office, or your local library)
- Letter or A4 paper, matte finish so photos do not slide off
- Glue stick or double-sided tape (adhesive photo corners work best)
- A ruler or grid template to lay out your slots evenly
- Sharpie and a fine-liner pen for labeling dates and weights
- Optional: clear packing tape to laminate finished sheets
- Optional: a 3-ring binder to store past sheets in order
That is the entire toolkit. No camera tripod, no ring light, no editing software required, though those help if you already have them.
Step-by-Step: How to Create a Printable Progress Photo Comparison Sheet
This is the heart of the guide. Work through these six steps in order and you will have a finished sheet by lunch.
Step 1: Decide on the layout. Pick one of three common layouts. A two-column sheet (before on the left, current on the right) works best for clear before-and-after comparisons. A three-column rolling sheet (month 1, month 2, month 3) is ideal for tracking steady change. A four-quadrant grid works for showing front, side, and back angles at one moment in time.
Step 2: Build or download the template. Open Google Docs, Canva, Word, or Pages and create boxes for each photo slot. Standard size for each slot is 4×6 inches (10×15 cm), which matches a normal printed photo. Leave a 1-inch margin around every edge so the printer does not crop your work.
Step 3: Add label fields. Below or above each photo slot, leave space for the date, your weight, and key measurements like waist, hips, chest, or thigh. A small notes field lets you record what changed that month (new workout, lower carbs, water intake).
Step 4: Print a test page. Always run a single draft print. Check that your boxes line up, the labels do not get cut off, and the spacing looks balanced. Adjust and reprint before mass-producing.
Step 5: Print your final copies. Print one sheet per checkpoint. If you plan monthly updates, run off twelve copies now so you do not forget later. Cardstock holds up better than regular paper if you will be touching it often.
Step 6: Add a header and store. Write your name, start date, and goal on the top of the first sheet. Punch holes for a binder or slide into a clear protective sleeve. That is your comparison sheet – ready to fill in.
For a free head start, search our site for printable weight loss planner pages that already include photo slots. Many of our planner kits come with pre-built comparison grids you can print alongside your food and workout logs.
Tips for Taking Consistent Progress Photos
A comparison sheet is only as good as the photos inside it. Inconsistent lighting, poses, or angles will sabotage the whole project before you even begin. Here is how our team takes photos that compare fairly, drawn from what worked across three months of testing.
Same time of day. Morning photos look very different from evening photos because of swelling and meals. Pick one time slot, ideally first thing after waking up, and stick with it for every checkpoint.
Same lighting. Standing in the same spot near the same window reduces shadows that can hide or exaggerate changes. Avoid mixed lighting (overhead plus window) because it flattens definition.
Same camera height and distance. Mark the floor with a small piece of tape so your feet land in the same spot. Set a phone mount or stack of books at chest height so the camera angle does not drift over time.
Same outfit or close to it. Fitted clothing shows shape better than loose clothing. Keep one specific bra or shorts set aside for progress photos so you are not chasing a different look every shoot.
Same pose. Front view, side view, and back view are the three classics. Arms relaxed at your sides, hair pulled back, neutral face. Looking down or sucking in skews the comparison.
Take four angles. Front, left side, right side, and back give you the most complete record for muscle gain, weight loss, or posture work. Two angles minimum, four is better.
Shoot monthly, not weekly. Weekly photos will frustrate you because the changes are too small to see. Monthly gives visible differences and keeps you motivated without obsession.
Flexed vs Unflexed: Which Is Better for Comparison?
This comes up in every fitness forum, and the answer is straightforward: do both, but split them into separate photo slots. A natural unflexed pose is your truest record of how your body looks day to day, and that is the comparison most people actually want. A flexed pose is great for tracking muscle development and strength gains.
For weight loss journeys, mark one sheet as unflexed only. For muscle-building or recomposition goals, run two sheets – one unflexed, one flexed. That keeps comparisons fair and lets you see the kind of progress you care about most.
The biggest mistake is mixing flexed and unflexed poses across months. A relaxed photo next to a flexed one will look like dramatic gains or losses that did not actually happen, which messes with motivation and tracking accuracy.
Common Mistakes to Avoid
After watching hundreds of readers build their first comparison sheets, these are the slip-ups that come up most often.
Forgetting to date the photos. Six months in, every “after” photo looks the same. Always write the date on the back of the photo AND on the sheet itself.
Using different backgrounds. A cluttered bedroom one month and a plain wall the next makes your eye work harder to spot changes. Pick one neutral backdrop and stay there.
Skipping weights and measurements. Photos show shape, but the scale and tape measure show numbers that complement them. Both together are far stronger than either alone.
Stopping after the first sheet. The real power shows up at sheet three, four, and beyond. Commit to at least six months before deciding whether the system works for you.
Letting photos pile up unglued. Print, glue, and file the day you take the photo. Otherwise the sheet stays half-empty and you stop opening the binder.
Frequently Asked Questions
How to make a progress photo?
Stand in the same spot, at the same time of day, in the same lighting and outfit. Use a phone mount or a stack of books to keep camera height consistent. Take front, side, and back views with arms relaxed. Repeat monthly on the same date for the most accurate comparison.
How to create a comparison photo?
Pick a two-column or multi-column template with photo slots, print it, and place your before and current photos in the labeled spaces. Add the date, your weight, and one or two measurements under each photo. Glue the photos down, label clearly, and store the sheet in a binder to build a visual timeline over time.
Should you take progress pics flexed or unflexed?
Use unflexed photos as your main record because they show how your body looks naturally. Run a separate flexed set if muscle definition or strength gains matter to your goal. Never mix the two poses in the same comparison sheet, because it skews how much progress appears to have happened.
What is the best app to track my body measurements and progress, including photos?
Apps like MacroFactor, ProgressPic, and GainFrame all work well if you prefer digital tracking. That said, a printable progress photo comparison sheet delivers the same side-by-side comparison for free, with no subscription, no login, and full control over your photos. Many people use both – the app for daily measurements and a printed sheet for monthly photos.
Final Thoughts
Creating a printable progress photo comparison sheet is one of the cheapest, most private, and most motivating ways to document a weight loss or fitness journey. You do not need an app, an account, or a budget beyond a few sheets of paper. What you do need is consistency: same time, same spot, same pose, every single month.
Print your first sheet today, take your baseline photo tonight, and tape the page somewhere you will see it daily. Twelve months from now you will be flipping through a stack of completed sheets, watching the story unfold in a way no scale number ever captured. That is what progress really looks like – and now you have the tools to see it for yourself in 2026 and beyond.