
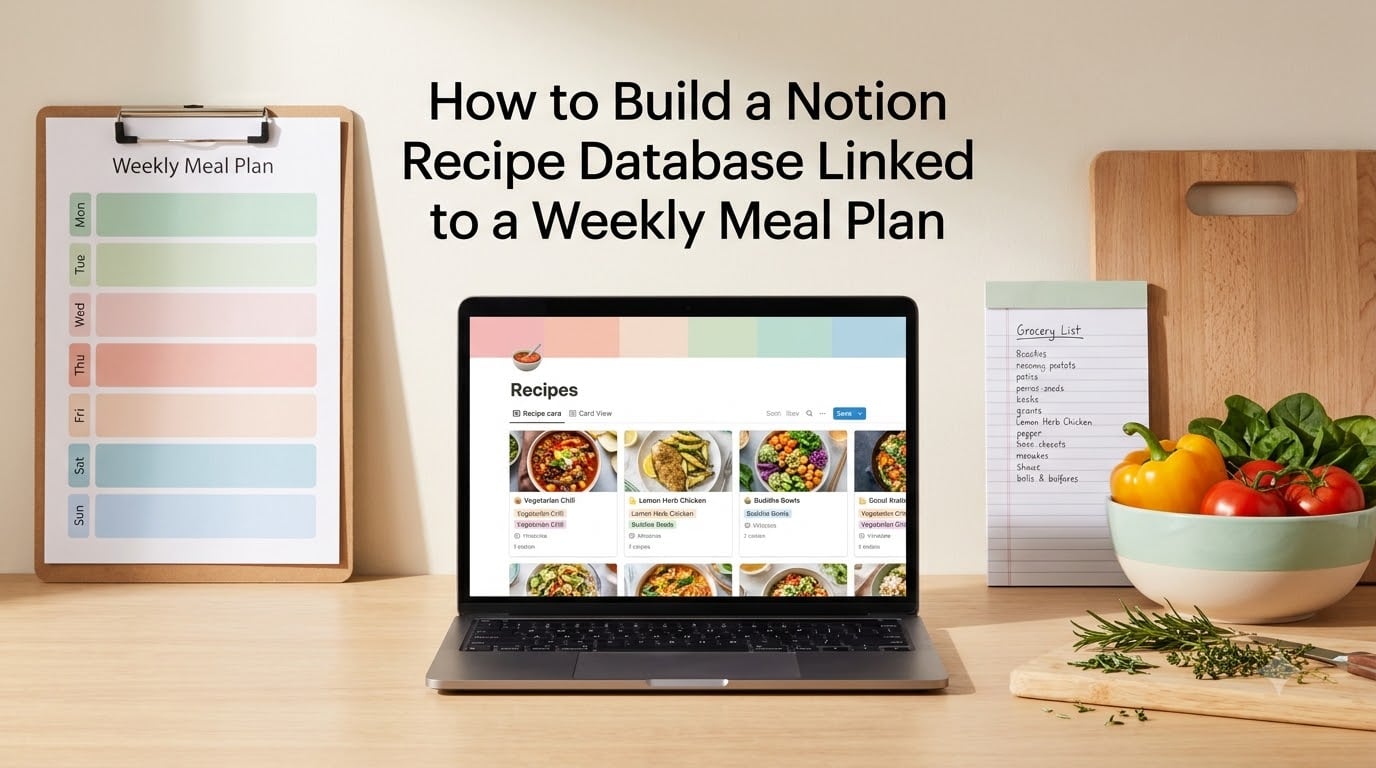
Last spring, I spent an entire Sunday afternoon searching through browser bookmarks, dog-eared cookbooks, and a Notes app graveyard trying to remember where I saved my chili recipe. That was the moment I decided to build a single home for every recipe I cook and a weekly meal plan that actually pulls from it. Two months later, my grocery list is half the length it used to be, and I waste almost no food. This guide walks you through exactly how to build a Notion recipe database linked to a weekly meal plan, step by step, even if you have never touched a Notion database before.
If you have ever wished your recipes, meal plans, and shopping lists lived in the same place, this is for you. I will show you the same system I built, refined with feedback from hundreds of Notion users on Reddit and from the productivity creators I follow. By the end, you will have a working setup that saves you time every single week.
Table of Contents
- Why Use Notion for Meal Planning
- Understanding Notion Databases Before You Build
- How to Build a Notion Recipe Database Linked to a Weekly Meal Plan
- Step 1: Create a New Page for Your Meal Planning Hub
- Step 2: Turn the Recipes Page Into a Database
- Step 3: Set Up the Recipe Database Properties
- Step 4: Add Recipes to Your Database
- Step 5: Create Filtered Views for Faster Browsing
- Step 6: Build Your Weekly Meal Planner Database
- Step 7: Create an Auto-Generated Grocery List
- Tips for Starting Simple and Scaling Later
- Using Notion Mobile for Meal Planning on the Go
- Advanced Ideas: Macros, Calendar Sync, and Family Sharing
- Frequently Asked Questions
- Final Thoughts
Why Use Notion for Meal Planning
Yes, you can absolutely use Notion for meal planning. In fact, it is one of the few apps that lets you build a custom recipe database linked to a weekly meal plan without writing code. Notion combines notes, databases, calendars, and checklists in one workspace, which means your recipes, weekly meal plan, and grocery list can all live in the same place and talk to each other.
I tested at least six dedicated meal planning apps before settling on Notion. The kitchen-table truth is that every specialized app locked me into a structure that did not match the way I cook. Some forced me to log in to add a recipe. Others capped the number of saved recipes on the free plan. Notion removed those limits because I own the database and I decide what fields it has.
Here is why Notion works so well for this specific job:
- It is free for personal use, with unlimited pages and blocks.
- You can build a custom recipe database with any properties you want, including prep time, cuisine, and dietary tags.
- Linked databases and the relation property let one recipe power many weeks of meal plans.
- Filtered views act like saved searches, so you can show only quick weeknight dinners or only vegan recipes.
- The mobile app means you can check your meal plan at the grocery store.
The biggest advantage, though, is that Notion lets you build a recipe database linked to a weekly meal plan in one afternoon. Once it is set up, your weekly planning time drops to about 15 minutes.
Understanding Notion Databases Before You Build
Before you touch a single button, let me explain three Notion concepts that most beginners skip. Skipping them is exactly why so many people get stuck on Reddit asking why their grocery list is not auto-updating.
What Is a Notion Database
A Notion database is a structured collection of pages, like a spreadsheet where each row is its own page. You can view a database as a table, a board, a calendar, a gallery, or a list. The same data looks different depending on the view. For our purposes, each recipe will be a row in a table, and each column will be a property like name, cook time, or cuisine.
What Are Database Properties
Properties are the columns of your database. Notion supports many property types: text, number, select, multi-select, date, checkbox, URL, and relation. Each property gives you a way to filter, sort, and group your recipes later. When you build a Notion recipe database linked to a weekly meal plan, the properties you choose now decide everything you can do later.
What Are Relations in Notion
A relation is a property that links one database to another. This is the magic behind the whole system. When you create a relation between your Recipe database and your Meal Planner database, picking a recipe in your meal plan pulls the recipe card directly into that page. It is what makes the connection between the two databases work.
Got it? Good. Let us build.
How to Build a Notion Recipe Database Linked to a Weekly Meal Plan
This is the core of the guide. I have broken it into seven steps. Follow them in order and your system will be live by the end. I built my first version in about 90 minutes, and I was being thorough.
Step 1: Create a New Page for Your Meal Planning Hub
Open Notion and create a new page. Title it something like “Meal Planning Hub” or “Kitchen HQ.” This page will hold both your Recipe database and your Meal Planner database. Keeping them on one parent page makes linking easier later and keeps your workspace tidy.
Inside that page, create two sub-pages, one titled “Recipes” and one titled “Weekly Meal Plan.” You will turn these into databases in the next steps.
Step 2: Turn the Recipes Page Into a Database
On the “Recipes” page, type a forward slash and select “Table view” or simply type “/database” and choose “Database – Full page.” This converts the page into a database. Notion will give you a starter table with a few default properties called Name, Tags, and the like. Keep them for now, you will replace about half of them in the next step.
Each row in this table is a single recipe. Click into the first row and start adding your favorites. We will come back to populate recipes after the schema is right.
Step 3: Set Up the Recipe Database Properties
Properties are what make a Notion recipe database linked to a weekly meal plan useful. Here is the exact schema I recommend, with the property type in parentheses. Add these to your Recipe database by clicking the plus icon to the right of your existing columns.
- Name (Title) – the recipe name.
- Meal Type (Multi-select) – breakfast, lunch, dinner, snack, dessert.
- Cuisine (Select) – Italian, Mexican, Thai, American, Mediterranean, Indian, Chinese, Other.
- Main Ingredient (Select) – chicken, beef, pork, fish, tofu, eggs, beans, pasta, rice, vegetables.
- Prep Time (Number, in minutes).
- Cook Time (Number, in minutes).
- Total Time (Formula) – prep time plus cook time, so you can sort by fastest recipes.
- Servings (Number).
- Difficulty (Select) – easy, medium, hard.
- Diet Tags (Multi-select) – vegetarian, vegan, gluten-free, dairy-free, low-carb, high-protein.
- Source (URL) – link to the original recipe page or cookbook page.
- Last Made (Date) – when you last cooked it, so you can rotate favorites.
- Rating (Select) – 1 to 5 stars, useful for filtering your best recipes.
- Notes (Text) – personal tweaks, family votes, what to do differently next time.
Do not worry about adding every property today. I started with just Name, Meal Type, Cuisine, and Total Time, then added the rest over two weeks as I saw what I actually needed. Starting simple is the single best advice I can give you.
Step 4: Add Recipes to Your Database
Now comes the fun part. For each recipe, click into a row and fill out the properties. Inside the row, you can write the actual recipe: ingredients as a checklist, instructions as numbered steps, and a photo at the top. Notion lets you embed images, link to YouTube videos, and add any block you want inside the recipe page.
I add new recipes whenever I find one I want to try. For the first week, I added 12 of my go-to dinners. That was enough to start planning. Within two months, I had 47 recipes, and the system started paying off because I could see everything in one view.
A quick tip: paste the original recipe URL into the Source property. If a recipe falls flat, you can find the original and tweak from there. I also use the Notes field to track what my husband thinks, which keeps us from repeating the same mistake twice.
Step 5: Create Filtered Views for Faster Browsing
Views are saved filters, sorts, and layouts. They are how a Notion recipe database linked to a weekly meal plan becomes fast to use. Without views, you scroll through dozens of recipes every time you plan a week. With views, you click once and see exactly what you need.
Create these views on your Recipe database by clicking “Add a view” and choosing the format that fits each purpose:
- View: “Quick Weeknight Dinners.” Format: Table. Filter: Total Time under 30 minutes, Meal Type includes Dinner. Sort: Total Time ascending.
- View: “Vegetarian.” Format: Table. Filter: Diet Tags contains Vegetarian.
- View: “Recipe Cards.” Format: Gallery. This shows the photo of each recipe, which is great for browsing on the couch.
- View: “By Cuisine.” Format: Board. Group by Cuisine. Each column is a cuisine, and recipes stack as cards under it.
- View: “Recipes to Try.” Format: List. Filter: Last Made is empty. These are the ones you have not yet cooked.
Five views is plenty to start. Each one saves you a hunt through the full database. As you cook more, you can add a “Favorites” view filtered by Rating equals 5 stars.
Step 6: Build Your Weekly Meal Planner Database
Now create a second database on your “Weekly Meal Plan” sub-page. This time, choose the Calendar view when you create the database. Notion will lay out a calendar, and each day becomes a card.
Set up these properties for the Meal Planner database:
- Date (Date) – the day you plan to eat this meal.
- Meal Slot (Select) – breakfast, lunch, dinner, snack.
- Recipe (Relation) – this connects to your Recipe database. We will set this up in the next step.
- Servings Planned (Number) – so you can scale recipes in your head.
- Leftovers (Checkbox) – mark if you are cooking once and eating twice.
- Notes (Text) – for guests, picky eaters, or prep reminders.
To set up the Recipe relation, click the plus icon on the Meal Planner database, choose “Relation,” and select your Recipe database when prompted. Notion will ask if you want to mirror the relation on the other side. Click yes, so each recipe also shows which weeks it was used.
Now click into any day on the calendar and pick a recipe from the Recipe property. The recipe card appears inside the meal plan page. You can click through to see the full ingredients and instructions. This is the heart of your Notion recipe database linked to a weekly meal plan.
Step 7: Create an Auto-Generated Grocery List
This is the step most guides skip, and it is honestly the one that saves me the most time. There are two approaches: a simple manual list and a smart auto-generated list.
Simple approach: Create a third database on your Meal Planning Hub called “Grocery List.” Add properties for Item (Title), Category (Select) – produce, dairy, pantry, frozen, other, and Aisle (Select) so you can walk the store in order. At the end of each week, open your meal plan, scan the recipes, and add items to this database. It takes about 5 minutes.
Auto-generated approach: This is more advanced but powerful. Inside each Recipe page, structure your ingredients as a checklist where every line is a sub-item or sub-page. Then in your Meal Planner database, add a Rollup property that pulls the ingredients from the linked recipe. Notion’s Rollup can show all ingredients needed for the week when you filter the meal plan by date.
If the auto approach feels heavy, start with the simple list. Most of my readers on Reddit end up using the simple list anyway because it is faster to maintain. The auto-generated list shines when you have many recipes per week and you shop for a household of more than two.
Tips for Starting Simple and Scaling Later
The biggest mistake I made when I first built a Notion recipe database linked to a weekly meal plan was adding every property I could imagine. I had 22 columns on day one. Half of them were empty for months. Here is what I learned.
Start with only these properties: Name, Meal Type, Cuisine, Total Time, and a Relation back to your Meal Planner. Use the system for two weeks. Then ask yourself what felt missing. That is the only property that matters at that point. Add it. Use it. Repeat.
Do not create more than three views in the first week. You will change your mind about views once you have actually planned a few meals. Views are cheap to make later, but expensive to maintain early because your brain tries to optimize them.
Resist the urge to add macro tracking, calorie counts, or weight loss fields on day one. That is a separate system. Build the recipe and meal plan foundation first. Add macros when the basics feel automatic, which for me was around week six.
Using Notion Mobile for Meal Planning on the Go
The Notion mobile app is where most people get tripped up. Database views on mobile can be slower, some filters do not behave the same way, and the calendar view sometimes lags. Here is how I work around it.
Use the mobile app only for two things: checking the meal plan at the grocery store and adding a recipe when you see something interesting at a friend’s house. Do not try to plan a full week on mobile. The desktop or web app is faster for dragging and dropping meals.
Create a “Grocery Run” view on your Grocery List database that is filterable by Category. On mobile, this view loads cleanly and you can tick items as you shop. It is the single most-used screen on my phone.
If you find the mobile app too slow, turn off offline sync for databases you do not use on the go. Notion Settings, then Workspace, lets you trim which databases are pre-cached. Less data, faster app.
Advanced Ideas: Macros, Calendar Sync, and Family Sharing
Once your basic system is humming, you can layer in extras. These are the ideas that show up in only one or two competitor guides, so they are genuine upgrades.
Add Macro Tracking
Add a Calories (Number), Protein (Number), Carbs (Number), and Fat (Number) property to your Recipe database. Then in your Meal Planner, add a Rollup that sums the linked recipe’s macros. You can now see total protein for the day at a glance, which is invaluable for our Sustainable Weight Loss Plan readers.
Sync with Google Calendar or Apple Calendar
Notion database pages can be subscribed to via ICS feed. Click the dots menu on your Meal Planner database, choose “Connect to,” and copy the ICS link. Paste it into Google Calendar or Apple Calendar as a new subscription. Your meal plan days now show up on your main calendar alongside work meetings and kid pickup. This is the connection most users on Reddit ask for and few guides cover.
Share with Your Family
Click “Share” at the top of your Meal Planning Hub and invite your partner or kids. They can see the meal plan, comment on recipes, and even add their own. If you want to control who can edit, give everyone “Can edit” access but lock the database structure itself by not letting them change properties. We have a separate guide on family-friendly Notion setups if you want to go deeper.
Use Templates for Repeat Meals
If you cook the same 4 dinners every week, create a Notion template inside your Meal Planner database. Click the dropdown arrow next to the blue “New” button and choose “New template.” Add a recipe by default, set the meal type to Dinner, and you can drop an entire week of meals in 30 seconds.
Frequently Asked Questions
Can I use Notion for meal planning?
Yes. Notion is one of the most flexible tools for meal planning because it lets you build a custom recipe database linked to a weekly meal plan with no code. You can track recipes, plan weekly meals, and generate shopping lists all in one workspace. The free personal plan is enough for most households.
What is the 3-3-3 rule for meal prep?
The 3-3-3 rule is a simple meal prep framework: cook 3 proteins, 3 vegetables, and 3 carbohydrates on prep day. Mix and match them across the week to build different meals. In Notion, you can tag each recipe with its protein or vegetable so you can quickly see whether your weekly plan covers the 3-3-3 spread.
How do I use Notion for weekly planning?
Start by creating a database with a Date property and a Calendar view. Each day becomes a card. Add a Relation property that links back to your Recipe database so you can pick meals for each day. Filter the calendar to the current week and drag your meals into place. This is the core of any Notion recipe database linked to a weekly meal plan.
What is the best app for meal planning and recipe creation?
Notion is the best choice if you want full control and are willing to invest 1 to 2 hours setting up your system. For pure simplicity, dedicated apps like Mealime or Paprika are faster out of the box. Notion wins on flexibility, custom properties, and the ability to link recipes directly to a weekly meal plan, which is why we use it for our own kitchen.
Final Thoughts
Building a Notion recipe database linked to a weekly meal plan is one of the highest-return projects I have ever done. It took me an afternoon to set up, and it has saved me hours every single week since. The recipe is no longer a thing I have to find. The meal plan is no longer a stack of paper. The grocery list builds itself.
Start with the seven steps in this guide, give yourself two weeks to settle in, and add only what you actually need. That is how you end up with a system that lasts years instead of one you abandon in a month. If you would rather skip the setup, our team has built a free template you can duplicate directly into your own workspace. Either way, your kitchen will thank you next Sunday.