
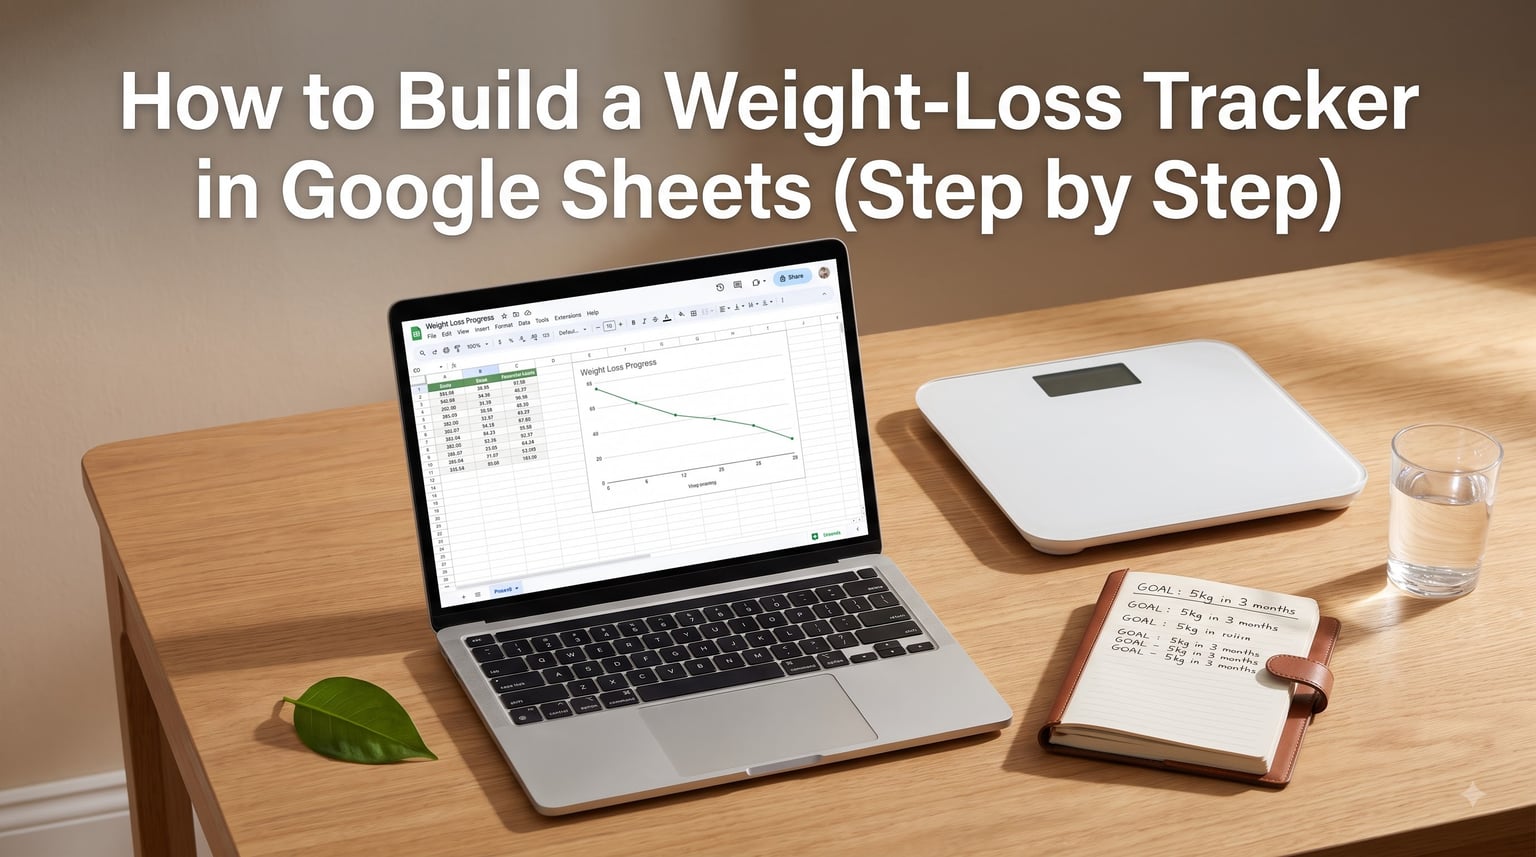
I’ve lost 38 pounds over the past 11 months, and I built my own weight loss tracker in Google Sheets to do it. In this step-by-step guide, I’ll show you exactly how to build a weight-loss tracker in Google Sheets using formulas, charts, and conditional formatting so you can stop guessing and start seeing real progress.
Google Sheets is free, works on your phone, and lets you customize every formula. By the end of this tutorial, you’ll have a spreadsheet that calculates your daily weight change, total weight lost, 7-day moving average, and goal progress automatically. I’ll also share tips I learned the hard way so your data stays accurate from day one.
Table of Contents
- Step 1: Create a New Google Sheet and Name It
- Step 2: Set Up Your Date and Weight Columns
- Step 3: Format Columns for Clean Data Entry
- Step 4: Add Weight Change Calculations
- Step 5: Build a Total Weight Loss Formula
- Step 6: Calculate a 7-Day Moving Average
- Step 7: Create Progress Charts and Conditional Formatting
- Step 8: Build a Summary Dashboard
- Tips for Accurate Weight Tracking
- Mobile Tracking Tips for On-the-Go Weigh-Ins
- Frequently Asked Questions
- Conclusion
Step 1: Create a New Google Sheet and Name It
Start by opening a fresh Google Sheet. I usually type sheets.new directly into my browser address bar, which instantly opens a blank workbook without any clicks.
Rename the file something you’ll remember, like “My Weight Loss Tracker 2026” or “Weight Loss Journey.” I keep mine in a dedicated Google Drive folder called “Health” so it stays organized alongside recipes and workout plans.
Now rename the bottom tab from “Sheet1” to something meaningful like “Daily Log.” I’ll use this tab for raw data entry. You can add more tabs later for a dashboard or notes.
Step 2: Set Up Your Date and Weight Columns
In Row 1, create your column headers. I use exactly five columns to keep the tracker clean:
- A1: Date
- B1: Weight (lbs)
- C1: Change
- D1: Total Loss
- E1: 7-Day Average
Format the Date column by selecting column A, then choosing Format > Number > Date. I prefer “MM/dd/yyyy” but pick whatever format feels natural to you.
For the Weight column, format it as a number with one decimal place (Format > Number > Number > 0.0). If you track in kilograms, just swap the column header. The formulas stay identical.
Step 3: Format Columns for Clean Data Entry
Formatting makes daily logging painless. I freeze Row 1 so the headers stay visible while I scroll through months of entries. Go to View > Freeze > 1 Row.
Next, add data validation to prevent typos. Click the Weight column header (B), then Data > Data Validation. Set the criteria to “Number” “between” 50 and 500. This catches accidental keystrokes like typing 1800 instead of 180.
For the Date column, add validation as “Date” “is a valid date.” This stops you from accidentally entering text in that field. Both validations save you from bad data breaking your formulas later.
Step 4: Add Weight Change Calculations
Now for the part that makes this tracker actually useful: automatic calculations. In cell C2, enter this formula to calculate daily change:
=B2-B1
This subtracts yesterday’s weight from today’s. Drag the formula down the column, and you’ll see daily gains and losses. I keep this column visible because small daily drops add up to massive motivation.
If you want a positive-only “loss” number (showing weight lost, not gained), use this version instead in C2:
=IF(B1>0, B1-B2, "")
Then drag down. Positive numbers mean you lost weight, negative means you gained. This framing kept me sane during week three when the scale barely moved.
Step 5: Build a Total Weight Loss Formula
Total weight loss from your starting point is the most motivating number on the sheet. In cell D2, enter:
=B$1-B2
Wait, that references the header. Let me correct that. Put your starting weight in cell F1 and label it “Starting Weight.” Then in D2, use:
=$F$1-B2
The dollar signs create an absolute reference, so when you drag the formula down, it always references F1. You’ll now see cumulative weight loss for every entry.
To display this as a percentage, add another column. In F2, enter:
=(($F$1-B2)/$F$1)*100
Format F2 as a percentage. Seeing “4.7%” next to your entry feels a lot more real than “8 pounds.”
Step 6: Calculate a 7-Day Moving Average
Daily weights fluctuate wildly because of water, salt, and meal timing. A 7-day moving average smooths the noise and reveals your true trend. In cell E2, enter:
=IF(ROW()>=8, AVERAGE(B2:B8), "")
This formula waits until you have seven entries, then averages the last seven weights. Drag it down. The 7-day average line becomes your best friend for spotting real progress versus temporary blips.
I check the moving average column weekly. When it trends down consistently for three weeks, I know my plan is working even if daily numbers bounce around.
Step 7: Create Progress Charts and Conditional Formatting
Numbers tell you what happened. Charts show you the story. Select columns A and B (Date and Weight), then click Insert > Chart.
In the Chart Editor, choose Line Chart as the chart type. Make sure the X-axis is your Date column. Add a chart title like “Weight Progress 2026” and label the Y-axis with your unit (lbs or kg).
Now add a trendline for clarity. In the Chart Editor, go to Customize > Series > Trendline. Pick “Linear” and check “Show R^2.” A downward sloping line with a strong R^2 value proves your efforts are working, even on flat weeks.
For motivational color coding, use conditional formatting. Select the Change column (C), then Format > Conditional Formatting. Set “Greater than 0” to red (weight gain) and “Less than 0” to green (weight loss). Every green cell is a tiny celebration.
Step 8: Build a Summary Dashboard
A dashboard gives you the headline numbers at a glance. Create a new tab called “Dashboard” by clicking the “+” at the bottom of your sheet.
In this tab, add these summary formulas in column A:
- Current Weight:
=INDEX('Daily Log'!B:B, COUNTA('Daily Log'!B:B)) - Starting Weight:
='Daily Log'!F1 - Total Loss:
=B1-B2(referencing your dashboard cells) - Goal Weight: Enter your target manually, like 165
- Remaining:
=B2-B4 - Days Tracking:
=COUNTA('Daily Log'!A:A)-1 - Average Loss Per Week:
=(B3/B7)*7
Bold the totals, increase the font size, and add borders. I check this tab every morning before my coffee. The numbers reset my focus.
Tips for Accurate Weight Tracking
After 11 months of daily weigh-ins, I’ve learned that consistency beats precision. Weigh yourself at the same time every day. I do mine right after waking up and after using the bathroom, before eating or drinking.
Wear the same clothes (or none) each time. A heavy bathrobe can add a full pound to your reading. Place your scale on hard flooring, not carpet, because soft surfaces shift the reading by up to two pounds.
Don’t panic over single-day spikes. Sodium, carbs, and hormones cause water retention that disappears within 48 hours. The 7-day moving average you added in Step 6 filters out exactly this noise.
Mobile Tracking Tips for On-the-Go Weigh-Ins
The Google Sheets app on iOS and Android is a full-featured editor. I log my weight the moment I step off the scale, standing in my bathroom. No laptop needed.
Add the Sheets app to your phone’s home screen for one-tap access. On iPhone, you can also use Siri shortcuts to open your tracker hands-free. Voice typing works inside cells too, so you can say “one seven two point five” and have it transcribe to 172.5.
If you travel often, log your weight as soon as you have cell service. The Google Sheets app stores entries offline and syncs automatically when you reconnect. I never lost a single entry during a two-week cruise.
Frequently Asked Questions
How to create a weight loss tracker on Google Sheets?
Open sheets.new, name your file, then create columns for Date, Weight, Change, Total Loss, and 7-Day Average. Add the formulas shown in Steps 4 through 6 of this guide, then insert a line chart from your data. The whole setup takes about 15 minutes.
How can I create a calorie tracker in Google Sheets?
Add three new columns next to your weight log: Calories In, Calories Out, and Net Calories. Use simple subtraction for net calories, then create a SUMIF formula to total weekly intake. You can also add a calorie goal column to show remaining calories each day.
How to make a tracker in Google Sheets?
Start with a blank sheet, label your first row with column headers, then add data validation to prevent bad entries. Use formulas like AVERAGE and IF for calculations, and Insert u0026gt; Chart to visualize your data. Freeze Row 1 so headers stay visible while scrolling.
Can you provide me with a spreadsheet template for tracking weight loss?
You can copy this entire guide into your own Google Sheet to use as a starter template. Many weight loss communities on Reddit also share free downloadable templates. Search r/loseit for ‘Google Sheets template’ to find community-tested versions.
Conclusion
You now have everything you need to build a weight-loss tracker in Google Sheets that calculates progress automatically. From the basic Date and Weight columns to the 7-day moving average and dashboard, every formula does the math so you can focus on showing up.
My biggest piece of advice: start today, even if the spreadsheet is rough. I’ve rebuilt my tracker four times over 11 months, and each iteration taught me something new about what I actually needed to see. Set up the basics, weigh in tomorrow morning, and let the data guide your next step.
Bookmark this guide so you can come back when you’re ready to add calorie tracking, exercise logging, or custom dashboards. The best weight loss tracker is the one you actually use every day.