
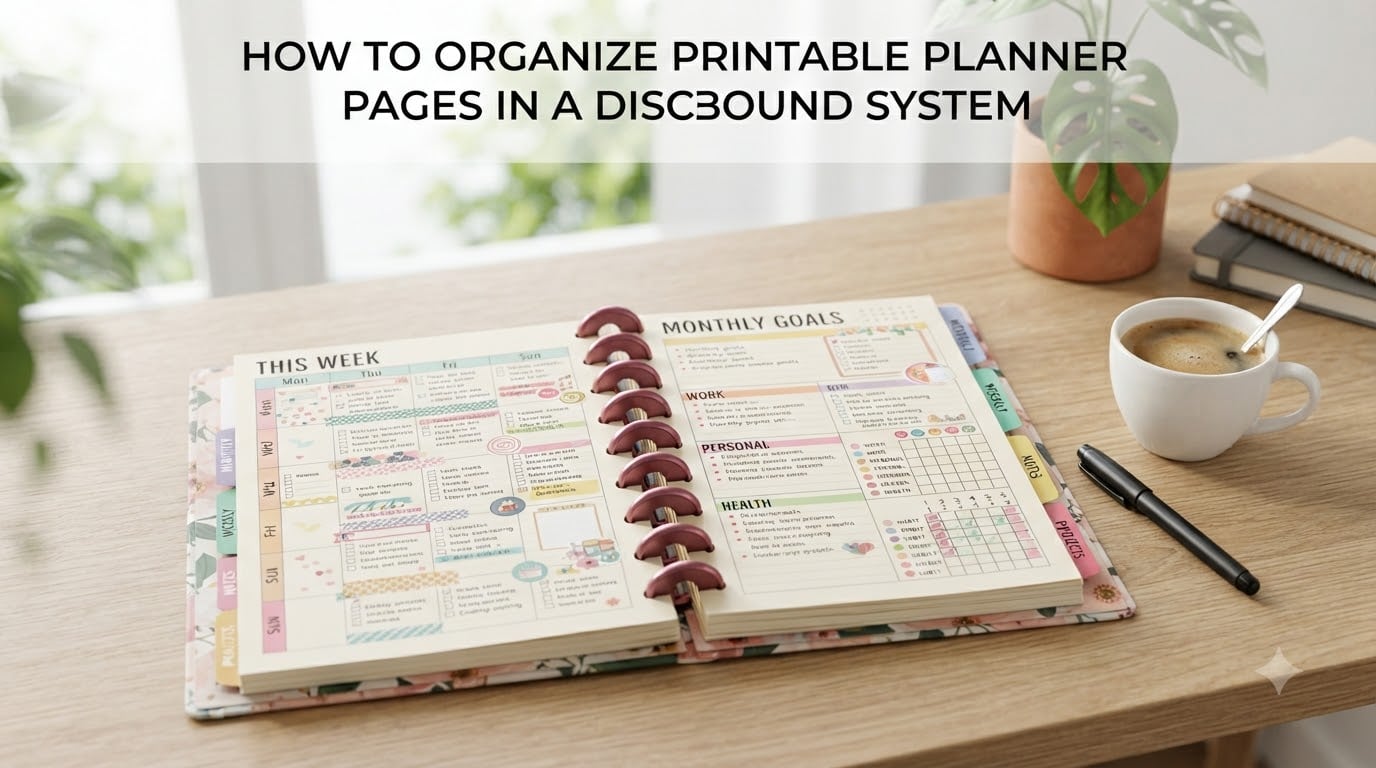
If you have ever printed a stack of gorgeous planner pages and then stared at them wondering what goes where, you are in the right place. Learning how to organize printable planner pages in a discbound system completely changed the way I plan. The discbound format gives you the flexibility of a ring binder with the clean, flat-lay feel of a spiral notebook, which means your printables finally have a home that adapts to you instead of the other way around.
I have spent the last several years testing different discbound setups, from simple daily planners to full home management binders. Along the way I discovered that the real challenge is not punching the pages or buying the right discs. The challenge is creating an organization system that actually works for your daily life and does not fall apart after two weeks of use.
In this guide I will walk you through everything from choosing the right supplies to establishing a page order that makes sense. Whether you are building your first discbound planner or reorganizing a system that has gotten out of control, these steps will help you create something that stays functional and looks great.
Table of Contents
- What Is a Discbound Planner System?
- Why Discbound Is Perfect for Printable Planner Pages
- Essential Supplies for Organizing Printable Planner Pages in a Discbound System
- How to Organize Printable Planner Pages in a Discbound System: Step by Step
- Page Order Strategies: Chronological, Functional, or Project-Based
- Section and Divider Strategies for Discbound Planners
- Fixing the Awkward Page Turning Problem
- Mixing Printable and Pre-Made Pages Effectively
- Tips for Rearranging and Maintaining Your Discbound Planner
- Frequently Asked Questions
- Start Organizing Your Discbound Planner Today
What Is a Discbound Planner System?
A discbound planner system uses round discs with a small raised lip along the edge to hold pages together. You punch your pages with a specialized discbound punch that creates a mushroom-shaped hole, and the pages slide onto the discs and hang securely in place. The magic is that you can lift any page off the disc at any time to add, remove, or rearrange it without damaging the paper.
This differs from traditional three-ring binders because there are no rings to open and close. It differs from spiral binding because the pages are not permanently locked in. You get the best of both worlds: a sleek profile that lays completely flat and a binding that lets you reorganize on a whim.
The major discbound brands include the Staples Arc, Levenger Circa, TUL from Office Depot, and the Happy Planner by MAMBI. Most discs and pages are interchangeable between brands, which means you can mix components to build exactly what you need.
Why Discbound Is Perfect for Printable Planner Pages
Printable planner pages are the natural companion to a discbound system. When you print your own pages, you control the layout, the size, the colors, and the content. Discbound binding lets you slot those printables in wherever they make sense and move them whenever your needs change.
I tried ring binders first, and the biggest problem was bulk. Three-ring binders are thick, the rings get in the way when you write near the spine, and pages sometimes tear out. Discbound solves all three issues. The discs sit flat against the page, your writing hand glides across the spread without interruption, and pages stay put until you deliberately remove them.
The flat-lay capability is what sold me. When you open a discbound planner, both pages sit flat on the desk. That means you can write edge to edge without fighting a spiral or a bulky ring. For printable pages where every inch of space matters, this matters more than you might think.
Another advantage is scalability. You can start with a small set of discs and add larger ones as your planner grows. If you only need a thin weekly planner one month and a thick project binder the next, the same cover and punched pages work across multiple disc sizes.
Essential Supplies for Organizing Printable Planner Pages in a Discbound System
Before you start organizing, make sure you have the right tools. The wrong punch or the wrong paper weight will turn this into a frustrating experience. Here is what I recommend based on years of trial and error.
Discbound Hole Punch
The single most important tool is a discbound-specific punch. You cannot use a standard three-hole punch or a spiral punch. The discbound punch creates a distinctive shape that wraps around the disc lip. Popular options include the Staples Arc punch, the Happy Planner punch, and the Levenger Circa punch. Some punches handle heavier paper better than others, so if you plan to print on cardstock, check the punch specifications first.
Discs
Discs come in different diameters, typically ranging from half-inch up to one and a half inches. Smaller discs hold fewer pages, which keeps your planner slim and portable. Larger discs let you pack in hundreds of pages, which works well for comprehensive home management binders. I recommend starting with medium discs, around three-quarter inch, until you know how many pages your system needs.
Cover and Back Panel
You need a sturdy front cover and back panel to protect your pages. Options range from clear plastic covers to laminated cardstock to vegan leather portfolios. If you carry your planner in a bag, invest in a durable cover that will not bend.
Dividers and Tabs
Dividers separate your sections and make navigation fast. You can buy pre-made tabbed dividers designed for discbound systems, or you can make your own from cardstock. Laminated dividers last longer and stand up to daily flipping.
Paper for Printing
Standard 20-pound printer paper works for most planner pages, but heavier 24-pound or 28-pound paper feels better and holds up longer. For dividers or frequently referenced pages, consider 32-pound or even cardstock. Test your printer with heavier paper before printing a large batch.
How to Organize Printable Planner Pages in a Discbound System: Step by Step
This is the core process I use every time I set up or reorganize a discbound planner. Follow these four steps and you will have a functional system in under an hour.
Step 1: Punch Your Printable Pages Correctly
Start by printing all your pages and letting the ink dry completely. Stack them neatly and feed them into your discbound punch in small batches. Most punches handle a few sheets at a time, so do not force a thick stack through or the holes will come out uneven.
Align each page against the punch guide before pressing down. Misaligned holes mean the page will sit crooked on the discs and turn poorly. Take five extra seconds per page to line it up properly, and you will avoid frustration later.
If you are punching heavy paper or cardstock and the punch jams, do not force it. Remove the paper, punch one sheet at a time, and check the punch mechanism for paper scraps between punches.
Step 2: Sort Pages by Function Before Inserting
Lay all your punched pages on a table and group them by function before anything goes on the discs. Common categories include calendars, weekly spreads, daily pages, meal planning, budget tracking, fitness logs, project trackers, and notes. Sorting first means you will not be pulling pages on and off the discs while trying to figure out your layout.
I learned this the hard way. The first time I set up a discbound planner, I inserted pages as I went and ended up with a mess of mixed categories. Sorting ahead of time takes ten minutes and saves you from a frustrating reorganization session.
Step 3: Establish a Logical Page Order
Once your pages are sorted, decide on the order they will appear in the planner. The most effective order depends on how you use your planner day to day. I cover three specific strategies in the next section, but the general principle is this: put the pages you reference most often at the front, and archive or reference pages toward the back.
Place dividers between each major section. Tab the dividers clearly so you can flip to the right section without scanning through pages.
Step 4: Insert Pages Without Damaging the Discs
To insert pages, hold the page at a slight angle and hook the punched holes over the top of the discs. Press gently downward and the mushroom-shaped hole will slide over the disc lip. Work from the spine outward, sliding each hole onto its corresponding disc.
Never force a page straight down onto a disc. The disc lip is designed to flex, but aggressive pushing can bend the lip and cause turning problems. Smooth, angled insertion is the key.
When you need to remove a page, reverse the motion. Lift the page at an angle and slide it off the discs. With practice, this becomes second instinct and takes about two seconds per page.
Page Order Strategies: Chronological, Functional, or Project-Based
One thing I noticed when researching this topic is that no existing guide covers page order logic in any meaningful depth. That is a problem because page order is what separates a planner you actually use from one that sits in a drawer. Here are three proven strategies I have tested extensively.
Chronological Organization
In a chronological setup, pages flow by date. The current week sits at the front, future weeks follow, and past weeks move to the back or get removed entirely. This approach works best if your primary planning activity is schedule management.
The advantage is simplicity. You always know where today is, and flipping forward shows upcoming commitments. The disadvantage is that non-dated pages like project trackers or reference lists do not have a natural home, so you need a separate section for those.
Functional Organization
A functional layout groups pages by what they do. All calendar pages go in one section, all meal planning pages in another, all budget pages in another, and so on. Each section is tabbed and divided, so you flip directly to the function you need.
This is my preferred approach because it mirrors how I think. When I need to plan meals, I go to the meal section. When I need to update the budget, I go to the budget section. There is no hunting through dated pages to find the right form.
The trick with functional organization is sequence within each section. Inside the budget section, for example, I put the monthly summary first, then weekly tracking sheets, then the bill payment log. Think about the order you use these tools in real life and arrange accordingly.
Project-Based Organization
If you manage multiple projects or roles, a project-based layout might work better. Each project gets its own divider and section with all related pages together. A work project section might include the project timeline, task lists, meeting notes, and reference materials all in one place.
This approach minimizes context switching. Everything related to one project lives together, so you open to that section and stay there until you move on. The challenge is that time-sensitive items across projects need a master calendar section at the front so nothing slips through the cracks.
Section and Divider Strategies for Discbound Planners
Dividers are what make a discbound planner navigable. Without them, you are flipping through a thick stack of loose pages looking for one specific form. Good dividers save time every single day.
I recommend laminated dividers with printed tabs. Laminate protects the divider from tearing at the punched edge, which is where most dividers fail over time. Printable tab labels let you customize each section name without relying on generic labels that never quite fit your system.
Place a divider at the start of every major section and make sure the tab extends beyond the page edges so it is visible when the planner is closed. Color-coding tabs by category adds a visual shortcut that helps you find sections faster.
For frequently used pages that you reference throughout the day, consider adding a second set of tabs on the side edge of the page. Side tabs and top tabs work together to give you a two-dimensional navigation system, which is especially helpful in thicker planners.
Fixing the Awkward Page Turning Problem
This is the number one complaint I found in planner communities on Reddit and Facebook. People love their discbound planners but hate how pages turn stiffly or catch on the discs. The good news is that this problem is fixable.
The most common cause is overfilled discs. When you pack too many pages onto discs that are too small, the pages press tightly together and resist turning. The solution is either to remove some pages or upgrade to larger discs. A good rule of thumb is to leave about 20 percent empty space on your discs for smooth turning.
Another cause is improperly punched pages. If the holes are punched too close to the edge or slightly misaligned, the paper catches on the disc lip instead of sliding over it. Check your punch alignment and reprint any pages with bad holes.
Finally, stiff new paper needs to be broken in. Run your thumb along the punched edge to flex the mushroom holes slightly before inserting. This helps the paper conform to the disc shape and turn more smoothly from day one.
Mixing Printable and Pre-Made Pages Effectively
No competitor guide I found covers how to mix printable pages with pre-made discbound inserts, which is surprising because almost everyone does it. You might love the pre-made monthly calendars from your Happy Planner but prefer your own custom habit tracker. Mixing the two is one of the biggest advantages of discbound.
The key is consistency. Make sure your printables are trimmed to the same size as your pre-made pages so the edges line up cleanly. If your pre-made pages are seven by nine inches and your printables are standard letter size, trim the printables down before punching.
Pay attention to paper weight too. If your pre-made pages are on heavier stock and your printables are on thin paper, the thin pages will turn differently and feel out of place. Printing on 28-pound paper is a good middle ground that matches most commercial planner pages.
Distribute printable and pre-made pages throughout the planner rather than clustering them. Interleaving keeps the planner feeling cohesive and prevents thin pages from sticking together when they are grouped.
Tips for Rearranging and Maintaining Your Discbound Planner
The beauty of discbound is that reorganization is always possible. Here are the maintenance tips I use to keep my planner functional over months and years.
Rearrange pages whenever your system stops working. If you find yourself avoiding a section or constantly hunting for a page, move things around. Discbound makes this painless, so take advantage of it. I do a full reorganization every three months to match how my planning needs evolve.
Archive completed pages regularly. When a month ends, pull out the old daily and weekly pages and store them in a separate binder or envelope. This keeps your active planner slim and easy to use. I keep a labeled manila envelope for each quarter and file completed pages there for future reference.
Watch for disc wear. Over time, the disc lip can bend slightly, especially on plastic discs. If pages start falling off, inspect the discs for bent lips and replace any that are damaged. Metal discs are more durable but also more expensive, so choose based on how heavily you use your planner.
Keep spare punched pages on hand. I keep a small stack of pre-punched blank pages behind my last divider so I can jot quick notes without searching for a punch. These blank pages slot right in and get sorted into the proper section later.
Avoid the common mistake of cramming too many pages onto discs that are too small. It damages the punched holes, makes turning stiff, and shortens the life of both the pages and the discs. When in doubt, size up.
Frequently Asked Questions
How do I organize my planner?
Start by sorting your pages into categories like calendar, tasks, budget, and notes. Place dividers between each category, arrange pages within each section by how often you use them, and insert everything onto the discs. Keep frequently used pages near the front and reference pages toward the back.
Are discbound planners good?
Yes, discbound planners are excellent for people who want flexibility. They lay flat, let you add and remove pages without damage, and can be fully customized with printable inserts. The main drawback is that the discs can interfere with writing near the spine, but pulling the page out solves this easily.
How many pages can a discbound planner hold?
It depends on disc size. Half-inch discs hold roughly 50 to 75 pages, three-quarter-inch discs hold about 100 to 150 pages, one-inch discs hold around 200 pages, and one-and-a-half-inch discs can hold 300 or more pages. Leave about 20 percent empty space for smooth page turning.
Can I use regular 3-ring hole punched pages in a discbound system?
No, you cannot. Discbound systems require a specialized punch that creates mushroom-shaped holes designed to wrap around the disc lip. Standard three-ring holes will not grip the discs and pages will fall off. You need a discbound-specific punch for all pages.
Why do my discbound pages turn awkwardly?
The most common cause is overfilled discs. When too many pages are packed onto small discs, they press together and resist turning. Try removing some pages, upgrading to larger discs, or flexing the punched holes with your thumb before inserting to help the paper conform to the disc shape.
Start Organizing Your Discbound Planner Today
Learning how to organize printable planner pages in a discbound system is a skill that pays off every single day. Once you have the right supplies, a logical page order, and a strategy for maintaining your sections, your planner becomes a tool that actually supports your life instead of adding to your stress.
Start simple. Punch your pages, sort them into a few key categories, add dividers, and get them on the discs. You can always rearrange later, and that is the whole point of going discbound. The system evolves as your needs do.
If you are new to discbound, begin with a medium disc size and a handful of printable sections. As you discover what works, expand from there. The best planner is the one you will actually use, so build something that fits your routine and enjoy the process of making it yours.