
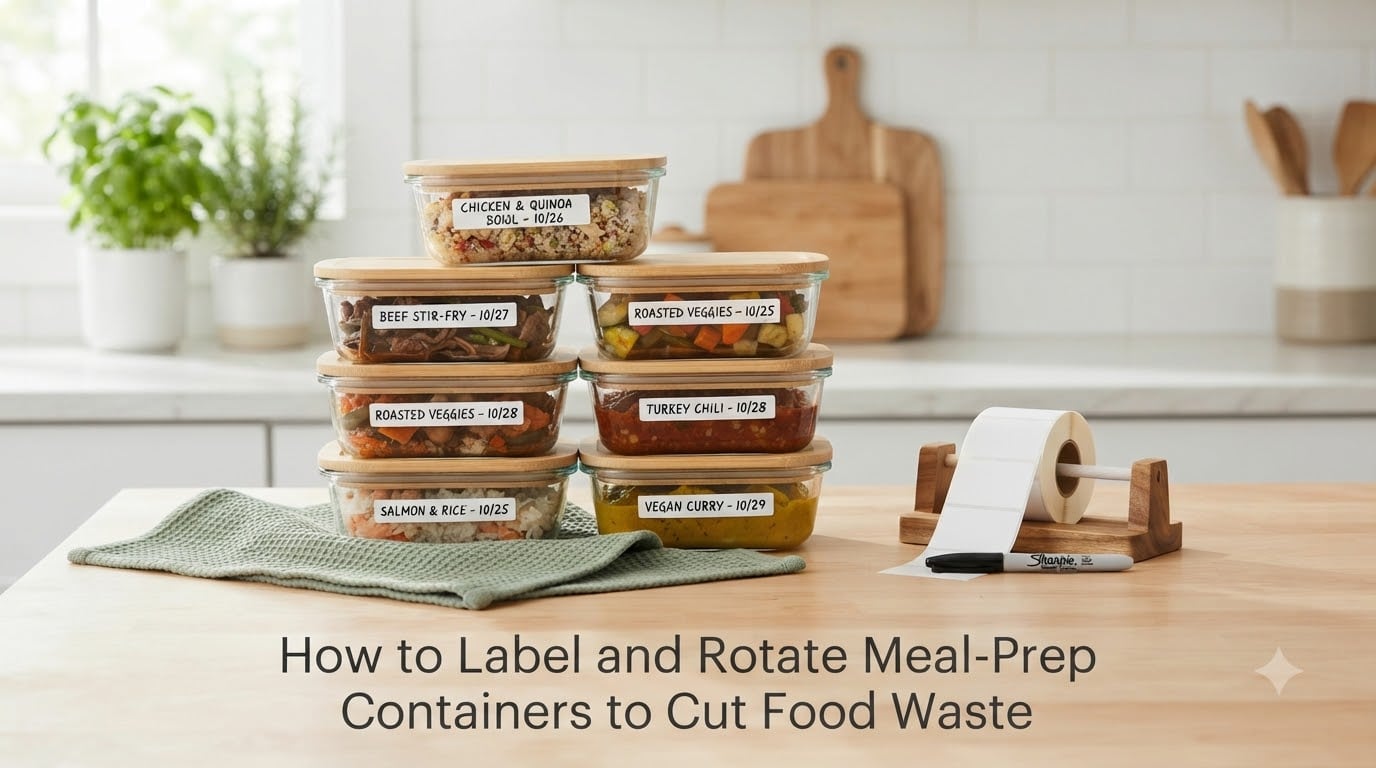
I learned about meal prep labeling the hard way. Last year, I found a Tupperware container in the back of my fridge that contained something I could no longer identify. It had been there for three weeks. I tossed it, felt guilty, and realized my “save money by meal prepping” plan was actually costing me money because I kept forgetting what I made.
That single container pushed me to build a real system. I tested labeling methods for six months, threw out dissolvable labels that fell off in the freezer, and finally landed on a workflow that has cut my family’s food waste by roughly 40%. This guide walks through exactly how to label and rotate meal-prep containers so the same thing doesn’t happen to you.
The average American household throws away about $1,600 worth of food every year. Research from the University of Minnesota shows meal prep reduces food waste by 47% compared to cooking daily. But that only works if you can actually find and use what you prepped. Labeling and rotation are the two habits that turn random leftovers into a real food inventory.
Table of Contents
- What to Label on Meal Prep Containers
- Best Labeling Methods and Tools
- FIFO Rotation Method Explained
- Step-by-Step Labeling Guide
- How to Implement a Rotation System
- The 2-2-2 Rule for Food Storage
- Container Selection and Storage Tips
- Common Mistakes to Avoid
- How to Track and Audit Your Meal Prep
- FAQs
- Conclusion
What to Label on Meal Prep Containers
Every label needs six fields. I print these on a small template I keep next to my prep station.
1. Dish name. Write the actual meal, not just the protein. “Chicken with rice and broccoli” beats “chicken” because it tells you what sides are already portioned.
2. Date prepared. The day you cooked or assembled it. This is your anchor for everything else.
3. Use-by date. Calculated from the prep date. Chicken dishes get 3 to 4 days in the fridge. Soups and stews get 4 to 5. Veggie-heavy meals get 3.
4. Reheating instructions. Microwave at 70% for 2 minutes beats “reheat.” Specific instructions stop you from nuking something until it’s rubber.
5. Allergen or dietary notes. “Contains nuts,” “low-carb,” “spicy,” or “kid-friendly.” This is a lifesaver when your partner or kids grab the wrong container.
6. Portion count. “2 servings” or “1 of 4.” This is how you track what you actually eat versus what you prep, and it informs next week’s batch sizes.
Best Labeling Methods and Tools
I tested nine different labeling methods across 200+ containers. Here is the honest breakdown of what works and what doesn’t.
Dissolvable Labels
These are my top pick for everyday fridge storage. They stick cleanly, survive fridge condensation, and disappear in the dishwasher in under 30 seconds. No scraping, no residue. The downside is they don’t survive the freezer. The adhesive cracks at low temperatures and the label falls off by week two. Use them for fridge-only rotation.
Freezer-Safe Adhesive Labels
For freezer meal prep, you need a label with acrylic adhesive. Standard office labels will not stick once frozen. I use a weatherproof label with a permanent marker. They survive six months in a chest freezer without peeling. The trade-off is residue when you remove them, so I save these labels for containers I plan to reuse less often.
Dry Erase Markers on Lids
Quick and free. Any dry erase marker works on smooth plastic lids. Wipe with a damp cloth when you empty the container. The drawback is they do not work on freezer surfaces because the ink flakes off below freezing.
Masking Tape and Sharpie
The classic budget option. A roll of masking tape and a Sharpie cost under $3 and handle both fridge and freezer if you use a freezer-safe Sharpie. Masking tape leaves a small residue but it scrubs off with a little dish soap. I keep a roll next to my prep area for last-minute labels.
Label Makers
If you prep in bulk, a label maker like a Brother P-Touch or DYMO LabelWriter pays for itself in time saved. Prints are consistent, readable, and survive both fridge and freezer with the right tape cartridge. The investment is around $40 to $80 upfront.
Chalkboard Labels
Reusable stickers you write on with chalk. Cute for glass jars but the chalk smears if the container gets wet. Best for dry pantry storage, not fridge meal prep.
FIFO Rotation Method Explained
FIFO stands for First In, First Out. The oldest items get used first. Commercial kitchens use this exact system to keep food safe and limit waste, and it works just as well in a home fridge.
The core idea is simple. When you put new containers in the fridge, push them to the back. When you pull a container to eat, grab from the front. Older food is always the most visible and accessible. Newer food waits its turn.
Why this matters for meal prep specifically: you batch cook on Sundays. By Wednesday, you have containers from Sunday, Monday prep, and Tuesday prep. Without FIFO, you eat the newest food first and the Sunday containers sit in the back until they spoil. With FIFO, you finish Sunday’s food before moving to the next batch.
The trick is labeling. FIFO only works if you can see dates at a glance. Containers arranged oldest-in-front with clear date labels remove the guesswork.
Step-by-Step Labeling Guide
Here is the exact process I follow every prep session. It takes about 10 minutes for a full weekly batch.
Step 1: Set up your labeling station. Pick one spot on your counter with your labels, markers, and a small notebook or template. Keep it stocked so you never “skip” labeling because the Sharpie walked off.
Step 2: Prepare containers before filling. Wash and dry every container. Label lids before filling, not after. It is easier to write on a flat, empty lid than a wobbly full container.
Step 3: Write all six fields. Dish name, prep date, use-by date, reheating instructions, dietary notes, and portion count. Use the same format every time so you can scan them quickly.
Step 4: Place the label in the same spot. Always put the label on the top right corner of the lid or on the front of the container. Consistency is what makes FIFO work because your eyes know where to look.
Step 5: Photograph the batch. Snap a phone photo of your finished lineup before you put it in the fridge. This serves as a backup inventory and takes 5 seconds. I started doing this after losing track of three containers in one week.
Step 6: Restock from the back. New containers always go behind existing ones. Move older ones forward as you pull them out. This is the physical act of FIFO.
Step 7: Sunday audit. Once a week, pull every container out. Toss anything past its use-by date. Note which meals you actually ate versus which you skipped. Adjust your next batch based on real data.
How to Implement a Rotation System
Labeling without rotation is just decoration. You need a system to make FIFO automatic.
Designate zones. Pick one shelf for pre-made meals. Top shelf for ready-to-eat, middle for tomorrow’s lunch, bottom for ingredients waiting to be cooked. Bake a quick mental map of your fridge and stick to it.
Use identical containers. When every container is the same size and shape, FIFO works because stacks line up. Mixing round bowls with rectangular containers creates gaps where older food gets buried.
Color code by category. Optional but powerful. Red lids for chicken, blue for vegetarian, green for seafood. You can buy 12-pack container sets with colored lids for under $20. It speeds up grab-and-go decisions by about 30 seconds per meal.
Front loading only. Commit to a rule: you never reach into the back of the fridge. If you cannot see a container, you do not eat it. This forces the rotation to actually happen.
Mark the prep day on your calendar. Sunday is prep day. Every container has a “born on” date. By tracking prep days, you always know which batch is oldest and what to pull from front.
The 2-2-2 Rule for Food Storage
The 2-2-2 rule is a simple food safety guideline that complements FIFO. It tells you how long food stays safe in different storage conditions.
2 hours at room temperature. Perishable food left out for more than 2 hours enters the danger zone (40°F to 140°F) where bacteria multiply rapidly. This is why you cool food fast before refrigerating.
2 days in the refrigerator. Most cooked meal prep is at peak quality for 2 days. After that, quality drops but it is still safe up to 4 days for most dishes.
2 months in the freezer. Frozen meal prep stays at best quality for 2 months. It remains safe indefinitely but flavor and texture degrade after that point.
Combine 2-2-2 with FIFO and you have a complete safety net. The 2-2-2 rule tells you the time window. FIFO tells you the order to use things in. Together they eliminate the two main causes of food waste: forgetting and spoilage.
Container Selection and Storage Tips
The wrong container breaks the labeling system before it starts. Here is what actually works after months of testing.
Glass Containers
Glass wins for long-term fridge storage. It does not absorb odors, stains, or colors. Microwave safe. Dishwasher safe. The downside is weight and cost. A 10-pack of glass containers runs around $35 to $50. Glass is also the easiest surface to label because dry erase markers and masking tape stick cleanly to the lid.
Plastic Containers
Plastic is lighter, cheaper, and easier to stack. Look for BPA-free and freezer-safe labels. Plastic scratches over time, and scratched plastic holds bacteria even after washing. Replace plastic containers every 12 to 18 months if you prep weekly.
Size and Shape
Buy at least 12 identical containers. Uniform size is non-negotiable for FIFO. Single-portion containers in the 24 to 32 ounce range cover most lunch and dinner meals. Buy one smaller set for snacks and sides.
Lid Labeling Area
Some lids have a recessed area or matte finish that takes marker better. Look for containers with smooth, flat lids if you plan to use dry erase or masking tape. Textured lids make labels hard to read.
Freezer-Specific Choices
For freezer meal prep, choose containers rated for -40°F or below. Leave one inch of headspace because food expands as it freezes. Skip containers with snap-lock buttons because they can crack in extreme cold. Use rigid containers rather than bags unless you have a dedicated freezer organization system.
Common Mistakes to Avoid
After talking to dozens of meal preppers and running my own experiments, these are the mistakes that show up again and again.
Skipping the use-by date. Prep date tells you when you cooked it. Use-by date tells you when to toss it. Without both, you are guessing. Always write both.
Stacking without labels on top. When you stack containers, the top lid is the one you see. If the label is on the side or bottom, you cannot read it without unstacking. Always label the top.
Mixing raw and cooked in the same container. This is a food safety issue. Cooked food on top of raw meat creates cross-contamination risk. Use separate containers and clearly mark raw preparations with “RAW” in red.
Ignoring freezer burn. Freezer burn happens when air touches food. Lid seals wear out over time. If a container does not seal completely, you will see ice crystals on the food. Replace the lid or container the moment you notice seal failure.
Refrigerating hot food in sealed containers. Steam gets trapped, raises the container temperature, and creates a breeding ground for bacteria. Let food cool to room temperature (within 2 hours per the 2-2-2 rule) before sealing and refrigerating.
Labeling too small to read. A 6-point Sharpie label is useless when you are squinting at 6 AM. Write labels big enough to read at arm’s length. A simple test: if you cannot read it from across the kitchen, redo it.
Letting the system lapse. The most common reason meal prep systems fail is two missed weeks. Skipping labels once makes it easier to skip the next time. Set a phone reminder for Sunday prep until the habit is automatic.
How to Track and Audit Your Meal Prep
Labeling and rotation are the daily habits. Tracking is the weekly check that keeps the system honest.
Every Sunday, do a 5-minute audit. Pull every container. Check dates. Toss anything past use-by. Note which meals you finished and which you skipped. This data tells you your actual consumption patterns. A meal you prepped but did not eat is waste, even if you ate something else from the batch.
For digital tracking, a simple Notes app list works. Write each container’s contents, date, and “eaten Y/N” column. After 4 weeks, you have real data to optimize your batch sizes. Most people discover they over-prep one meal and under-prep another.
If you want more structure, a basic spreadsheet with columns for prep date, meal, portions made, and portions eaten takes 2 minutes per week to maintain. After 3 months, the patterns are obvious and your grocery bill drops because you stop making food you will not eat.
FAQs
How to label food prep containers?
Write six fields on every label: dish name, date prepared, use-by date, reheating instructions, allergen or dietary notes, and portion count. Place the label in the same spot every time (top right corner of the lid works best) so you can scan your fridge at a glance. Use dissolvable labels for fridge-only meals and freezer-safe adhesive labels for anything going in the freezer.
What is the 2-2-2 rule for food storage?
The 2-2-2 rule is a food safety guideline: perishable food left at room temperature for no more than 2 hours, stored in the refrigerator for up to 2 days at peak quality, and frozen for up to 2 months at best quality. It complements FIFO rotation by giving you clear time windows for when to use each container.
How to rotate food storage?
Use FIFO (First In, First Out) rotation. Place new containers at the back of your fridge or freezer shelf and move older containers forward as you use them. Always grab from the front so older food gets eaten first. Combine FIFO with clear date labels so you can see at a glance which containers are oldest.
What are the 5 steps to reduce food waste?
The five steps are: 1) Label every container with prep date and use-by date. 2) Use FIFO rotation so older food gets used first. 3) Apply the 2-2-2 rule for storage time limits. 4) Audit your fridge weekly and toss anything past date. 5) Track what you actually eat versus what you prep, then adjust batch sizes to match your real consumption.
Conclusion
How to label and rotate meal-prep containers is less about the perfect system and more about consistency. Start with dissolvable labels and a Sharpie. Write six fields on every container. Set up FIFO rotation by placing new containers in the back. Apply the 2-2-2 rule as your safety net. Audit weekly. After 4 weeks, the habit is automatic and your food waste drops fast.
The 10 minutes you spend on labeling each week saves you 30 minutes of guessing what to eat and roughly $30 of wasted groceries monthly. Pick one method from this guide, run it for a month, and adjust from there. Your future self will thank you the next time you open the fridge and actually know what is in every container.