
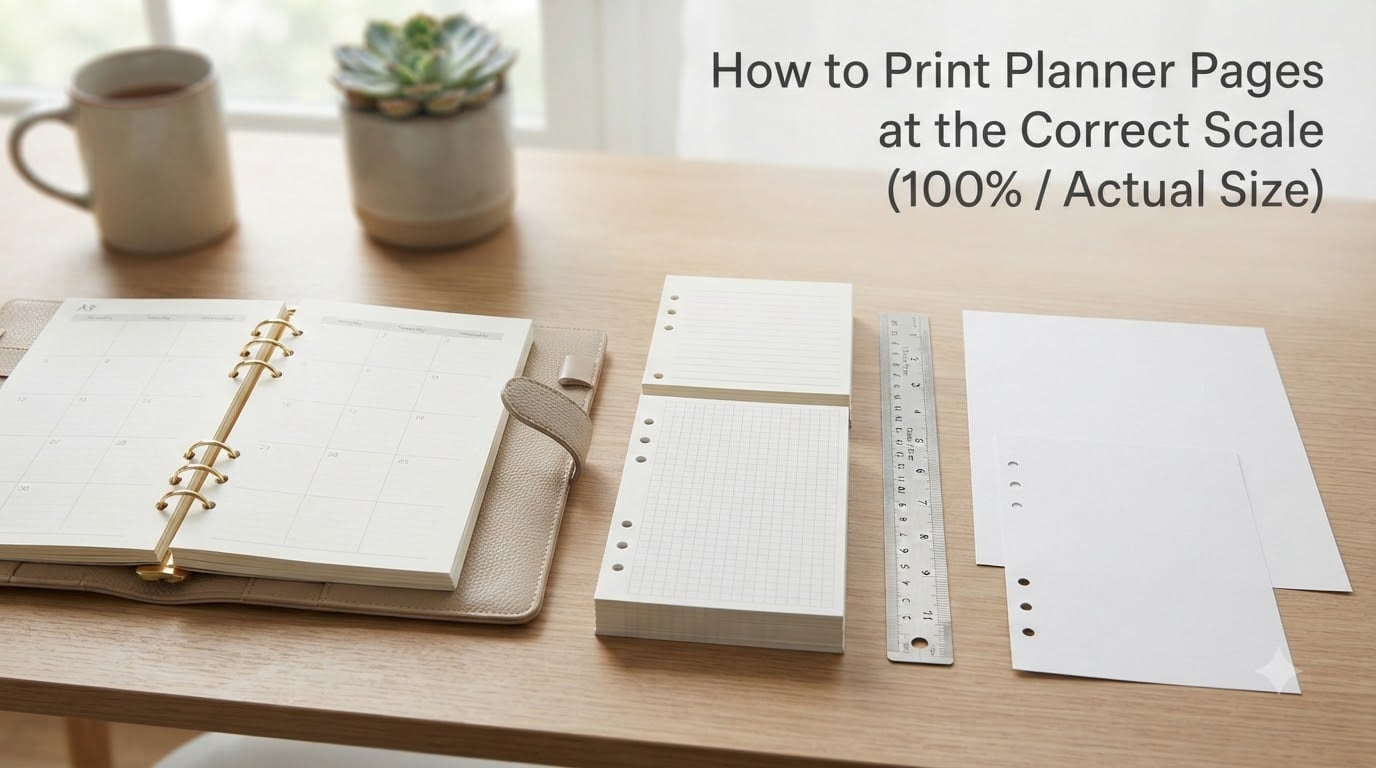
If you have ever downloaded a planner insert and printed it only to find it is slightly too small for your rings, you already know why print scale matters. Learning to print planner pages at actual size is the single skill that decides whether a printable insert fits your planner perfectly or ends up in the recycling bin.
Printers default to a setting called Fit to Page, which shrinks your file to match whatever paper is in the tray. That sounds helpful, but it ruins planner inserts. The right move is to set scale to 100% or Actual Size in Adobe Acrobat Reader before you print.
In this guide I will walk you through the exact settings I use for every printable planner I print at home. You will learn the step-by-step process, get a planner size reference chart, fix double-sided printing, avoid the Firefox bug, and troubleshoot the most common problems.
Table of Contents
- Why Correct Scale Matters for Your Planner Inserts
- How to Print Planner Pages at Actual Size (Step-by-Step)
- Planner Size Reference Chart
- How to Print Planner Pages Double-Sided
- Why Fit to Page Ruins Your Prints
- Browser Printing Warnings: Why Firefox Breaks Your Prints
- Troubleshooting Common Printing Problems
- Frequently Asked Questions
- Conclusion
Why Correct Scale Matters for Your Planner Inserts
Planner inserts are designed to a specific size, like A5 (148 by 210 mm), Personal (95 by 171 mm), or Happy Planner Classic (7 by 9.25 inches). Those numbers are not suggestions. If your printout is even a few millimeters off, the page will not line up with your holes or rings.
When scale is wrong, two things usually happen. The insert prints too small and you cannot punch it correctly, or it prints slightly too large and the pages bulge in your rings. I have tested both outcomes. Both are frustrating.
The root cause is almost always a print setting the printer applies automatically. Fit to Page forces the page to match the paper you have loaded, even if that means shrinking your insert. The result is a page that looks fine in isolation but is useless in your planner.
How to Print Planner Pages at Actual Size (Step-by-Step)
This is the workflow I follow every time I print a planner insert. It takes under a minute once you have done it a few times.
Step 1: Open the file in Adobe Acrobat Reader. Do not open the PDF in your browser. Acrobat Reader (free from Adobe) is the only reader that consistently respects the PDF page dimensions. Browsers like Firefox and Chrome apply their own scale logic that often breaks the size.
Step 2: Go to File and then Print. You can use the keyboard shortcut Ctrl + P on Windows or Cmd + P on Mac. The print dialog opens.
Step 3: Click Page Sizing and Handling. Adobe hides the most important settings inside this menu. Click it to expand the full list of options.
Step 4: Choose Actual Size from the scale dropdown. If you see a percentage instead, type 100. This tells the printer to print the PDF at its true dimensions, not the size of your paper.
Step 5: Select the correct paper size. Match the paper in your tray to the setting in the dialog. Common options are A4, Letter, and Legal. If your printable is A5 but your tray is A4, you will still print at 100% with white borders around the insert.
Step 6: Pick orientation. Most planner inserts are portrait, but spreads (two-page layouts) work best in landscape. Choose the option that matches your file.
Step 7: Click Print. Before you print the whole stack, run a test on a single page first. I always do this to avoid wasting 30 pages of 100 gsm paper.
Quick Settings Checklist:
- Open in Adobe Acrobat Reader (not browser)
- Scale: 100% or Actual Size
- Paper size: matches your tray (A4, Letter, Legal)
- Orientation: portrait or landscape to match file
- Disable Fit to Page, Shrink Oversized Pages, or Auto-Rotate
- Run one test page before printing the full set
Planner Size Reference Chart
Before you print, confirm which planner size your insert is designed for. Picking the wrong size is the most common reason inserts do not fit.
| Planner Type | Size (inches) | Size (mm) | Common Use |
|---|---|---|---|
| A5 | 5.83 x 8.27 | 148 x 210 | A5 ring-bound and Travelers Notebooks |
| Personal (Filofax) | 3.75 x 6.75 | 95 x 171 | Personal size Filofax, Van der Spek, Gillio |
| Pocket (Filofax) | 3.19 x 4.72 | 81 x 120 | Pocket size Filofax |
| A6 | 4.13 x 5.83 | 105 x 148 | A6 Travelers Notebook, pocket planners |
| Happy Planner Classic | 7 x 9.25 | 178 x 235 | Happy Planner disc-bound (largest common size) |
| Happy Planner Mini | 5.5 x 7.5 | 140 x 191 | Happy Planner Mini disc-bound |
| Half Letter | 5.5 x 8.5 | 140 x 216 | US ring-bound planners, Junior size |
| B5 | 6.93 x 9.84 | 176 x 250 | B5 ring-bound planners, Hobonichi Weeks alternative |
If your printable was designed for a Personal size planner but you print it on A4 paper without setting 100% scale, your insert will print at A4 size minus a small margin. That is the Fit to Page problem in action.
How to Print Planner Pages Double-Sided
Most planner inserts are designed to be double-sided so the layout matches on both sides of the page. Printing double-sided can be tricky because back sides often print upside down. Here is how to fix it.
Automatic duplex (most modern printers): In the print dialog, look for a checkbox called Print on Both Sides. Tick it. Then choose Flip on Short Edge for almost every planner insert. Flip on Long Edge is only correct for landscape spreads designed to look like an open book.
Manual duplex (older printers without auto duplex): Print only the odd-numbered pages first. Take the stack out, flip it according to your printer’s manual (the blank side should now face up), and feed it back in to print the even-numbered pages on the other side.
I print planner spreads as single pages on purpose. A two-page spread looks correct when printed as a single landscape page, not as two portrait pages stuck together. If your file is a spread, do not enable double-sided printing for that file.
Why Fit to Page Ruins Your Prints
Fit to Page is a printer convenience feature that forces your document to fit the paper in the tray. It sounds useful, but it ignores the original design dimensions and rescales the page.
When you print an A5 insert on A4 paper with Fit to Page enabled, the printer does two things. It scales the page up to use the full sheet, which makes the insert slightly larger than designed. Or it leaves a small margin and uses the rest of the page, which makes alignment unpredictable.
For planner inserts, Fit to Page is almost never what you want. Turn it off, set scale to 100%, and let your paper tray do its job. If the printable is smaller than your paper, you will get a correctly sized page with white margins around it. That is the right result.
Browser Printing Warnings: Why Firefox Breaks Your Prints
If you must print from a browser, avoid Firefox. Firefox has a long-standing bug where it ignores the 100% scale setting in PDF files. Even if you set Actual Size in the print dialog, Firefox still calculates the page based on paper size instead of PDF dimensions. The result is a shrunken or stretched insert.
Chrome handles PDF printing better, but it still does not fully respect PDF page dimensions the way Adobe Acrobat Reader does. Safari on Mac is similar to Chrome and works for most cases.
The fix is simple: download the PDF, open it in Adobe Acrobat Reader, and print from there. If you do not have Acrobat Reader, free alternatives like Foxit Reader also respect the 100% scale setting reliably.
I tested this myself by printing the same A5 insert from Firefox and from Acrobat Reader. Firefox scaled it down by about 5%, which is exactly the gap that makes inserts sit loose in my rings. Acrobat Reader printed it at the correct size on the first try.
Troubleshooting Common Printing Problems
Even with the right settings, things sometimes go wrong. Here are the most common problems I have run into and how to fix them.
Pages print too small: The Fit to Page setting is on, or you printed from a browser instead of Acrobat Reader. Open the file in Acrobat Reader and turn off Fit to Page.
Pages print too large and run off the paper: The paper size in the print dialog does not match the paper in your tray. Check both and make sure they agree.
Back sides print upside down: Your duplex flip setting is wrong. Switch from Flip on Long Edge to Flip on Short Edge (or vice versa) and try again.
Pages come out off-center: Your printer margins are non-standard. Use the actual size setting and adjust the printer’s margin settings in the Properties or Preferences menu.
Text or boxes look blurry: The PDF was scaled. Either the original was a low-quality scan, or your scale setting is not at 100%. Reprint with scale locked to 100%.
Colors look washed out: Your printer is in draft or economy mode. Switch to Normal or Best quality and use high-quality paper (90 gsm or higher).
If none of these fixes work, run a single test page with all settings visible in the dialog. Screenshot it. That single screenshot usually tells you exactly what went wrong.
Frequently Asked Questions
How to print at 100 percent scale?
Open your PDF in Adobe Acrobat Reader, press Ctrl+P or Cmd+P to open the print dialog, click Page Sizing and Handling, and choose Actual Size or set the percentage to 100. This ensures the printout matches the original PDF dimensions exactly.
How to print something at an exact size?
Use Adobe Acrobat Reader (not a browser) and set the scale to Actual Size or 100%. Make sure Fit to Page is unchecked. Then verify the paper size in the dialog matches the paper loaded in your printer tray.
How to get a PDF to print at actual size?
Download the PDF and open it in Adobe Acrobat Reader. In the print dialog, expand Page Sizing and Handling and select Actual Size from the scale dropdown. This overrides any automatic resizing the printer would otherwise apply.
How do I set my printer to print actual size?
In the Acrobat Reader print dialog, click Page Sizing and Handling, then set the scale option to Actual Size. If your printer has a Fit to Page toggle in its own Properties menu, turn that off as well for best results.
Why does my planner print too small?
Fit to Page is enabled, or you are printing from a browser like Firefox that ignores PDF dimensions. Open the file in Adobe Acrobat Reader, disable Fit to Page, and set scale to 100% or Actual Size.
Can I print planner pages from my browser?
Chrome and Safari handle PDF printing reasonably well, but Firefox has a known bug that resizes PDFs even when Actual Size is selected. For consistent results, always download the PDF and print from Adobe Acrobat Reader.
Conclusion
Printing planner pages at the correct scale comes down to three things: open the PDF in Adobe Acrobat Reader, set scale to Actual Size or 100%, and turn off Fit to Page. Once you have those settings locked in, every printable insert you print will match the design dimensions and fit your planner.
If you have been struggling to print planner pages at actual size, try the workflow above on your next printable. Run a single test page first, confirm the dimensions with a ruler against the planner size reference chart, and adjust the paper size in the dialog until everything aligns. After a couple of prints, this process becomes muscle memory.
Save the Quick Settings Checklist from earlier in this guide. The next time you sit down to print, it will save you five minutes of fiddling with the print dialog and a wasted sheet of paper.